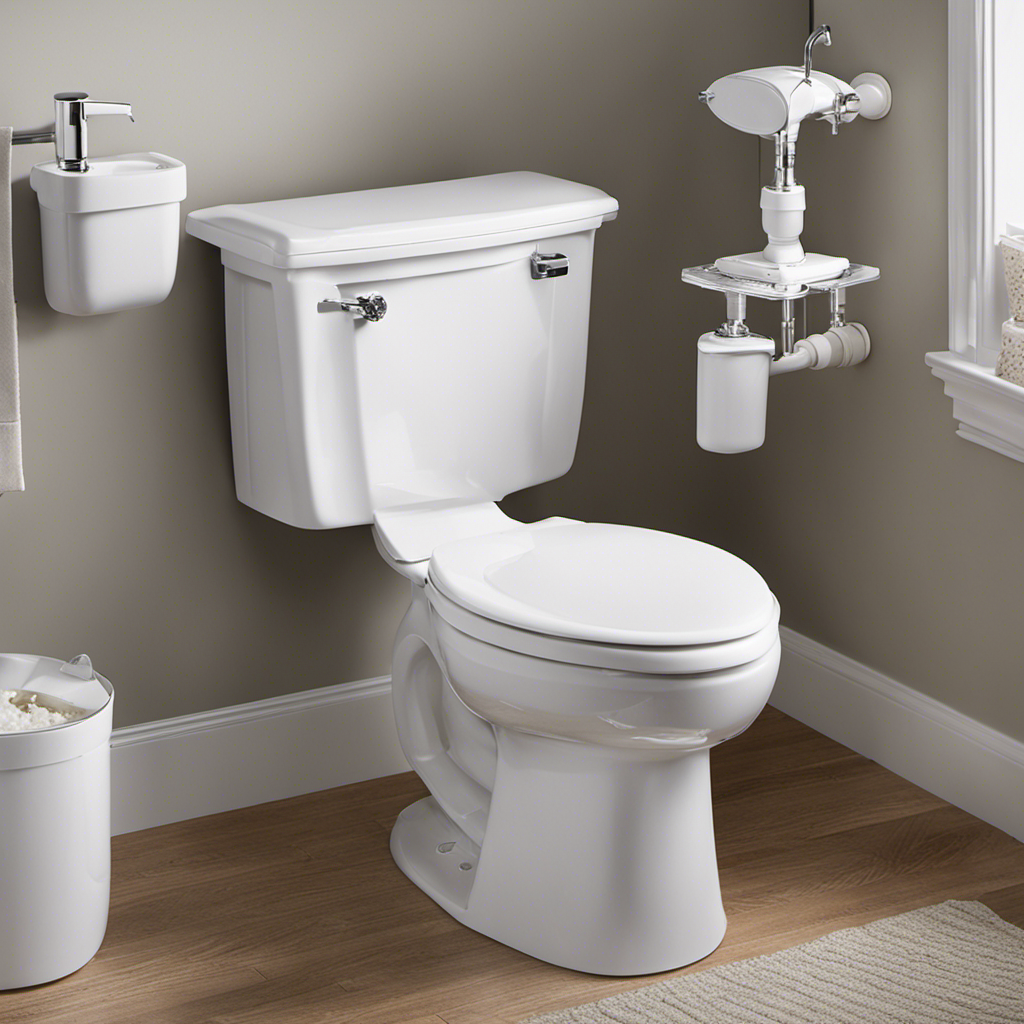
Did you know that a cracked toilet tank can waste up to 600 gallons of water per day? That’s not only a huge waste of resources, but it can also lead to costly water bills.
But fear not, because in this article, I will guide you through the process of fixing a cracked toilet tank. With just a few simple steps and the right tools, you’ll be able to repair the damage and prevent any further leaks.
So let’s get started and put an end to that pesky water wastage!
Key Takeaways
- Assess the crack in the toilet tank and evaluate its depth, looking for signs of leaking water or discoloration.
- Choose the right adhesive based on the type of crack, such as epoxy-based adhesive for hairline cracks or polyurethane-based adhesive for vertical cracks.
- Drain the toilet tank by turning off the water supply valve, flushing the toilet, and removing the remaining water with a sponge or towel.
- Apply the chosen repair method, which may involve cleaning the cracked area with sandpaper and applying epoxy putty, ensuring a proper fix.
Assessing the Damage
Now, you’ll want to take a close look at the cracked toilet tank to assess the extent of the damage.
Start by inspecting the crack itself. Is it a hairline crack or a larger fracture? Use your fingers to gently feel around the crack to evaluate its depth. Look for any signs of leaking water or discoloration around the crack.
Next, examine the surrounding area for any additional damage, such as chipped or broken pieces.
Once you have evaluated the severity of the crack, you can start exploring alternative solutions. Depending on the size and location of the crack, you may be able to repair it using epoxy or a patch kit.
However, if the damage is extensive, you might need to consider replacing the entire toilet tank.
Gathering the Necessary Tools
First, you’ll need to gather all the necessary tools for the task at hand. When it comes to fixing a cracked toilet tank, having the right adhesive is crucial. There are different types of cracks that can occur, such as hairline cracks, vertical cracks, and even larger fractures. Each type requires a specific adhesive to ensure a proper and lasting repair.
For hairline cracks, an epoxy-based adhesive is recommended, as it has excellent bonding properties. Vertical cracks, on the other hand, may require a stronger adhesive, such as a polyurethane-based one, to withstand the pressure and prevent further damage. By understanding the different types of cracks and choosing the right adhesive, you can effectively repair your toilet tank.
Now, let’s move on to the next step: draining the toilet tank.
Draining the Toilet Tank
To start, you’ll need to empty the water from the toilet tank. This is an important step when it comes to replacing a cracked toilet tank. Draining the tank ensures that you can work on it without any water getting in the way.
Here’s a step-by-step guide on how to drain the toilet tank:
-
Turn off the water supply: Locate the shut-off valve, usually located near the base of the toilet. Turn it clockwise to shut off the water supply.
-
Flush the toilet: This will empty most of the water from the tank. However, there will still be some water left.
-
Use a sponge or towel: Soak up the remaining water in the tank using a sponge or towel. Squeeze it out into a bucket or container.
-
Remove the tank lid: Lift off the tank lid and set it aside.
-
Empty the tank completely: Use a cup or a small container to scoop out any remaining water from the tank.
Once the tank is fully drained, you can proceed with the toilet tank replacement. However, if you’re not confident in your DIY skills, it’s recommended to seek professional repair services to ensure the job is done correctly and safely.
Applying the Repair Method
You’ll want to start by gathering the necessary tools for applying the repair method. Here’s what you’ll need:
- Repair materials:
- Epoxy putty
- Sandpaper
- Rubber gloves
- Clean cloth
Before you start the repair, it’s important to take some precautionary measures to ensure your safety:
- Turn off the water supply to the toilet.
- Flush the toilet to drain the remaining water in the tank.
- Clean the cracked area with sandpaper to remove any debris or rough edges.
- Put on rubber gloves to protect your hands from the repair materials.
Once you have gathered the tools and taken the necessary precautions, you can proceed with applying the repair method. After applying the epoxy putty to the crack, smooth it out using a clean cloth. This will create a watertight seal.
Now, it’s time to move on to the next step: testing for leaks and ensuring a proper fix.
Testing for Leaks and Ensuring a Proper Fix
Now that you have applied the epoxy putty and smoothed it out, it’s time to check for any leaks and make sure the repair is done correctly. Leak detection is crucial to ensure the longevity of the fix.
To test for leaks, follow these steps:
- Fill the toilet tank with water.
- Let it sit for a few minutes to allow the putty to set.
- Observe the tank for any signs of water leakage.
If you notice any leaks, there are a few repair alternatives you can consider. One option is to reapply the epoxy putty, ensuring a more thorough coverage over the crack. Alternatively, you can opt for a tank repair kit or even replace the entire toilet tank if necessary.
Conclusion
In conclusion, fixing a cracked toilet tank is a straightforward process that can be done with a few simple steps. By assessing the damage and gathering the necessary tools, you can ensure a proper fix. Draining the toilet tank and applying the repair method are also important steps in the process. After completing the repair, it’s crucial to test for leaks to ensure that the fix was successful. Taking prompt action is crucial to prevent further damage and avoid costly repairs. So don’t wait, grab your tools and get ready to fix that cracked toilet tank like a pro! It’s as easy as pie, and your toilet will be good as new in no time.


