As a seasoned DIY enthusiast, I’ve encountered my fair share of household mishaps. One particular annoyance that always seems to find its way into my life is a leaking toilet. But fear not, for I have mastered the art of fixing this frustrating issue.
In this article, I will guide you through each step of the process, from identifying the source of the leak to sealing and testing for any remaining leaks. Prepare yourself for a hassle-free toilet repair adventure!
Key Takeaways
- Common causes of toilet leaks include faulty wax rings, loose or damaged supply lines, cracked tanks or bowls, and worn-out flapper valves.
- Shut off the water supply by locating the water shut-off valve near the toilet and turning it clockwise.
- Replace the flapper or flush valve if it is damaged or worn out.
- Inspect the fill valve for signs of leakage and adjust the water pressure using the adjustment screw.

Hibbent Extra Thick Toilet Wax Ring Replacement Kit, Universal Toilet Seal Ring with Brass Toilet Floor Bolts and Retainer Washers, PE Flange Fits 3 Inch and 4 Inch Drain Pipes
Universal Toilet Wax Ring: The Hibbent toilet flange is compatible with 3-inch and 4-inch waste lines, suitable for…
As an affiliate, we earn on qualifying purchases.
As an affiliate, we earn on qualifying purchases.
Identifying the Source of the Leak
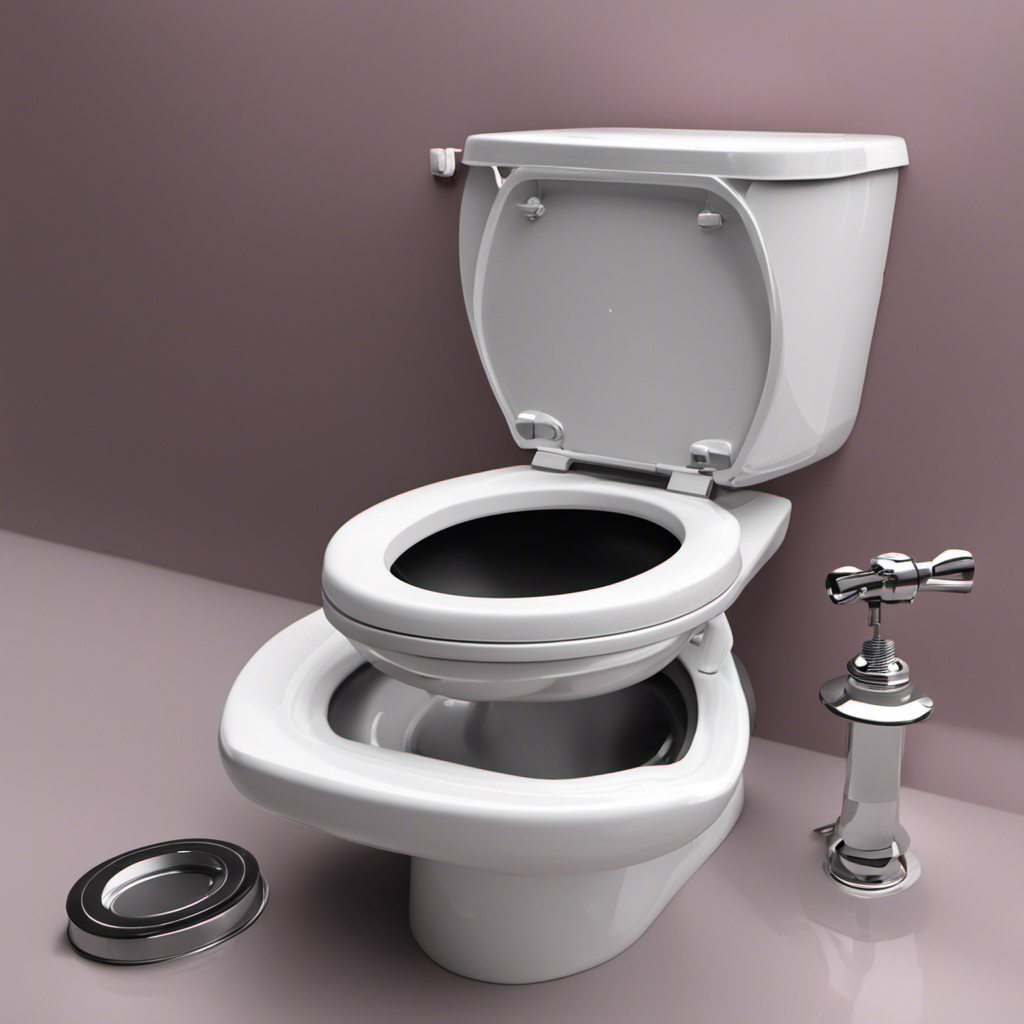
To fix a leaking toilet, start by identifying where the leak is coming from. Common causes of toilet leaks can include a faulty wax ring, a loose or damaged supply line, a cracked tank or bowl, or a worn-out flapper valve.
It is important to carefully inspect each component to determine the source of the leak. Begin by checking the wax ring located at the base of the toilet. If it is damaged or worn out, it will need to be replaced.
Next, inspect the supply line for any signs of damage or looseness. Tighten or replace it if necessary. Additionally, examine the tank and bowl for any cracks or leaks. Finally, check the flapper valve for any wear or tear.
Once the source of the leak has been identified and fixed, take steps to prevent future leaks. Regularly inspect the toilet for any signs of damage, such as cracks or leaks. Ensure that the supply line is securely connected and not loose. Also, regularly replace the wax ring to maintain a proper seal.

Korky Ultra Standard 2-Inch Universal Toilet Flapper – Long Lasting Rubber – Easy to Install – Made in USA, 100BP
TOILET FLAPPER VALVE FITS MOST POPULAR 2 inch toilet brands including, but not limited to: American Standard, Kohler,…
As an affiliate, we earn on qualifying purchases.
As an affiliate, we earn on qualifying purchases.
Shutting off the Water Supply
First, you’ll need to locate the water shut-off valve in order to stop the flow of water to the toilet. This valve is usually located behind or near the toilet, either on the wall or the floor. Once you’ve found it, turn the valve clockwise to shut off the water supply. This will prevent any further water from entering the toilet tank and causing more leaks.
To further address the issue, you may need to consider repairing any damaged water pipes or adjusting the water pressure. Repairing the water pipes involves identifying any leaks or cracks, and either patching them up or replacing the damaged sections. Adjusting the water pressure can be done by locating the pressure regulator valve and making the necessary adjustments to ensure the pressure is within the recommended range.
Once you have successfully shut off the water supply and addressed any underlying issues with the water pipes or pressure, you can proceed to the next step of replacing the flapper or flush valve.

Toilet Connector Water Line Kit with 12" Length Long 3/8" COMP x 7/8" BC Toilet Connector Hose, 1/2 inch NOM Inlet x 3/8 inch OD Compression Outlet Angle Shut Off and Escutcheon Plate
COMPLETE INSTALLATION KIT:Our toilet water supply line set includes 1 pc toilet connector,1 pc 1/4 turn angel stop…
As an affiliate, we earn on qualifying purchases.
As an affiliate, we earn on qualifying purchases.
Replacing the Flapper or Flush Valve
Once you’ve shut off the water supply, you can begin replacing the flapper or flush valve. This is a common repair that can fix a leaking toilet and prevent water wastage.
To start, remove the tank lid and locate the flapper or flush valve at the bottom of the tank. Inspect it for any signs of damage or wear. If necessary, take a trip to the local hardware store to purchase a replacement part.
Turn off the water supply valve completely and flush the toilet to drain any remaining water from the tank. Next, disconnect the old flapper or flush valve and install the new one according to the manufacturer’s instructions.
Finally, turn the water supply valve back on and test the toilet for any leaks. This simple DIY repair can save you money and prevent the need for hiring a plumber.
If you’re considering upgrading the toilet, it’s best to consult a professional plumber for installation and advice.

New Resources Group Toilet Leak Detection Dye Tablets (Detect Silent Leaks) Blue 20 Pack
Detect Silent Leaks in your toilet. 20 Packets (2 Blue Tablets per Packet good for 40 tests)
As an affiliate, we earn on qualifying purchases.
As an affiliate, we earn on qualifying purchases.
Fixing a Leaking Fill Valve
When replacing the flapper or flush valve, it’s important to inspect the fill valve for any signs of leakage. The fill valve is responsible for bringing water into the toilet tank after each flush. If it is leaking, it can waste water and cause your toilet to constantly run.
To fix a leaking fill valve, follow these steps:
- Turn off the water supply to the toilet.
- Remove the refill tube from the fill valve.
- Adjust the water pressure by turning the adjustment screw clockwise to decrease or counterclockwise to increase the pressure.
- If the fill valve is still leaking, replace it with a new one.
Troubleshooting common toilet problems like leaks requires a systematic approach and attention to detail. By fixing the fill valve, you are one step closer to resolving your toilet leak issues.
Now, let’s move on to sealing and testing for leaks in the next section.
Sealing and Testing for Leaks
To ensure there are no leaks, it’s essential to seal the connections and test for any signs of leakage.
When it comes to sealing, I recommend using plumber’s tape or thread sealant on the threaded connections. This will create a tight seal and prevent any water from escaping.
Once the connections are sealed, it’s time to test for leaks. One common method is to fill the toilet tank with water and observe if there are any drips or puddles forming around the connections. Another method is to add a few drops of food coloring to the tank and wait to see if it appears in the bowl without flushing.
These testing methods can help identify any leaks and allow you to take appropriate action to fix them. Common causes of leaks include worn-out seals, loose connections, or faulty valves.
Frequently Asked Questions
How Much Does It Cost to Hire a Professional Plumber to Fix a Leaking Toilet?
Hiring a professional plumber to fix a leaking toilet can vary in cost depending on factors such as location, severity of the problem, and the plumber’s rates. However, there are also DIY alternatives to consider.
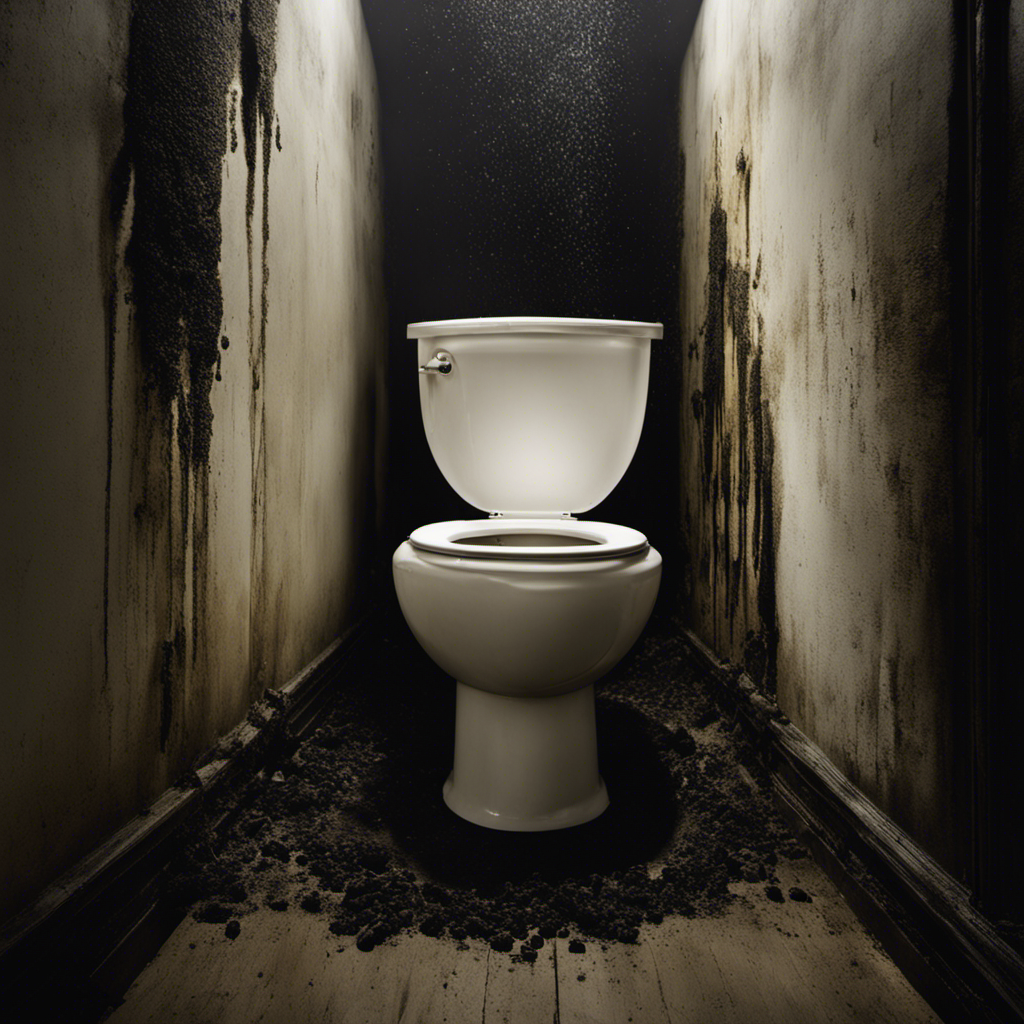
Can a Leaking Toilet Cause Water Damage to the Floor or Walls?
A leaking toilet can cause serious water damage to the floor and walls if left unattended. It can even lead to mold growth, which is a nightmare to deal with. Ignoring a leaking toilet can have disastrous consequences.
Is It Possible to Fix a Leaking Toilet Without Turning off the Water Supply?
Yes, it is possible to fix a leaking toilet without turning off the water supply. There are alternative methods that can be used to address the issue and stop the leak.
What Are Some Common Signs of a Leaking Toilet That May Not Be Immediately Visible?
Some common signs of a leaking toilet that may not be immediately visible include a higher water bill, a constantly running toilet, and water pooling around the base. DIY solutions can help address these issues.
Are There Any Specialized Tools Required to Fix a Leaking Toilet?
Yes, specialized tools are required to fix a leaking toilet. You will need a toilet repair kit, which typically includes a wrench, plunger, flapper, and other necessary components for the repair.
Conclusion
In conclusion, fixing a leaking toilet is a straightforward task that can be completed with a few simple steps. By identifying the source of the leak and shutting off the water supply, you can effectively stop the flow of water.
Whether it’s replacing the flapper or flush valve, or fixing a leaking fill valve, taking the necessary measures will ensure a properly functioning toilet. Don’t forget to seal and test for leaks to guarantee a leak-free toilet.
Remember, fixing a leaking toilet is like painting a beautiful picture – it requires attention to detail and precision to achieve a flawless result.