Did you know that a leaky toilet flapper can waste up to 200 gallons of water per day? Don’t let that happen to you!
In this article, we will guide you through the steps to fix your leaky toilet flapper. By following our clear and concise instructions, you’ll be able to:
- Identify the issue
- Gather the necessary tools
- Remove the old flapper
- Install the new one
- Test and adjust it for optimal performance
Say goodbye to water wastage and hello to a properly functioning toilet!
Key Takeaways
- Continuous water running, reduced flushing power, and a noticeable drop in water level are signs of a faulty flapper.
- Adding food coloring to the tank can help determine if the flapper is the issue.
- Leaky flappers can waste up to 200 gallons of water per day and increase water bills.
- The steps to fix a leaky toilet flapper include checking the water level, gathering necessary tools (wrench, screwdriver, pliers), removing the old flapper, installing the new flapper, and testing and adjusting the flapper for proper functionality.

Korky Ultra Standard 2-Inch Universal Toilet Flapper – Long Lasting Rubber – Easy to Install – Made in USA, 100BP
TOILET FLAPPER VALVE FITS MOST POPULAR 2 inch toilet brands including, but not limited to: American Standard, Kohler,…
As an affiliate, we earn on qualifying purchases.
As an affiliate, we earn on qualifying purchases.
Identifying the Issue
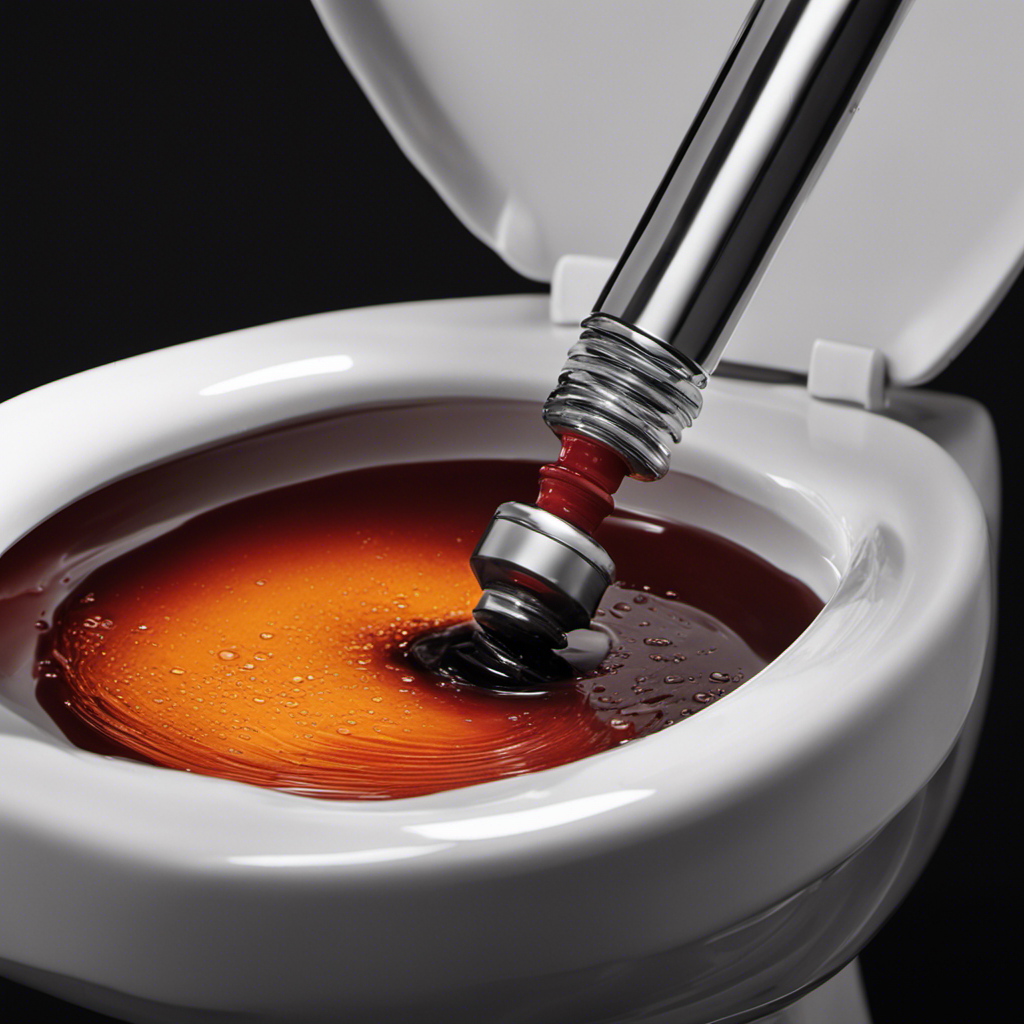
To identify the issue with a leaky toilet flapper, start by checking the water level in the tank. A faulty flapper is a common culprit behind a leaky toilet. Signs of a faulty flapper include continuous water running, reduced flushing power, and a noticeable drop in water level. When the flapper doesn’t seal properly, water leaks from the tank into the bowl. This not only wastes water but also increases your water bill.
To check if the flapper is the problem, simply add a few drops of food coloring to the tank. If the colored water seeps into the bowl without flushing, it’s time to replace the flapper.
Troubleshooting common toilet issues can be frustrating, but with the right knowledge, you can easily fix them.
Korky Ultra Standard 2-Inch Universal Toilet Flapper – Long Lasting Rubber – Easy to Install – Made in USA, 100BP
TOILET FLAPPER VALVE FITS MOST POPULAR 2 inch toilet brands including, but not limited to: American Standard, Kohler,…
As an affiliate, we earn on qualifying purchases.
As an affiliate, we earn on qualifying purchases.
Gathering the Necessary Tools
You’ll need a few tools for this task, such as a wrench, a screwdriver, and some pliers. These tools will help you successfully fix a leaky toilet flapper.
Before we dive into the process, it’s important to understand the flapper mechanism and the common causes of toilet flapper leaks.
Understanding the flapper mechanism:
- The flapper is a rubber valve that controls the flow of water from the tank to the bowl.
- When you flush the toilet, the flapper lifts, allowing water to flow into the bowl.
- Once the tank is empty, the flapper closes, preventing any further water from escaping.
Common causes of toilet flapper leaks:
- Worn out flapper: Over time, the rubber flapper can deteriorate and become ineffective.
- Chain problems: If the chain connecting the flapper to the flush handle is too long or too short, it can cause leaks.
- Mineral build-up: Mineral deposits can accumulate on the flapper, preventing a tight seal.

Fluidmaster K-400H-021-P8 PerforMAX 2-Inch Everything Toilet Repair Kit, Multicolor
The Everything Kit includes everything you need to fix your toilet in one trip and one purchase
As an affiliate, we earn on qualifying purchases.
As an affiliate, we earn on qualifying purchases.
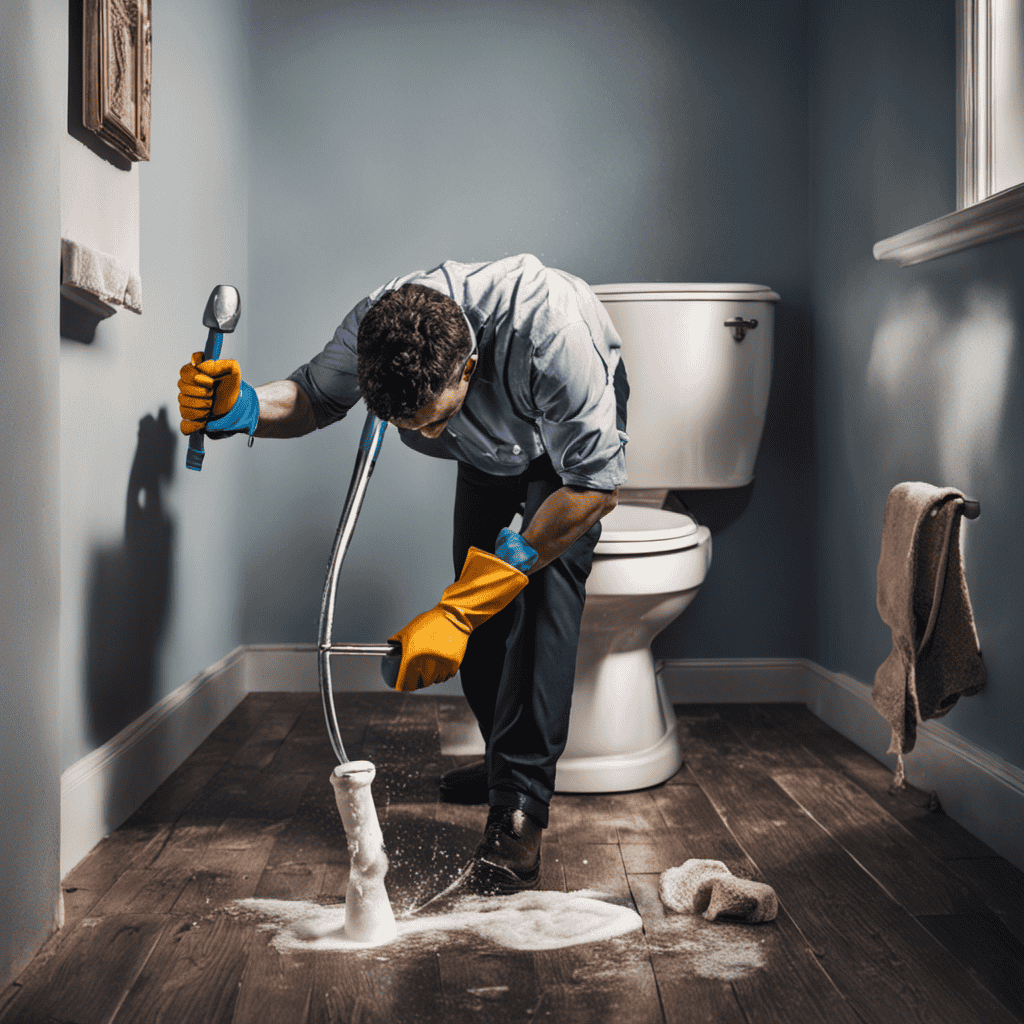
Removing the Old Flapper
The first step in replacing the flapper is removing the old one from the flush valve.
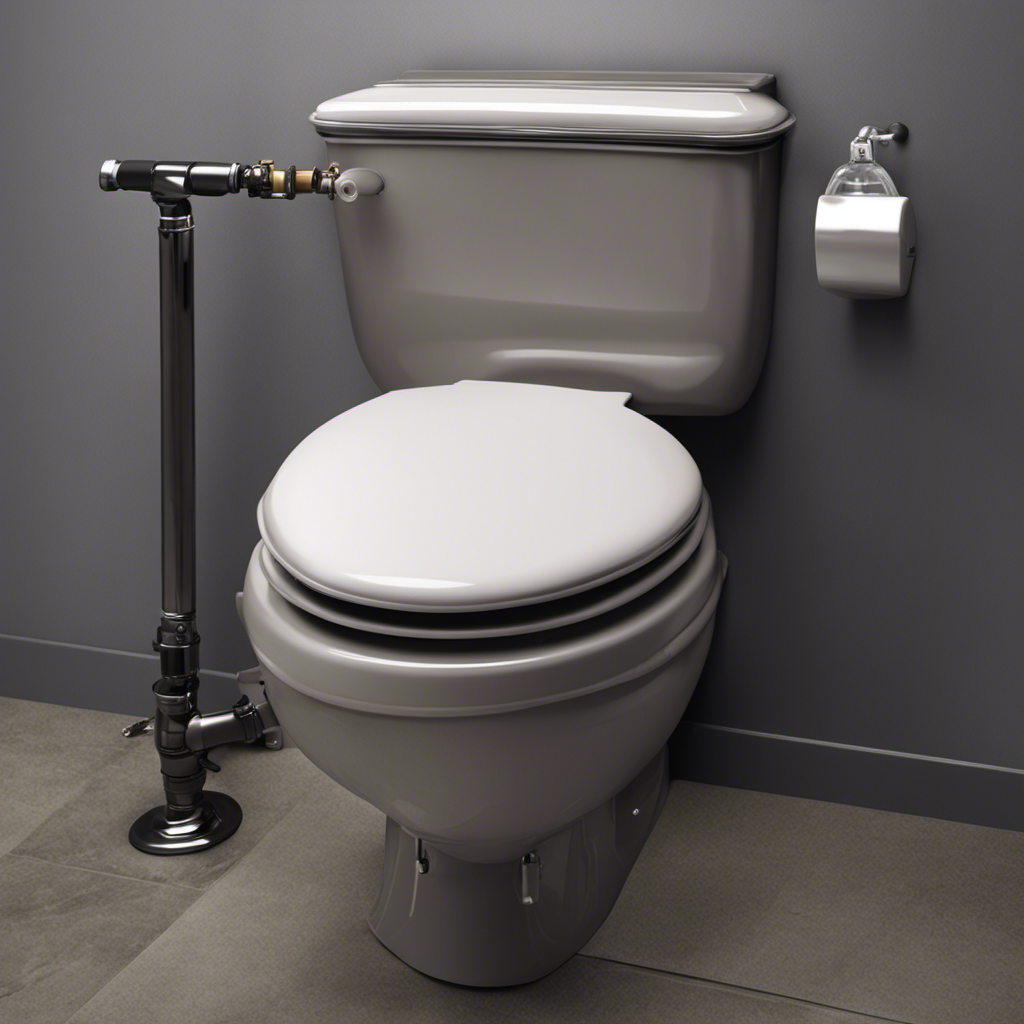
To start, locate the flush valve at the bottom of the toilet tank.
Turn off the water supply by shutting off the valve located behind the toilet.
Flush the toilet to remove any remaining water in the tank.
Next, disconnect the flapper chain from the flush lever.
Take note of how the chain is connected as you will need to reattach it later.
With a pair of pliers, carefully detach the old flapper from the flush valve.
Once removed, inspect the flush valve and clean any debris or buildup.
This will ensure a proper seal when the new flapper is installed.
Now you are ready to move on to the next step of replacing the flapper.
Korky Ultra Standard 2-Inch Universal Toilet Flapper – Long Lasting Rubber – Easy to Install – Made in USA, 100BP
TOILET FLAPPER VALVE FITS MOST POPULAR 2 inch toilet brands including, but not limited to: American Standard, Kohler,…
As an affiliate, we earn on qualifying purchases.
As an affiliate, we earn on qualifying purchases.
Installing the New Flapper
Once the old flapper has been removed, it’s time to install the new one. Follow these steps to ensure a successful installation:
- Align the flapper: Place the new flapper over the flush valve opening, making sure it fits securely.
- Connect the chain: Attach the flapper chain to the flush lever arm, ensuring it has just enough slack to allow the flapper to close fully.
- Adjust the water level: Adjust the water level in the tank to the manufacturer’s recommended level to prevent the flapper from leaking.
By troubleshooting common flapper installation problems and following these tips, you can maintain a leak-free toilet flapper. Some common issues include improper alignment, chain length, or water level. Take the time to ensure everything is properly installed to avoid any future leaks.
With the new flapper securely in place, you’re ready to move on to testing and adjusting it for optimal performance.
Testing and Adjusting the Flapper
To test and adjust it, make sure the flapper closes completely and doesn’t allow any water to leak into the bowl. Adjusting the water flow in your toilet’s flapper is crucial to prevent leaks and maintain proper functionality. Troubleshooting common problems can help identify any issues and ensure smooth operation. Here is a table outlining common issues and their solutions:
| Problem | Possible Solution |
|---|---|
| Flapper doesn’t close fully | Adjust the chain length to ensure a tight seal |
| Water continuously running | Check for debris or mineral buildup on the flapper |
| Flapper closes too slowly | Adjust the flapper’s position or replace if necessary |
Conclusion
In conclusion, by following these steps, you’ve successfully fixed the leaky toilet flapper.
You’ve identified the issue, gathered the necessary tools, removed the old flapper, and installed the new one.
Now, it’s time for the moment of truth. Testing and adjusting the flapper will determine if your efforts were successful. Will the leak finally be resolved?
The suspense builds as you anxiously await the results.
Remember, a properly functioning flapper is crucial for saving water and maintaining a well-operating toilet.