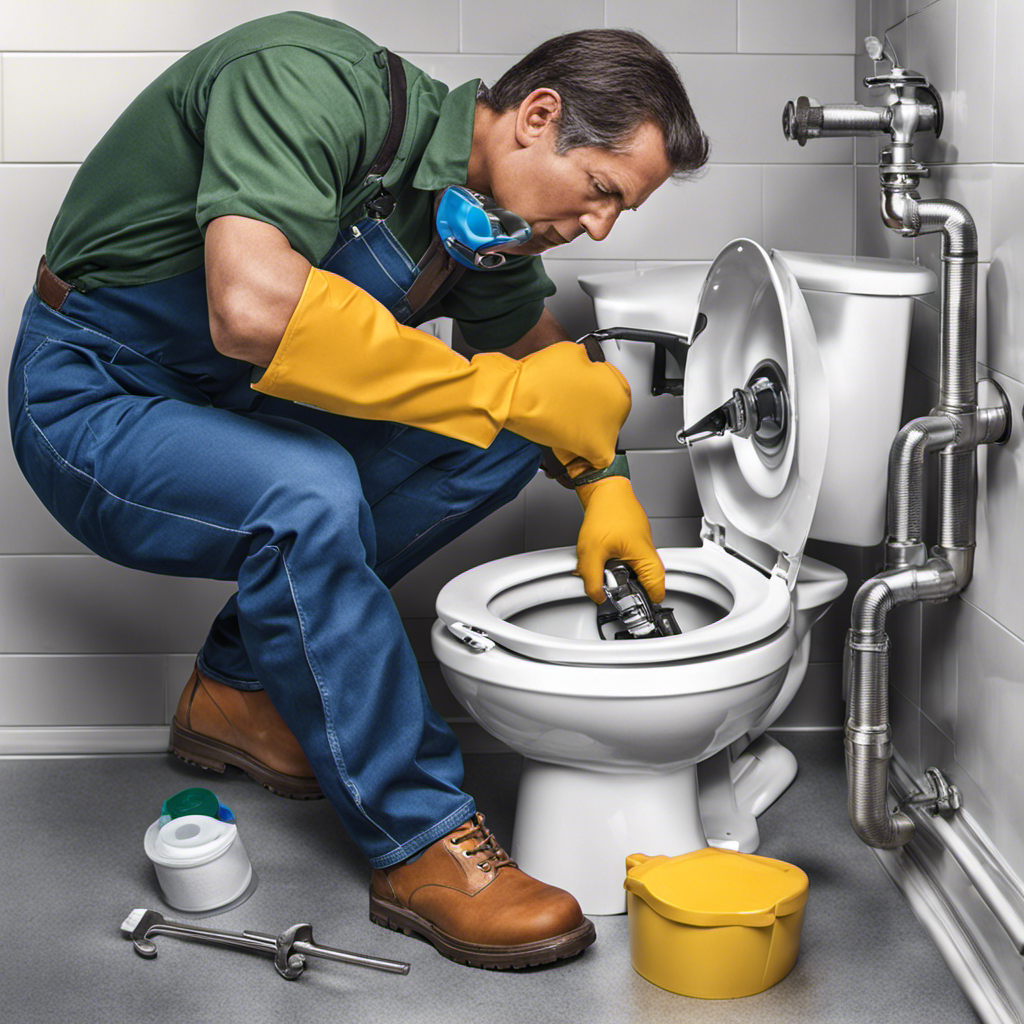
Hey there! Have you ever been frustrated with a slow flushing toilet? Well, fear not, because I’ve got some handy tips to help you fix it.
In this article, I’ll guide you through the causes of slow flushing, as well as practical steps to take. From checking and adjusting the water level in the tank to clearing clogs in the toilet bowl, we’ll cover it all.
So, let’s roll up our sleeves and get that toilet flushing smoothly again!
Key Takeaways
- Check and adjust the water level in the tank to ensure it is not too low or too high.
- Clear clogs in the toilet bowl using a plunger, making sure to create a seal and using firm plunging motions.
- Consider replacing or repairing a faulty flapper if it is not opening or closing properly.
- Clean or replace the flush valve to remove mineral deposits and improve flushing performance.
Understanding the Causes of Slow Flushing
To understand why your toilet is flushing slowly, you’ll need to identify the potential causes.
There can be several reasons behind a weak flush. One common cause is a clogged or blocked drainpipe. This can happen due to the accumulation of debris, such as toilet paper or foreign objects.
Another possible cause is a faulty flapper valve. If the flapper valve does not open fully or closes too quickly, it can restrict the flow of water during flushing.
Additionally, a low water level in the tank can also lead to a weak flush.
Troubleshooting a slow toilet involves inspecting these potential causes and taking appropriate actions, such as clearing any blockages, adjusting the flapper valve, or adjusting the water level in the tank.
Checking and Adjusting Water Level in the Tank
Check if the water level in your tank is too low or too high, and then adjust it accordingly.
The water level in the toilet tank plays a crucial role in ensuring a proper flush. If the water level is too low, it can result in a weak flush, causing slow draining and incomplete waste removal.
On the other hand, if the water level is too high, it can lead to water overflowing into the bowl and wasting water unnecessarily.
To troubleshoot a slow flush, start by removing the tank lid and observing the water level. Adjust the water level by using the fill valve or float ball mechanism, depending on the type of toilet you have.
Aim to have the water level about 1 inch below the overflow tube opening. This adjustment should help improve the flush performance and resolve the slow flushing issue.
Clearing Clogs in the Toilet Bowl
If you’re experiencing a clog in the toilet bowl, try using a plunger to remove it. As a professional in toilet bowl maintenance and cleaning, I can assure you that a plunger is an effective tool for resolving clogs.
To begin, make sure there is enough water in the bowl to cover the plunger’s rubber cup. Place the plunger over the drain hole and firmly push down, creating a seal. Then, quickly pull up and repeat this motion several times until the clog is cleared.
If the clog persists, you may need to use a toilet auger or call a plumber for assistance. Regular toilet bowl cleaning and maintenance can help prevent clogs, so be sure to use a toilet brush and cleaner regularly to keep your toilet functioning smoothly.
Replacing or Repairing a Faulty Flapper
Replacing or repairing a faulty flapper is a common plumbing task that can easily be done by homeowners. In this discussion, we will explore the step-by-step process of replacing a flapper, including the necessary tools and precautions.
Additionally, we will address common flapper problems that may occur and discuss whether repair or replacement is the best course of action.
Flapper Replacement Steps
To fix the slow flushing toilet, you’ll want to start by replacing the flapper. Here are the steps to replace the flapper:
- Turn off the water supply to the toilet by shutting off the valve located behind the toilet.
- Flush the toilet to drain the tank completely.
- Remove the old flapper by unhooking it from the chain and detaching it from the overflow tube.
Now that you know how to replace the flapper, let’s move on to common flapper problems. It’s important to be aware of these issues so you can troubleshoot and resolve them effectively.
Common Flapper Problems
Now that we’ve discussed the steps for replacing a flapper, let’s move on to some common problems you may encounter with your flapper and how to troubleshoot them. Flapper maintenance is essential for a properly functioning toilet, so it’s important to know how to address these issues.
One common problem is a flapper that doesn’t seal properly, leading to continuous water leakage. To troubleshoot this, check if the flapper is worn out or has debris preventing it from closing fully. Cleaning or replacing the flapper might be necessary.
Another issue is a flapper that closes too quickly, resulting in a weak flush. This can be caused by a flapper chain that is too short. Adjusting the chain length to provide some slack should solve this problem.
Repair Vs. Replacement
Understanding the difference between repairing and replacing a flapper can help you make an informed decision about how to address any issues you may be experiencing. When it comes to slow flushing toilets, here are three key points to consider:
-
Repair cost: Repairing a flapper is usually a more cost-effective option compared to replacement. Simple fixes like adjusting the chain length or cleaning the flapper can solve the problem without breaking the bank.
-
Benefits of replacement: However, if the flapper is old, worn out, or damaged beyond repair, replacing it can offer several benefits. A new flapper ensures a better seal, leading to improved flushing performance and water efficiency.
-
Long-term savings: Investing in a high-quality flapper replacement may initially cost more, but it can save you money in the long run. A well-functioning flapper reduces water waste, lowering your water bill and helping the environment.
Considering the repair cost and the benefits of replacement can guide your decision-making process when dealing with a slow flushing toilet.
Cleaning or Replacing the Flush Valve
When it comes to maintaining a properly functioning toilet, two key points to consider are cleaning flush valve stains and replacing a worn flush valve.
Over time, mineral deposits and stains can build up on the flush valve, affecting its performance and causing unsightly discoloration. By regularly cleaning the flush valve with a mixture of vinegar and water, you can effectively remove these stains and ensure optimal flushing.
However, if the flush valve is worn or damaged beyond repair, it may be necessary to replace it entirely to restore the toilet’s functionality.
Cleaning Flush Valve Stains
To clean the flush valve stains, you’ll want to use a mixture of vinegar and baking soda. Here’s how you can do it:
-
Start by pouring half a cup of vinegar into the flush valve. Let it sit for about 30 minutes to loosen the mineral deposits.
-
After the vinegar has had time to work its magic, sprinkle a tablespoon of baking soda into the valve.
-
Use a toilet brush to scrub the mixture around the valve, making sure to reach all the stained areas.
This combination of vinegar and baking soda is effective in removing mineral deposits and cleaning toilet stains. The acidity of the vinegar helps dissolve the deposits, while the baking soda acts as a gentle abrasive to scrub away the stains.
Remember to use protective gloves and a mask while cleaning to avoid any irritation from the vinegar fumes.
Replacing Worn Flush Valve
Replacing the worn flush valve is a simple task that can be done with a few basic tools. If you’re experiencing issues with your toilet, such as a slow flush or frequent leaks, it might be time to replace the flush valve.
One common problem that can arise is a faulty toilet handle, which can prevent the flush valve from operating properly. To troubleshoot toilet leaks, start by turning off the water supply and flushing the toilet to empty the tank.
Next, remove the old flush valve by unscrewing the nut underneath the tank. Install the new flush valve by following the manufacturer’s instructions. Finally, reconnect the water supply and test the toilet to ensure it’s working properly.
Inspecting and Adjusting the Fill Valve
Inspecting the fill valve is essential to ensure a properly functioning toilet. If you’re experiencing a slow flushing toilet, it’s important to troubleshoot the issue and make necessary adjustments to the fill valve. Here are three steps to help you get started:
-
Check water level: Ensure that the water level in the toilet tank is set correctly. Adjust the fill valve to the appropriate level to ensure a proper flush.
-
Clean or replace: Inspect the fill valve for any debris or buildup that may be obstructing the water flow. Clean the valve thoroughly or replace it if necessary.
-
Adjust water pressure: If the water pressure is too low, it can affect the flushing power of your toilet. Adjust the fill valve to increase the water pressure and improve the flush.
Upgrading the Toilet’s Flush System
Upgrading the toilet’s flush system can greatly improve the efficiency and power of your bathroom fixture. If you’re experiencing a slow flush, it could be due to various factors such as a clogged drain, a faulty flapper, or an inadequate flush valve. By upgrading your flush system, you can ensure a more powerful and efficient flush, preventing any future issues. Here are some toilet maintenance tips to troubleshoot a slow flush:
- Check for any clogs in the drain.
- Inspect the flapper for any damage or wear.
- Adjust the flush valve to ensure proper water flow.
By following these simple steps and upgrading your flush system, you can resolve any slow flushing issues and maintain a properly functioning toilet. Take a look at the table below for a clearer understanding of the components involved:
| Component | Function | Possible Issues |
|---|---|---|
| Drain | Removes waste from the bowl | Clogged drain |
| Flapper | Controls water flow from the tank to the bowl | Damaged or worn flapper |
| Flush Valve | Releases water from the tank to create the flush | Inadequate water flow |
Conclusion
In conclusion, fixing a slow flushing toilet is a relatively simple task that can save you from the frustration of constantly dealing with a weak flush. By understanding the causes of slow flushing and taking the necessary steps to address them, you can restore your toilet’s flushing power in no time.
Just like unclogging a toilet can clear the way for smooth flow, identifying and resolving the underlying issues can bring a renewed sense of efficiency and functionality to your bathroom.
Don’t let a sluggish toilet slow you down, take action and enjoy the refreshing power of a strong flush.


