Have you ever found yourself in a sticky situation with a malfunctioning toilet? Well, fear not! In this step-by-step guide, I’ll show you how to fix your toilet like a pro.
From identifying the problem to testing and restoring its functionality, I’ll walk you through each crucial step. With a few handy tools and a little know-how, you’ll be able to tackle any toilet troubles with ease.
So, let’s get started and say goodbye to those pesky toilet woes!
Key Takeaways
- Common toilet problems include blockages, malfunctioning flapper valves, and faulty fill valves.
- Essential tools for fixing a toilet include a toilet auger, plunger, and wrench.
- It is important to shut off the water supply before fixing the toilet, and the water supply valve can usually be found near the toilet.
- To restore functionality, specific issues can be fixed such as unclogging the drain with a toilet auger, using a plunger for minor blockages, and inspecting and repairing the flange with a wrench.

RIDGID 59787 Model K-3 Toilet Auger with Unclogging 3-Foot Snake and Bulb Head
K-3 TOILET AUGER: Provides fast, efficient, and safe clearing of even the toughest blockages in your toilet and…
As an affiliate, we earn on qualifying purchases.
As an affiliate, we earn on qualifying purchases.
Identifying the Problem
First, you’ll need to figure out what’s causing the toilet to clog. Common toilet problems can include a blockage in the pipes, a malfunctioning flapper valve, or a faulty fill valve.
To troubleshoot these issues, start by checking if there’s any visible blockage in the toilet bowl. If there’s none, try using a plunger to dislodge any potential clog. If that doesn’t work, you might need to use a plumbing snake to remove the blockage from the pipes.
Another common issue is a flapper valve that doesn’t close properly, causing water to continuously leak into the bowl. In this case, replacing the flapper valve should solve the problem.
Lastly, a faulty fill valve can lead to weak flushing or constant running water. Replacing the fill valve can fix this issue.

Korky BeehiveMAX Heavy Duty Toilet Plunger – Seals All Bowl Shapes – Powerful Clog Removal
POWERFUL PLUNGE: This toilet plunger is the first plunger designed to fit old & new HET toilet bowls…
As an affiliate, we earn on qualifying purchases.
As an affiliate, we earn on qualifying purchases.
Gathering the Necessary Tools
When it comes to tackling any home repair project, having the right tools is essential.
In this discussion, I will cover the key points of an Essential Tool Checklist, providing you with a comprehensive list of tools needed for various repairs.
Additionally, I will share Tool Preparation Tips to ensure your tools are in good working condition and readily available when you need them.
I will also provide Tool Troubleshooting Advice to help you overcome any issues you may encounter while using your tools.
Essential Tool Checklist
To fix your toilet, you’ll need a few essential tools. Here is a checklist of items that are necessary for the job:
-
Toilet Auger: This tool is essential for clearing a clogged drain. It has a long, flexible cable that can navigate through the pipes and break up any blockages.
-
Plunger: A plunger is a basic tool used to create suction and dislodge clogs. It is effective for minor blockages and can be used before resorting to a toilet auger.
-
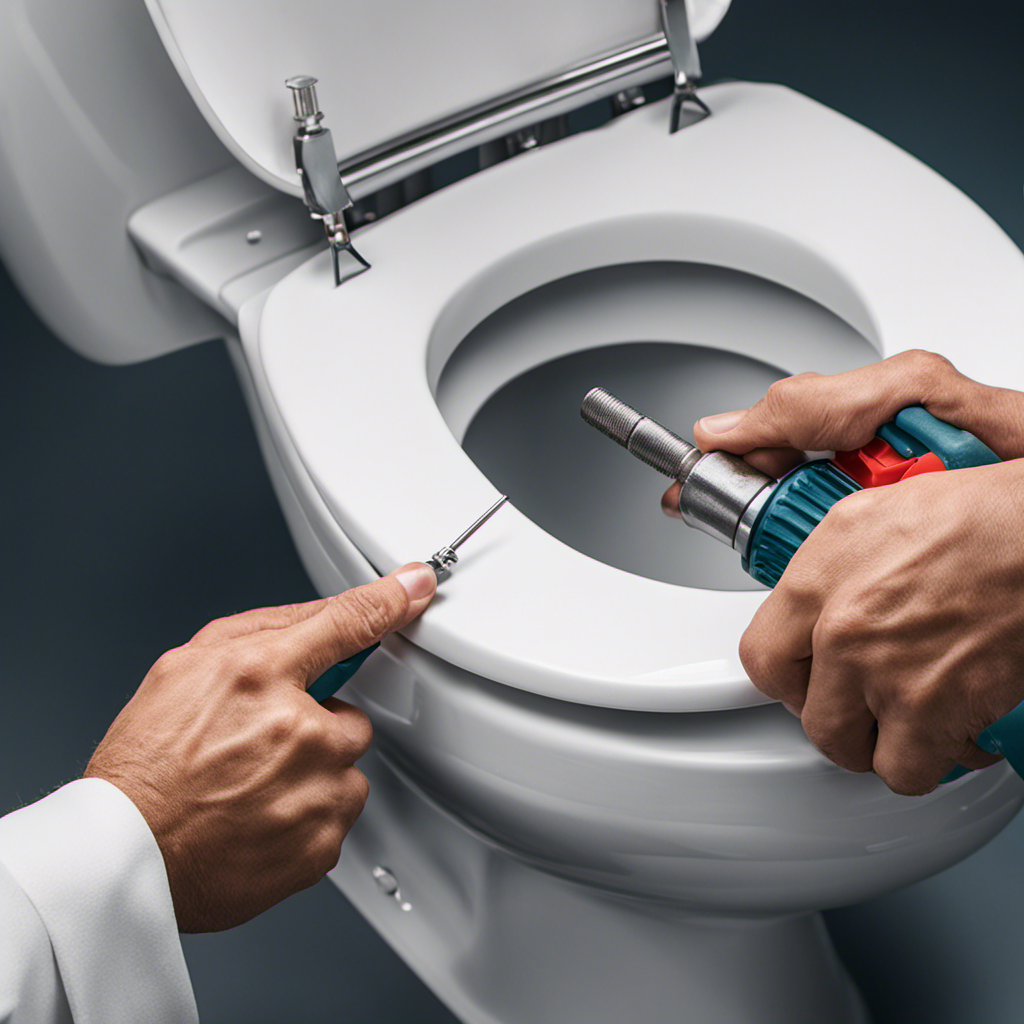
Wrench: A wrench is needed to remove the toilet from the floor and access the toilet flange. This allows you to inspect and repair any issues with the flange, such as leaks or improper sealing.
Having these tools on hand will ensure that you are prepared to tackle any toilet-related problems, from a simple clog to a faulty flange. Remember to use them carefully and follow proper safety guidelines to avoid any further damage.
Tool Preparation Tips
Make sure you have all the necessary tools from the checklist before starting any repairs. Proper tool preparation is crucial for a successful toilet repair. Not only should you have the right tools, but you should also ensure they are clean and properly stored. Cleaning your tools regularly helps maintain their functionality and prevents any buildup of dirt or rust that may affect their performance. After each use, I recommend wiping down the tools with a clean cloth and storing them in a dry place to avoid any moisture damage. Below is a table summarizing tool cleaning and storage tips:
| Tool Cleaning Tips | Tool Storage Tips |
|---|---|
| Clean with a cloth or brush | Store in a dry place |
| Remove any dirt or debris | Keep tools organized |
| Check for rust or corrosion | Use toolboxes or wall mounts |
| Lubricate moving parts if necessary | Avoid exposure to extreme temperatures |
| Sharpen or replace dull blades | Keep tools out of reach of children |
Tool Troubleshooting Advice
Having trouble with your tools? Here’s some troubleshooting advice to help you out. When it comes to fixing common toilet problems, it’s important to know how to troubleshoot your tools effectively. Here are three tips to get you started:
-
Check for loose connections: Before using your tools, ensure that all connections are secure. Loose fittings can cause leaks or ineffective operation.
-
Clean and maintain your tools regularly: Over time, tools can accumulate debris or wear down. Regular cleaning and maintenance will ensure optimal performance and prevent issues during use.
-
Replace worn-out parts: If your tools are not working properly, it may be due to worn-out or damaged parts. Replace these components to restore functionality.
By following these troubleshooting tips, you can address common toilet problems effectively.
Now, let’s move on to the next step: shutting off the water supply.

Korky Ultra Standard 2-Inch Universal Toilet Flapper – Long Lasting Rubber – Easy to Install – Made in USA, 100BP
TOILET FLAPPER VALVE FITS MOST POPULAR 2 inch toilet brands including, but not limited to: American Standard, Kohler,…
As an affiliate, we earn on qualifying purchases.
As an affiliate, we earn on qualifying purchases.
Shutting Off the Water Supply
Before we can proceed with fixing the toilet, it’s crucial to shut off the water supply to prevent any potential leaks or flooding.
The water supply valve, usually located behind or near the toilet, is responsible for controlling the flow of water to the fixture.
To turn off the water, simply locate the valve and turn it clockwise until it is fully closed.
Water Supply Valve
To fix the toilet, you’ll need to check if the water supply valve is fully open. The water supply valve controls the flow of water into the toilet tank. Here are three important things to know about the water supply valve:
-
Water pressure: The water supply valve should be fully open to ensure proper water pressure in the toilet tank. Low water pressure can affect the flushing performance of the toilet.
-
Valve maintenance: It is important to periodically check the water supply valve for any leaks or signs of wear. If you notice any issues, it may be necessary to replace the valve to prevent further problems.
-
Turning off water: Before attempting to fix or replace any parts of the toilet, always remember to turn off the water supply valve. This will prevent water from flowing into the toilet and allow you to work on it safely.
By understanding the importance of the water supply valve and properly maintaining it, you can ensure that your toilet functions properly and avoid any unnecessary plumbing issues.
Now, let’s move on to the next step of shutting off the water supply to the toilet.
Turning off Water
Now that we have learned about the water supply valve, let’s move on to the next step in fixing a toilet – turning off the water. This is an important step to prevent any water from flowing into the toilet tank while we work on it. To turn off the water, locate the water supply valve, usually located on the wall behind or near the toilet. Turn the valve clockwise until it is fully closed. This will stop the water flow and ensure that no water enters the toilet tank.
To help you visualize this process, here is a table showing the steps to turn off the water supply valve:
| Step | Action | Image |
|---|---|---|
| 1 | Locate the valve |  |
| 2 | Turn the valve clockwise |  |
| 3 | Ensure it is fully closed |  |

Fluidmaster 400H-002 Performax Universal Toilet Fill Valve High Performance Tank and Bowl Water Control, 1-Pack, Multicolor
Fix noisy, or slow filling fill valves with the quietest, most powerful toilet fill valve available
As an affiliate, we earn on qualifying purchases.
As an affiliate, we earn on qualifying purchases.
Repairing or Replacing the Flush Mechanism
You can easily fix or replace the flush mechanism in your toilet by following these steps:
-
Repairing the chain mechanism:
- Remove the tank lid and locate the chain that connects the flush handle to the flapper.
- If the chain is loose or disconnected, reattach it to the flush handle and adjust the length if necessary.
- If the chain is broken, replace it with a new one.
-
Adjusting the water level:
- To adjust the water level in the tank, locate the float mechanism.
- It is usually a ball or cup-shaped device attached to a rod.
- If the water level is too low or high, adjust the float by bending the rod or turning the adjustment screw.
- Test the flush to ensure the water level is appropriate.
-
Replacing the flush mechanism:
- If the flush mechanism is beyond repair, you can replace it with a new one.
- Remove the old mechanism by disconnecting the water supply and unscrewing the retaining nut.
- Install the new mechanism following the manufacturer’s instructions.
Fixing Leaks and Seal Issues
Fixing leaks and seal issues can be done by checking the wax ring and replacing it if necessary. The wax ring is a crucial component that creates a watertight seal between the toilet bowl and the floor flange. Over time, the wax ring can deteriorate, causing leaks and unpleasant odors.
To detect leaks, inspect the area around the base of the toilet for any signs of water or discoloration. If a leak is detected, it is essential to replace the wax ring promptly.
Start by shutting off the water supply and flushing the toilet to empty the tank and bowl. Remove the toilet by disconnecting the water supply line and unscrewing the bolts. Carefully lift the toilet and place it on its side.
Remove the old wax ring, clean the flange and toilet base, and install a new wax ring. Finally, reattach the toilet, tighten the bolts, reconnect the water supply line, and turn on the water to complete the seal replacement and fix the leak.
Testing and Restoring the Toilet’s Functionality
To ensure the toilet is functioning properly, it’s important to test and restore its functionality after fixing any leaks or seal issues. Here are three important steps to follow:
-
Flush Test: After fixing leaks or seal issues, flush the toilet to check if the water flows smoothly and the tank refills properly. If there are any issues, it may indicate a clog or a problem with the flushing mechanism.
-
Water Level Check: Observe the water level in the toilet bowl after flushing. If the water level is too high or too low, it could indicate a clog or a crack in the toilet bowl.
-
Visual Inspection: Carefully examine the toilet bowl for any cracks or damage. Cracks can cause leaks or even lead to a complete breakage, so it’s crucial to address them promptly.
Frequently Asked Questions
How Do I Unclog a Toilet?
To unclog a toilet, I use a plunger and apply firm pressure to create suction. If that doesn’t work, I might try a toilet auger or a mixture of hot water and dish soap.
How Do I Fix a Constantly Running Toilet?
To fix a constantly running toilet, first, check the toilet handle for any damage. If it needs replacement, carefully remove the old one and install a new handle. Next, adjust the water level in the toilet tank to stop the continuous running.
How Do I Replace a Toilet Flapper?
To replace a toilet flapper, first turn off the water supply. Remove the old flapper by detaching it from the flush valve. Install the new flapper by connecting it to the flush valve. Test the flush to ensure proper functionality.
How Do I Fix a Leaking Toilet Tank?
To fix a leaking toilet tank, I’d start by turning off the water supply valve. Then, I’d carefully inspect the tank for cracks or damaged parts. Next, I’d replace any faulty components, such as the flapper or fill valve, following the manufacturer’s instructions. Finally, I’d turn the water supply back on and check for any remaining leaks.
How Do I Fix a Weak Flush in My Toilet?
To fix a weak flush in my toilet, I would first check for any toilet bowl discoloration that could be causing a blockage. If that’s not the issue, I would consider replacing the toilet flush handle to ensure proper functionality.
Conclusion
In conclusion, fixing a toilet may seem daunting, but it can be straightforward with the right tools and knowledge. By identifying the problem, shutting off the water supply, and repairing or replacing the flush mechanism, you can resolve most toilet issues.
Fixing leaks and seal issues is crucial to ensure the toilet’s proper functionality. Did you know that a leaking toilet can waste up to 200 gallons of water per day? Taking the time to fix your toilet not only saves money but also helps conserve water resources.