I know what you’re thinking – fixing a toilet flapper may seem like a daunting task. But fear not, because I’m here to guide you through it step-by-step.
In this article, I’ll show you exactly how to tackle this common household issue with ease. With just a few tools and materials, you’ll be able to remove the old flapper and install a new one like a pro.
So let’s get started and get your toilet back in working order in no time!
Key Takeaways
- The toilet flapper is a rubber valve that controls water flow from the tank to the bowl.
- Signs of a faulty flapper include continuous water running into the bowl or improper tank refilling.
- Adjusting or replacing the flapper may be necessary to fix sealing issues.
- Proper maintenance of the flapper ensures efficient toilet functioning.

Korky Ultra Standard 2-Inch Universal Toilet Flapper – Long Lasting Rubber – Easy to Install – Made in USA, 100BP
TOILET FLAPPER VALVE FITS MOST POPULAR 2 inch toilet brands including, but not limited to: American Standard, Kohler,…
As an affiliate, we earn on qualifying purchases.
As an affiliate, we earn on qualifying purchases.
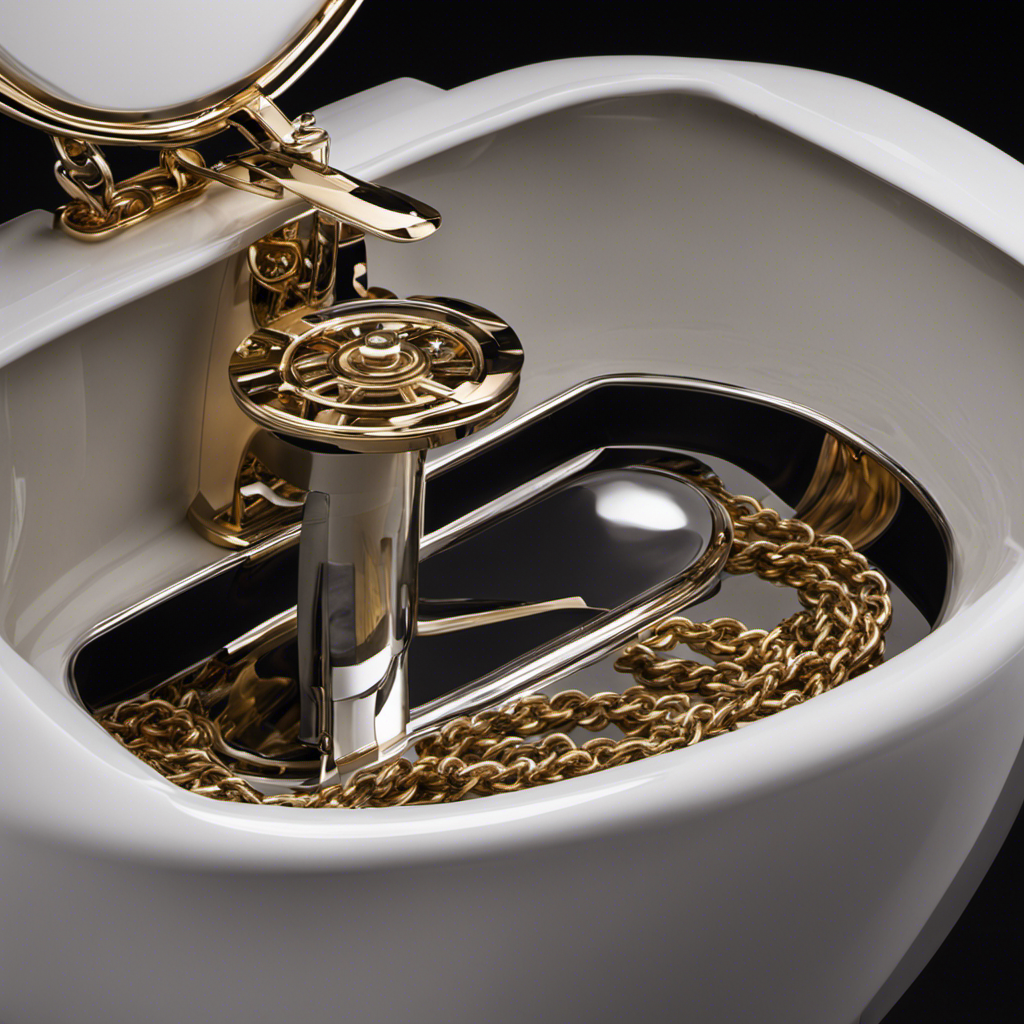
Understanding the Toilet Flapper
The toilet flapper is a rubber valve that controls the flow of water from the toilet tank to the bowl. It is an essential component of the toilet’s flushing mechanism.
Over time, the flapper can become worn out or damaged, causing it to malfunction. When this happens, it may lead to issues such as water leakage or incomplete flushing.
To fix a faulty flapper, the first step is to determine if a replacement is necessary. Signs of a worn-out flapper include water continuously running into the bowl or the tank not refilling properly. If the flapper is not sealing properly, it may need to be adjusted or replaced.
Proper maintenance of the flapper can help ensure the efficient functioning of the toilet.

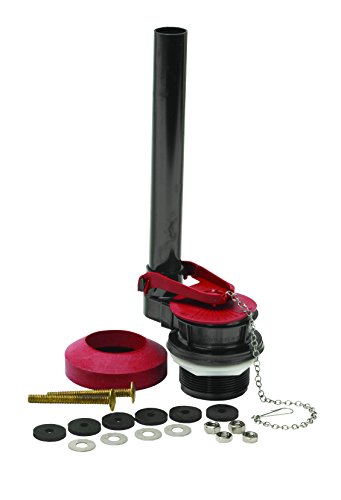
Fluidmaster K-400H-040-T5 PerforMAX Fill Valve and 3-Inch Flapper Toilet Repair Kit, Multicolor
The PerforMAX fill valve and 3 in. Flapper Kit is the top solution to make your 3 in….
As an affiliate, we earn on qualifying purchases.
As an affiliate, we earn on qualifying purchases.
Tools and Materials Needed
You’ll need a few tools and materials to get started with toilet flapper replacement or troubleshooting. Here’s what you’ll need:
- Adjustable wrench
- Screwdriver (flathead or Phillips, depending on the toilet)
- New toilet flapper
Having these items ready will make the process smoother and more efficient. The adjustable wrench will help you loosen and tighten the nuts that hold the flapper in place. The screwdriver will be useful for removing any screws or clips that secure the flapper. Finally, you’ll need a new flapper to replace the old one.
Now that you have all the necessary tools and materials, let’s move on to the step-by-step guide to removing the old flapper and solving your toilet flapper issues.
Fluidmaster 507AKP7 PerforMAX Universal High Performance 2-Inch Toilet Flush Valve Repair Kit with Gasket and Bolts
Quick, easy to install
As an affiliate, we earn on qualifying purchases.
As an affiliate, we earn on qualifying purchases.
Step-by-Step Guide to Removing the Old Flapper
Let’s start by turning off the water supply to the toilet before we begin removing the old flapper. This step is crucial to prevent any water spills or accidents during the process. Once the water supply is turned off, we can proceed with the removal of the old flapper.
Here is a step-by-step guide to help you through the process:
- Lift the toilet tank lid and locate the flapper valve.
- Disconnect the chain or strap that connects the flapper to the flush handle.
- Gently remove the flapper from the mounting pegs or brackets.
- Inspect the flapper for any signs of wear or damage. If necessary, replace it with a new flapper.
By following these steps, you can ensure proper toilet flapper replacement and maintain the flapper valve’s functionality.
Now, let’s move on to the next section where we will provide a detailed walkthrough on installing a new flapper.

6 Pack Toilet Chain Replacement, 10 Inch Adjustable Toilet Flapper Chain with 12 Hooks and 6 C Loops, Easy Fix Stainless Steel Flush Flapper Chain for Most Modern Toilets, Silver
[GET EXTRAS] – 6 pack x 9.7 inch flapper chain with 12 hooks and 6 C loops, all…
As an affiliate, we earn on qualifying purchases.
As an affiliate, we earn on qualifying purchases.
Installing a New Flapper: A Detailed Walkthrough
To properly install a new flapper, start by examining the mounting pegs or brackets for any signs of damage or corrosion. Ensure that the area around the mounting pegs is clean and free from any debris.
Once you have assessed the condition of the mounting pegs, follow these steps for a successful flapper valve installation:
- Turn off the water supply to the toilet by shutting the valve located behind the toilet.
- Remove the old flapper by disconnecting it from the chain and unhooking it from the mounting pegs or brackets.
- Take the new flapper and attach it to the mounting pegs or brackets, making sure it is securely in place.
- Reconnect the chain to the flapper and adjust the chain length if necessary.
- Turn the water supply back on and check for any leaks.
Common Problems and Troubleshooting Tips
One common issue that homeowners may encounter is a toilet that constantly runs. This can often be caused by a faulty flapper valve. When the flapper valve is not properly sealing, water can continuously leak from the tank into the bowl, leading to a wasteful and annoying situation.
To fix this problem, it is important to first identify if the flapper valve is indeed the cause of the leak. Inspect the flapper for any visible damage or wear. If necessary, replace the flapper with a new one.
Another common cause of a running toilet is an improperly adjusted flapper chain. The chain should have just enough slack to allow the flapper to fully close, but not too much that it gets tangled or prevents the flapper from sealing tightly. Adjusting the chain length can help resolve this issue and prevent any further leaks.
Remember to turn off the water supply before making any repairs or adjustments.
Maintenance and Preventive Measures
When it comes to regular cleaning techniques for maintaining a clean and hygienic living space, there are a few key points to keep in mind.
Firstly, it is important to establish a cleaning routine that includes tasks such as dusting, vacuuming, and disinfecting surfaces.
Secondly, using the right cleaning products and tools is crucial for effective cleaning, as they can help remove dirt, grime, and bacteria.
Lastly, it is essential to prioritize water conservation during the cleaning process by using eco-friendly cleaning products and being mindful of water usage.
Regular Cleaning Techniques
Regularly cleaning the toilet flapper is essential to maintain its proper functionality. Neglecting this task can lead to a faulty flapper, resulting in issues with the toilet flush. Here are some effective techniques to clean your toilet flapper:
-
Inspect the flapper: Start by turning off the water supply and removing the tank lid. Carefully examine the flapper for any signs of wear or damage.
-
Clean with vinegar: Soak a cloth or sponge in white vinegar and gently wipe the flapper to remove any mineral deposits or grime.
-
Check the chain: Ensure that the chain connecting the flapper to the flush lever is properly attached and has the right amount of slack.
Importance of Water Conservation
Now that we have discussed regular cleaning techniques for fixing a toilet flapper, let’s shift our focus to the importance of water conservation. Water scarcity is becoming a pressing issue worldwide, making it crucial for us to find eco-friendly alternatives to reduce our water consumption. One way to conserve water is by using low-flow toilets, which use less water per flush compared to traditional toilets. Another option is to install a dual-flush toilet, which allows you to choose between a lower and higher water volume flush depending on your needs. Additionally, implementing water-saving habits such as turning off the faucet while brushing your teeth and fixing leaks promptly can also make a significant impact. By adopting these eco-friendly alternatives, we can contribute to preserving this valuable resource for future generations.
| Eco-friendly Alternatives for Water Conservation |
|---|
| 1. Low-flow toilets |
| 2. Dual-flush toilets |
| 3. Turning off the faucet while brushing teeth |
| 4. Fixing leaks promptly |
Frequently Asked Questions
How Long Does a Toilet Flapper Typically Last Before Needing to Be Replaced?
To extend the lifespan of a toilet flapper, it’s important to understand how long they typically last. Common mistakes, such as using harsh chemicals or not properly maintaining the flapper, can damage it and require replacement.
Can a Toilet Flapper Be Repaired Instead of Replaced?
Yes, a toilet flapper can be repaired instead of replaced. Common toilet flapper problems include a worn-out seal or chain. Repairing involves cleaning or replacing the seal, adjusting the chain, and ensuring proper alignment for a watertight seal.
What Are the Signs That Indicate a Toilet Flapper Needs to Be Replaced?
When a toilet flapper needs to be replaced, there are several signs to look out for. These include a constantly running toilet, weak flushes, and water leaking into the bowl. Knowing how to replace a toilet flapper is essential.
Are All Toilet Flappers the Same Size and Shape?
No, toilet flappers come in different types, sizes, and shapes. It’s important to choose the right one for your toilet to ensure a proper fit and function. Common problems with flappers include leaks and deterioration.
Can a Toilet Flapper Be Adjusted to Prevent Water Waste Without Replacing It?
Yes, a toilet flapper can be adjusted to prevent water waste without replacing it. By making small adjustments to the chain length or flapper position, you can improve water efficiency and enjoy the benefits of water conservation.
Conclusion
Well, there you have it—my expert guide on how to fix a toilet flapper.
I hope you found it incredibly fascinating and thrilling to learn about the inner workings of your porcelain throne.
Who knew that a simple rubber mechanism could cause such chaos?
But fear not, my fellow bathroom enthusiasts, armed with the knowledge I have bestowed upon you, you can now conquer any flapper-related dilemma with confidence and finesse.
So go forth, my friends, and may your toilets forever flush flawlessly!