Are you tired of the constant sound of running water in your toilet? Don’t fret, because fixing a toilet with this issue is easier than you think.
In this article, we will guide you through the simple steps to identify and resolve the cause of your toilet’s water running problem.
By shutting off the water supply, adjusting or replacing the flapper valve, cleaning or replacing the fill valve, and checking and adjusting the float ball or float cup, you’ll have your toilet back to normal in no time.
Get ready to say goodbye to that annoying sound!
Key Takeaways
- Identify the cause of the running toilet by checking for leaks, listening for running water, testing water pressure, and looking for signs of high water pressure causing the fill valve to malfunction.
- Shut off the water supply to the toilet by locating the shut-off valve and turning it clockwise, troubleshooting common problems, and ensuring the valve is completely closed for water conservation.
- Troubleshoot common issues like a gurgling sound, checking the vent pipe for obstructions, using a plumber’s snake to clear blockages, and seeking professional help if needed.
- Adjust or replace the flapper valve by turning off the water supply, inspecting the flapper valve for wear or damage, replacing it if necessary, and adjusting the chain length for proper functioning.
- Clean or replace the fill valve by turning off the water supply, flushing the toilet to empty the tank, locating the fill valve, disconnecting the water supply line, cleaning the fill valve, and replacing it if damaged or worn out.
Identify the Cause of the Running Toilet
To figure out why your toilet water is running, you’ll need to identify the cause. One common cause is a leak in the toilet’s plumbing system. To check for leaks, start by inspecting the base of the toilet for any signs of water pooling or dampness. Additionally, listen carefully for the sound of running water even when the toilet is not in use.
Another possible cause of a running toilet is high water pressure. Excessive water pressure can cause the fill valve to malfunction, resulting in continuous water flow. To check the water pressure, you can use a pressure gauge that attaches to a faucet.
Now that you have identified the cause of the running toilet, it’s time to move on to the next step: shutting off the water supply to the toilet.
Shut Off the Water Supply to the Toilet
To properly shut off the water supply to your toilet, there are a few key points to keep in mind.
First, locate the shut-off valve, which is usually located behind or near the toilet.
Turn the valve clockwise to shut off the water flow.
If you encounter any issues during the process, such as a stuck valve or water leakage, troubleshooting common problems can help you resolve the issue efficiently.
Proper Shut off Technique
Make sure you’ve turned off the water supply valve completely to properly shut off the toilet water. This step is crucial not only to fix the issue at hand but also for water conservation.
The shut-off valve is usually located behind the toilet, near the floor. Turn the handle clockwise until it is fully closed. This will stop the flow of water to the toilet, preventing any further leakage or running.
Troubleshooting Common Issues
If your toilet is constantly making a gurgling sound, it could be a sign of a blocked vent pipe. The vent pipe is responsible for releasing sewer gases and allowing air to enter the plumbing system, ensuring proper drainage. A blocked vent pipe can cause negative pressure, leading to the gurgling sound.
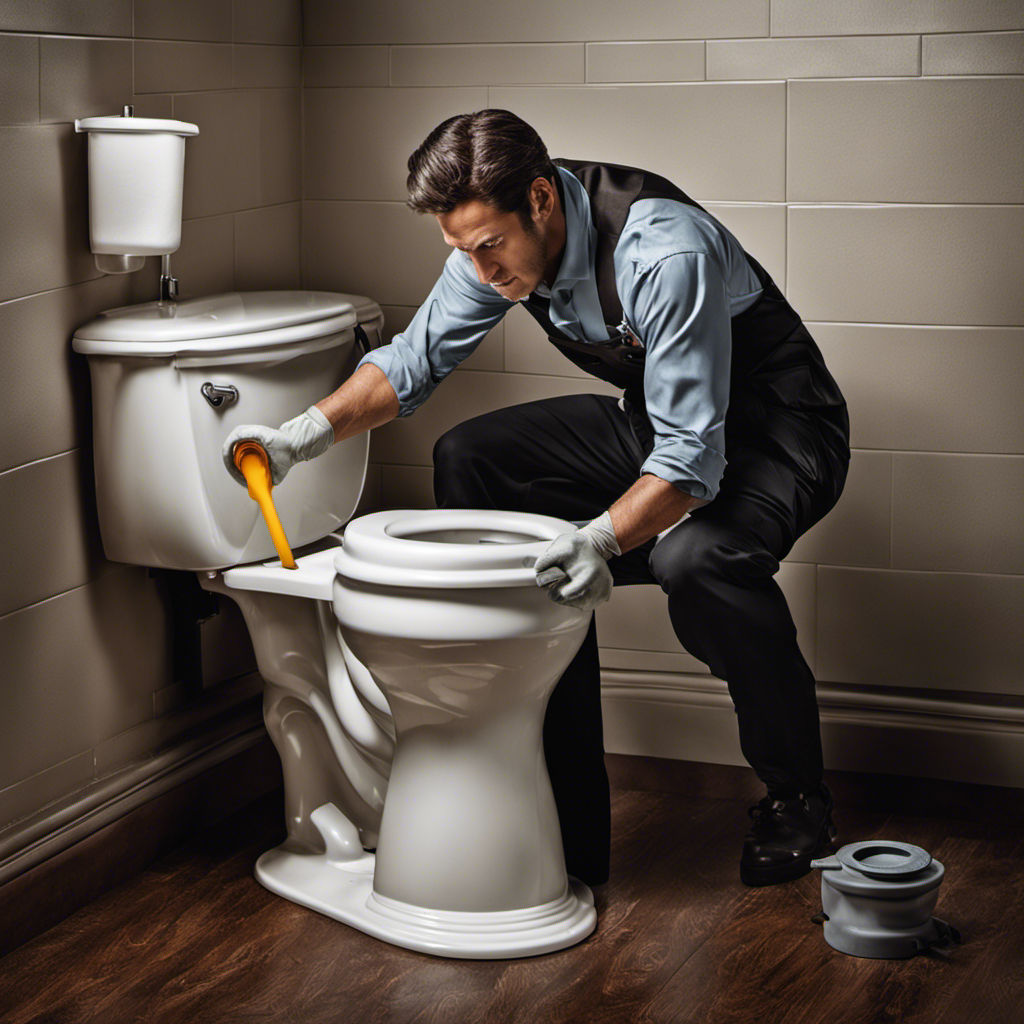
To troubleshoot this issue, start by checking the vent pipe on your roof. If it’s blocked, you can try using a plumber’s snake to clear any obstructions. If the gurgling persists, it may be necessary to call a professional for further assistance.
Now, let’s move on to another common issue with toilets: adjusting or replacing the flapper valve.
Adjust or Replace the Flapper Valve
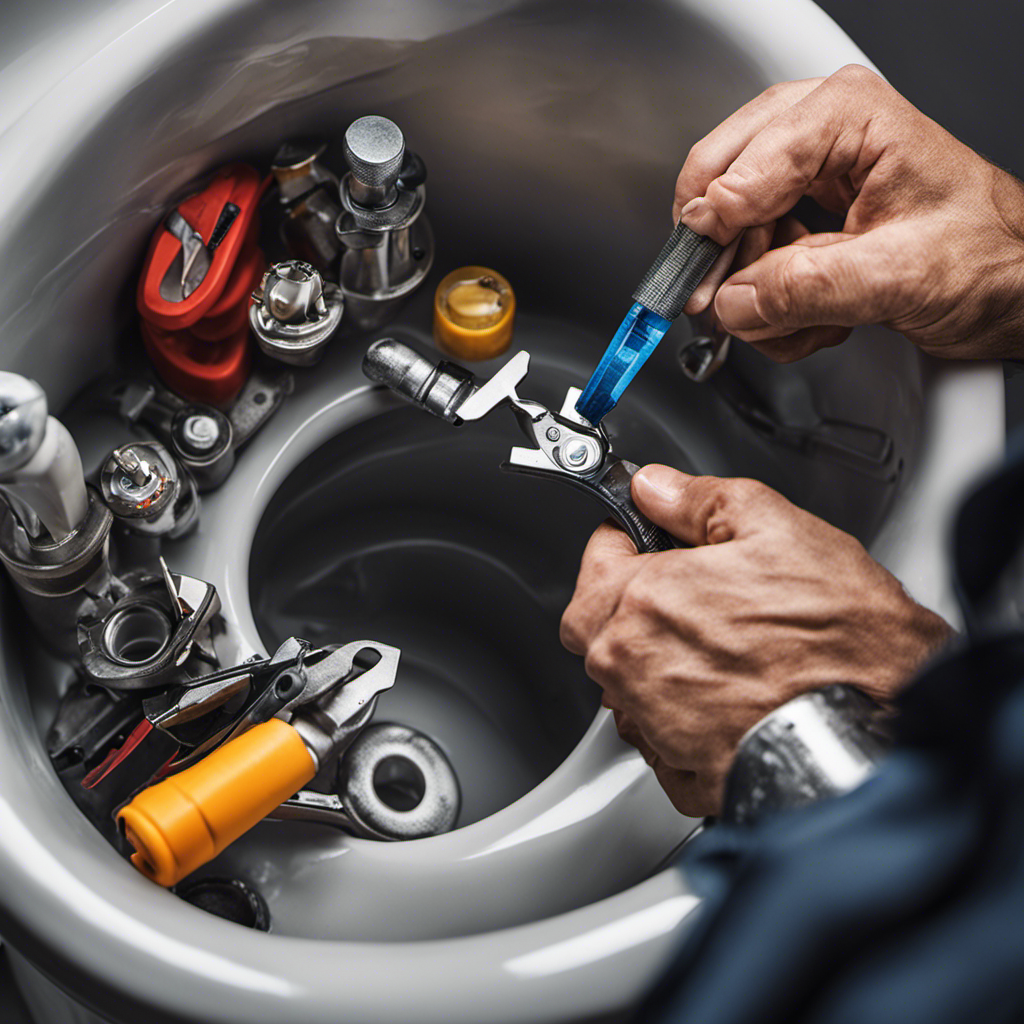
You’ll need to check if the flapper valve is properly adjusted or if it needs to be replaced. The flapper valve is a crucial component of your toilet’s flushing system. If it is not functioning correctly, it can lead to water leakage and a running toilet.
To begin, turn off the water supply to the toilet and remove the tank lid. Take a look at the flapper valve. If it appears worn or damaged, it’s time to replace it. You can find replacement flapper valves at most hardware stores or home improvement centers. Make sure to choose the correct size and type for your toilet model.
If the flapper valve is in good condition, check if it is properly adjusted. Make sure it is seated properly over the flush valve opening and forms a tight seal. Adjust the chain length if necessary.
Clean or Replace the Fill Valve
To clean or replace the fill valve, start by turning off the water supply and flushing the toilet to empty the tank. The fill valve is responsible for refilling the tank after each flush, so it is essential to keep it in good condition to avoid any water running issues. Here’s a step-by-step guide to help you clean or replace the fill valve:
-
Remove the tank lid and locate the fill valve. It is usually situated on the left side of the tank.
-
Turn off the water supply to the toilet by closing the shut-off valve.
-
Flush the toilet to drain the water from the tank.
-
Use a wrench to disconnect the water supply line from the fill valve.
-
Clean the fill valve by removing any debris or mineral deposits. If the valve is damaged or worn out, replace it with a new one.
Now that you’ve cleaned or replaced the fill valve, it’s time to check and adjust the float ball or float cup to ensure proper water level in the tank.
Check and Adjust the Float Ball or Float Cup
After cleaning or replacing the fill valve, it’s important to check and adjust the float ball or float cup to ensure proper water level in the tank. Here are four steps to help you replace the float mechanism and fix common toilet problems:
-
Turn off the water supply: Locate the shut-off valve behind the toilet and turn it clockwise to stop the water flow.
-
Remove the old float mechanism: Unscrew the nut holding the float ball or cup in place. Take out the old mechanism and set it aside.
-
Install the new float mechanism: Insert the new float ball or cup into the toilet tank. Tighten the nut to secure it in place.
-
Test the water level: Turn the water supply back on and let the tank fill. Adjust the float ball or cup so that the water stops filling when it reaches the appropriate level.
By following these steps, you can easily replace the float mechanism and fix any issues with the water level in your toilet tank.
Now, let’s move on to the next section and learn how to test and adjust the water level in the tank.
Test and Adjust the Water Level in the Tank
To ensure your toilet is functioning properly and to avoid unnecessary water wastage, it is crucial to maintain the proper water level in the tank. By testing and adjusting the water level, you can prevent issues such as constant running or insufficient flushing.
This simple maintenance task will not only save water but also prevent potential leaks and costly repairs in the long run.
Proper Water Level
Check if the water level in your toilet tank is set at the appropriate level. To ensure proper functioning of your toilet bowl and avoid unnecessary water wastage, follow these steps:
-
Lift the lid of the toilet tank and locate the water level mark. It is usually indicated by a line or a small tube.
-
Compare the water level to the mark. If the water is below the mark, the tank is not filling up enough, which can result in weak flushing and insufficient water pressure.
-
If the water is above the mark, it means the tank is overfilling, leading to continuous water flow into the bowl.
-
Adjust the water level by turning the adjustment screw or adjusting the float mechanism until the water reaches the appropriate level.
Avoid Water Wastage
You can prevent unnecessary wastage by making sure your toilet tank is not constantly refilling. This is an important step in water conservation and maintaining an eco-friendly plumbing system. By fixing the issue of a running toilet, you can save thousands of gallons of water each year. To help you understand the impact of water wastage and the benefits of eco-friendly plumbing, here is a table outlining the potential water savings:
| Water Wastage | Annual Water Savings | Environmental Impact |
|---|---|---|
| Running toilet | 6,000 gallons | Water scarcity |
| Leaky faucet | 3,000 gallons | Habitat destruction |
| Dripping showerhead | 2,000 gallons | Pollution |
| Irrigation leaks | 8,000 gallons | Water contamination |
| Pool evaporation | 10,000 gallons | Energy consumption |
Conclusion
So there you have it, folks! You’ve successfully tackled the pesky issue of a running toilet.
By identifying the cause, shutting off the water supply, and adjusting or replacing the flapper valve, you’ve taken the first steps towards a well-functioning toilet.
Cleaning or replacing the fill valve and checking and adjusting the float ball or float cup are additional measures you can take to ensure a smooth operation.
And don’t forget to test and adjust the water level in the tank for optimal performance.
With these simple steps, you’ll be flushing away your troubles in no time!
