Did you know that approximately 1 in 5 toilets experience flushing issues at some point? If you’ve ever found yourself frustrated with a toilet that won’t flush properly, you’re not alone.
In this article, I’ll share my expert tips on how to get a toilet to flush effortlessly. From understanding the anatomy of a toilet to troubleshooting common issues, I’ll provide detailed instructions that will help you tackle any flushing problem with confidence.
So, let’s dive in and learn how to keep your toilet running smoothly!
Key Takeaways
- Understanding the anatomy of a toilet is crucial for troubleshooting flushing issues.
- Common blockages can be cleared using various methods such as plunging, using a toilet auger, or using chemical drain cleaners.
- Clearing the toilet drain involves inspecting for visible obstructions, using a toilet auger, and resorting to professional help if necessary.
- Adjusting the water level in the tank and cleaning the toilet jets can help improve flushing performance.
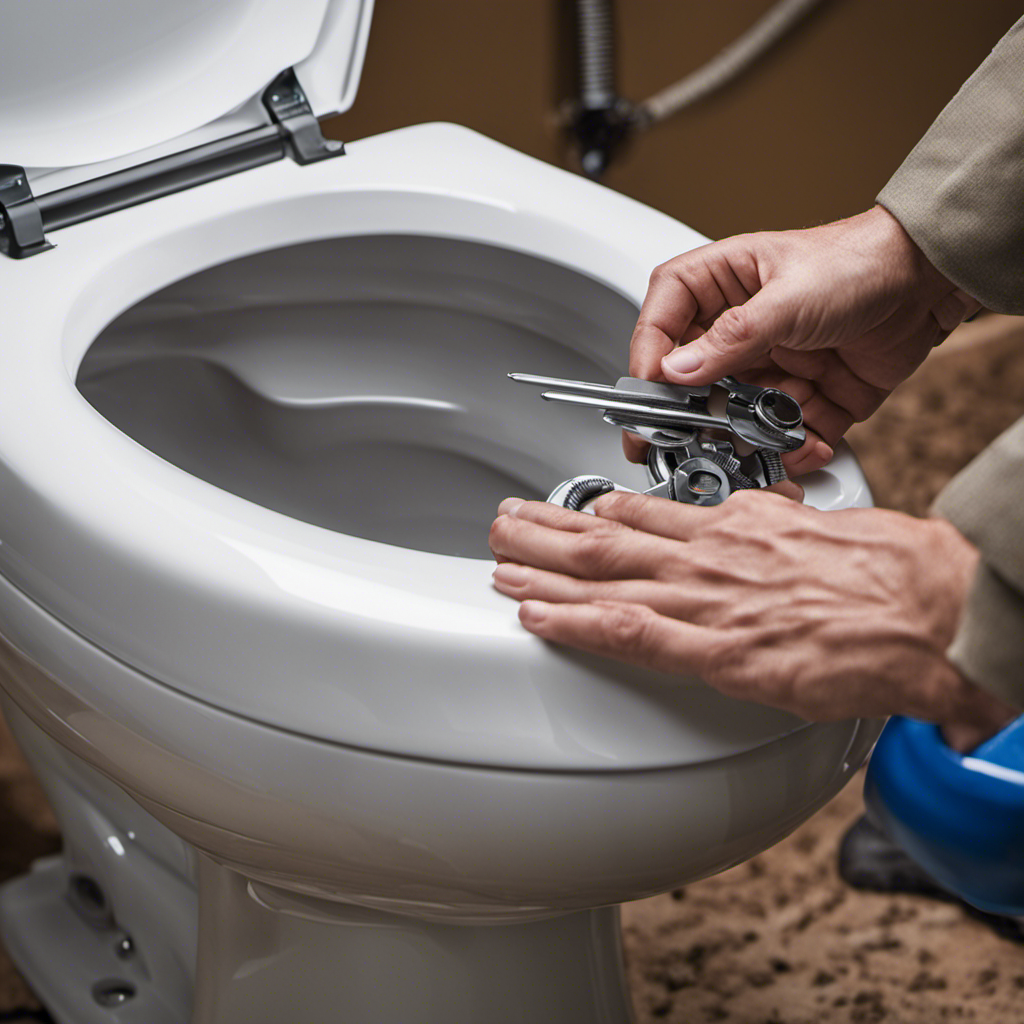
Understanding the Anatomy of a Toilet
To understand how a toilet flushes, you’ll need to know the anatomy of a toilet.
The main components of a toilet are the tank, bowl, and the flushing mechanism.
The tank is where the water is stored and released when you flush. Inside the tank, there is a fill valve that controls the water level, a flush valve that releases the water into the bowl, and a flapper that seals the flush valve.
The bowl is where the waste is collected and flushed away.
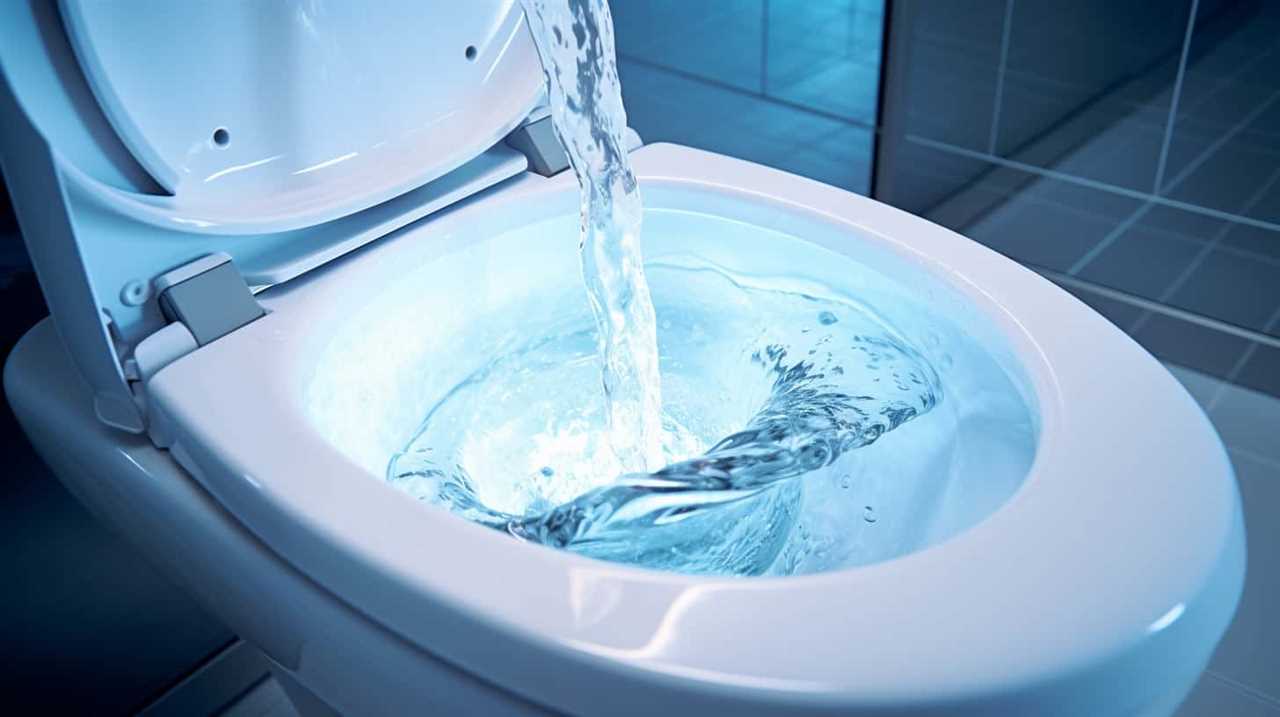
The flushing mechanism consists of a handle or button that activates the flush, causing the water to rush into the bowl and carry away the waste.
Understanding the anatomy of a toilet is essential for proper toilet maintenance and repair.
Checking for Common Blockages
When it comes to dealing with a clogged toilet, knowing the proper plunger technique is essential. In this discussion, I will explain the correct way to use a plunger to effectively unclog a toilet.
Additionally, I will provide tips on how to identify the location of the clog, as this can help determine the best approach for clearing the toilet drain.
Plunger Technique Explained
You can easily unclog a toilet using the plunger technique. The plunger is a simple and effective tool for clearing blockages in the toilet drain.
To use the plunger, ensure that the rubber cup is clean and in good condition. If it’s worn or cracked, consider replacing it to ensure maximum suction. Place the plunger over the drain hole, making sure it covers the entire opening. Push down firmly, then pull up quickly to create suction. Repeat this plunging motion several times until the water starts to drain.
If the plunger doesn’t work, there are alternative unclogging methods you can try. These include using a toilet auger or a chemical drain cleaner. However, be cautious when using chemicals as they can be harmful to your plumbing system.
Regular plunger maintenance, such as cleaning and inspection, can help prevent clogs and ensure the plunger remains effective.
Identifying Clog Location
Identifying where the clog is located can help determine the best method for clearing it. There are several common locations where clogs can occur in a toilet, including the trapway, the drainpipe, and the toilet bowl itself. By understanding where the clog is located, you can choose the most effective method for unclogging it.
To help you identify the location of the clog, here is a table outlining the common clog locations and their corresponding signs:
| Clog Location | Signs |
|---|---|
| Trapway | Water level rises and drains slowly |
| Drainpipe | Water backs up into other fixtures |
| Toilet Bowl | Water rises and overflows when flushed |
Once you have identified the clog location, you can use appropriate unclogging techniques. For clog prevention, it is important to avoid flushing items that can cause clogs, such as sanitary products, wipes, and excessive toilet paper. Regular maintenance, such as using a toilet auger or a drain snake, can also help prevent clogs.
Clearing Toilet Drain
To effectively clear a clogged toilet drain, it’s important to use the appropriate unclogging techniques. Here are four steps to help you troubleshoot and resolve any clog issues:
-
Inspect the toilet bowl: Check if there are any visible obstructions, such as excessive toilet paper or foreign objects. Use a plunger to try and dislodge the clog.
-
Use a toilet auger: If the plunger doesn’t work, a toilet auger can be used to reach deeper into the drain and break up the clog. Insert the auger into the drain and rotate it to clear the blockage.
-
Try a drain cleaner: If the clog persists, a chemical drain cleaner can be used. Follow the instructions carefully to avoid any damage to the plumbing system.
-
Call a professional: If all else fails, it’s best to seek the help of a professional plumber. They have the expertise and tools to handle even the most stubborn clogs.
Adjusting the Water Level in the Tank
Adjust the water level in the tank by turning the adjustment screw counterclockwise. This will increase the water level in the tank, allowing for a more powerful flush. To ensure the proper water level, it is important to adjust the float level as well. The float is a small device that controls the water level in the tank. By adjusting the float, you can determine the optimal water level for your toilet. Additionally, if the water level is too low, you may need to replace the flapper. The flapper is responsible for sealing the tank and allowing water to flow into the bowl during a flush. If the flapper is old or damaged, it may not create a proper seal, leading to a weak flush. By adjusting the float level and replacing the flapper if necessary, you can ensure a strong and efficient flush every time.
| Column 1 | Column 2 | Column 3 |
|---|---|---|
| Adjust water level | Turn adjustment screw counterclockwise | Increase water level in tank |
| Adjust float level | Determine optimal water level | Control water level in tank |
| Replace flapper | Ensure proper seal | Allow water to flow into bowl during flush |
| Weak flush | Possible causes: low water level, damaged flapper | Fix by adjusting float level, replacing flapper |
| Strong flush | Proper water level, functioning flapper | Achieve by adjusting float level, replacing flapper |
Cleaning the Toilet Jets
Cleaning the toilet jets can improve the performance and efficiency of your toilet. When these jets become clogged with mineral deposits or debris, it can affect the water flow and prevent a proper flush. To ensure your toilet is functioning at its best, follow these steps:
-
Gather the necessary cleaning products: You’ll need a toilet brush, white vinegar, and a small wire brush.
-
Turn off the water supply: Locate the valve behind your toilet and turn it clockwise to shut off the water.
-
Remove the toilet tank lid: Carefully lift the lid off the tank and set it aside.
-
Clean the jets: Dip the wire brush in vinegar and gently scrub the jets to remove any buildup.
Using a Plunger Effectively
When using a plunger, remember to apply firm pressure and maintain a steady rhythm to effectively unclog the toilet. To ensure your plunger is in good condition, regularly inspect the rubber suction cup for any cracks or damage. If you notice any, it’s time to replace your plunger.
Additionally, keep your plunger clean by rinsing it with hot water after each use. If a plunger doesn’t seem to be doing the trick, there are alternative methods you can try. One option is using a toilet auger, which is a long, flexible tool designed to break up more stubborn clogs. Another method is using a mixture of hot water and dish soap. This can help loosen the clog and allow it to flush away more easily.
Now, let’s move on to troubleshooting flapper issues.
Troubleshooting Flapper Issues
If you’re experiencing issues with the flapper, it’s important to first check the chain length and make sure it’s not too tight or too loose. Here are some troubleshooting tips for flapper replacement and chain issues:
-
Adjust chain length: Ensure that there is enough slack in the chain to allow the flapper to fully close, but not so much that it gets tangled or caught.
-
Clean the flapper: Over time, debris and mineral deposits can build up on the flapper, causing it to malfunction. Clean it with a mild detergent and a soft brush to ensure proper sealing.
-
Replace the flapper: If cleaning doesn’t solve the problem, it may be necessary to replace the flapper. Choose a flapper that is compatible with your toilet model and follow the manufacturer’s instructions for installation.
-
Check water level: If the water level in the tank is too high, it can put excessive pressure on the flapper, preventing it from sealing properly. Adjust the water level according to the manufacturer’s guidelines.
Exploring Advanced Flushing Techniques
When it comes to toilets, understanding the relationship between water pressure and flushing is essential.
Different flushing mechanisms play a crucial role in determining the efficiency and effectiveness of a toilet’s flush.
In this discussion, we will delve into the intricacies of water pressure and flushing, explore various flushing mechanisms, and troubleshoot common flushing issues that may arise.
Water Pressure and Flushing
To improve water pressure for flushing, you should check if the water supply valve is fully open. Proper water pressure maintenance is essential for a successful flush.
If you’re experiencing low flush, try these troubleshooting steps:
-
Check the water supply valve: Ensure that it is fully open to allow maximum water flow to the toilet tank.
-
Inspect the fill valve: Make sure it is not clogged or malfunctioning. Clean or replace it if necessary.
-
Clear any blockages: Check for any obstructions in the toilet bowl or trapway. Use a plunger or a toilet auger to remove them.
-
Adjust the float: If the float is set too low, it may restrict water flow. Adjust it to the correct position for optimal flushing.
Different Flushing Mechanisms
You can easily identify different flushing mechanisms by looking at the buttons or levers on the toilet. These mechanisms play a crucial role in ensuring that your toilet flushes properly.
There are two main types of flushing mechanisms: the gravity flush and the pressure-assisted flush. In a gravity flush system, the water is released from the tank and flows into the bowl, creating a siphonic action that removes waste. On the other hand, a pressure-assisted flush uses air pressure to force water into the bowl, providing a more powerful flush.
Understanding the type of flushing mechanism your toilet has is important for toilet maintenance and troubleshooting toilet problems. By knowing how your toilet flushes, you can better address any issues that may arise.
Now, let’s move on to troubleshooting common flushing issues.
Troubleshooting Common Flushing Issues?
If your toilet is experiencing flushing issues, there are several common problems that you can troubleshoot. Here are four potential culprits and their solutions:
-
Toilet Handle Problems: If your toilet handle feels loose or doesn’t spring back into place after flushing, it may need adjustment or replacement. Check the handle’s connection to the flush valve and tighten if necessary. If the handle is broken, replace it with a new one.
-
Toilet Flush Valve Troubleshooting: A faulty flush valve can cause weak or incomplete flushes. Inspect the flush valve for any damage or debris that may be obstructing the flow. Clean or replace the flush valve if necessary.
-
Water Supply Issues: Insufficient water supply can lead to weak flushes. Check the water level in the tank and adjust the fill valve if needed. Make sure the water supply line is open and supplying enough water to the tank.
-
Clogged Toilet: A clog in the toilet trap or drain pipe can prevent proper flushing. Use a plunger or a toilet auger to break up the clog and restore normal flushing.
Conclusion
In conclusion, understanding how to get a toilet to flush is essential for maintaining a functional bathroom. By following the steps outlined in this article, you can ensure that your toilet flushes smoothly every time.
First, check for blockages and remove any debris that may be causing the clog.
Next, adjust the water level in the tank to ensure proper flushing power.
Then, clean the toilet jets to remove any mineral deposits that may be affecting the flow of water.
If the blockage persists, use a plunger effectively by creating a tight seal and applying firm pressure to dislodge the clog.
Lastly, troubleshoot flapper issues by inspecting and adjusting the flapper valve if necessary.
Did you know that the average person flushes a toilet about 2,500 times a year? That’s a lot of flushing! So, it’s important to know how to keep your toilet in good working order.

Mateo’s flair for writing is matched only by his keen eye for design. As an interior designer turned writer, Mateo brings a unique perspective. He blends aesthetics with functionality in every piece he pens, providing readers with beautifully crafted content that’s also supremely useful.
Mateo loves exploring the latest bathroom tech trends and is our expert on smart toilets. When he’s not writing or designing, Mateo can be found sketching ideas for his next big project at local coffee shops.