Did you know that a faulty flush mechanism is the most common reason why toilets don’t flush properly?
Well, fear not! In this guide, I will show you step-by-step how to get your toilet to flush like a pro.
From understanding the flush mechanism to troubleshooting common problems, you’ll be equipped with the knowledge to fix any issue that arises.
So grab your plunger and let’s dive in to make your toilet flush flawlessly once again.
Key Takeaways
- The flush mechanism consists of several key components: flush valve, flush lever, flapper, and water flow.
- Checking and adjusting the water level helps maintain proper water pressure for a powerful flush.
- Clearing clogs and blockages can be done through plunging, using a drain snake, or chemical cleaners.
- Regular cleaning and maintenance of the flush valve can prevent clogs and ensure a smoothly operating flush valve.
Understanding the Flush Mechanism
To understand how your toilet flushes, you’ll need to know how the flush mechanism works.
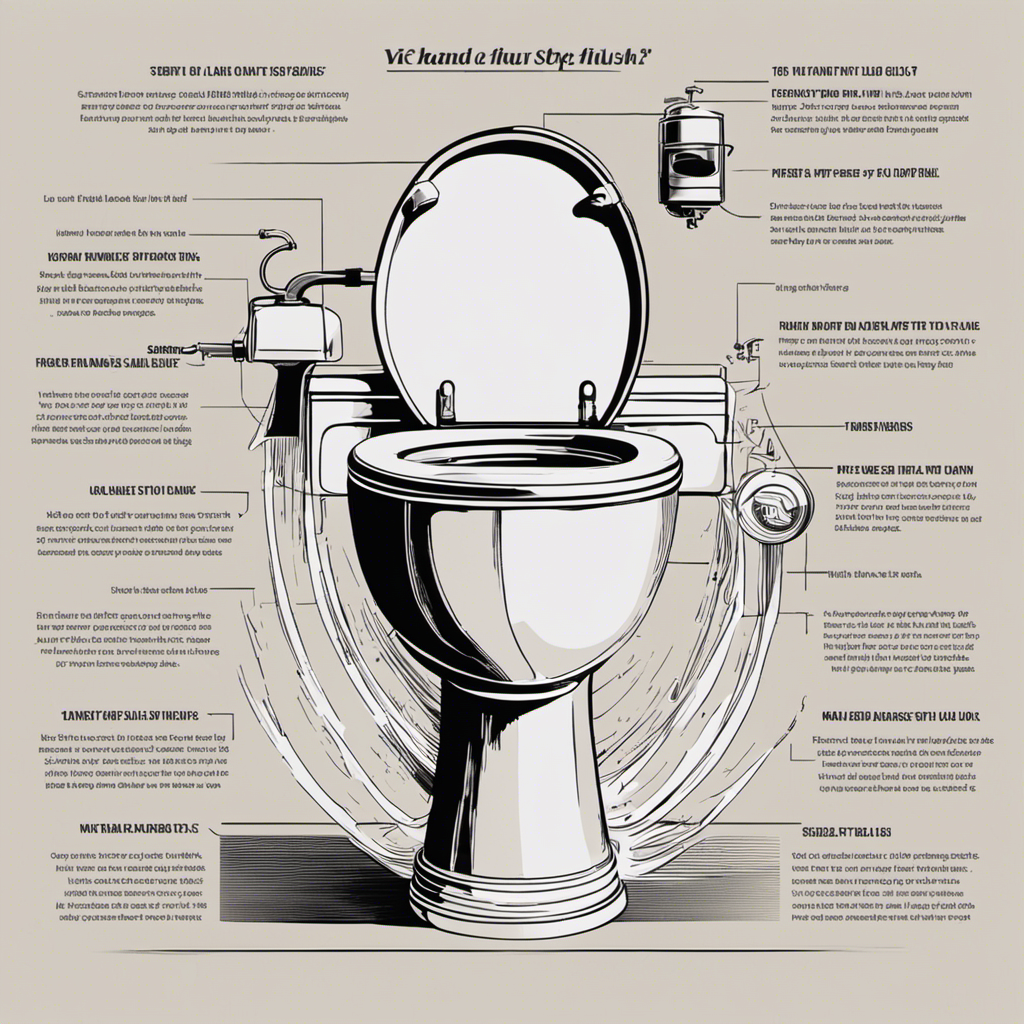
The flush mechanism consists of several key components that work together to create a powerful flush.
First, there is the flush valve, which is a large rubber or plastic valve located at the bottom of the tank. When you press the flush lever, it lifts the flush valve, allowing water to rush into the toilet bowl.
This sudden rush of water creates a siphoning effect that removes waste from the bowl. The flush pressure can be adjusted by adjusting the water level in the tank.
Common flush malfunctions include weak flushes, which can be caused by a low water level or a clogged flush valve.
Checking and Adjusting Water Level
You can easily check and adjust the water level in your toilet. This is an important step in troubleshooting leaks and ensuring proper flush performance. To begin, locate the water level adjustment screw on the fill valve. Use a screwdriver to turn the screw clockwise to decrease the water level or counterclockwise to increase it. A general rule of thumb is to have the water level about 1 inch below the top of the overflow tube. Adjusting the water level helps in maintaining the correct water pressure for a powerful flush. By following these steps, you can ensure efficient water usage and a properly functioning toilet. Here is a table to help you visualize the process:
| Steps | Instructions |
|---|---|
| 1 | Locate the water level adjustment screw on the fill valve |
| 2 | Use a screwdriver to turn the screw clockwise to decrease the water level or counterclockwise to increase it |
| 3 | Aim for a water level about 1 inch below the top of the overflow tube |
| 4 | Test the flush performance and adjust as needed |
Clearing Clogs and Blockages
When it comes to clearing clogs and blockages in drains, two key points to consider are plunging techniques and effective drain cleaning methods.
Plunging is a widely used technique for dislodging clogs by creating pressure and suction. To effectively plunge a clogged drain, start by using a plunger with a tight seal and applying quick, forceful thrusts.
In addition to plunging, there are various drain cleaning methods available, such as using a drain snake or chemical cleaners, which can help remove stubborn clogs and keep your drains flowing smoothly.
Plunging Techniques for Clogs
If your toilet is clogged, try using a plunger to clear the blockage. Plungers are simple and effective tools for unclogging toilets.
To use a plunger, start by positioning the rubber cup over the drain hole in the toilet bowl. Make sure there is enough water to cover the cup. Then, firmly push the plunger down and pull it back up in a quick, forceful motion. Repeat this plunging action several times until the blockage is cleared and the water in the toilet bowl begins to drain properly.
If a plunger is not available, there are alternative methods such as using a toilet auger or a drain snake to unclog the toilet. However, preventing toilet clogs is always the best approach.
To prevent clogs, avoid flushing excessive toilet paper or other non-flushable items. Regular maintenance and proper use of the toilet can help prevent clogs from occurring in the first place.
Effective Drain Cleaning Methods
One effective method for cleaning drains is by using a mixture of vinegar and baking soda. This natural solution can help remove buildup and debris, without the need for harsh chemical cleaners. Here’s a step-by-step guide on how to clean your drains using vinegar and baking soda:
- Start by pouring half a cup of baking soda down the drain.
- Follow it up with half a cup of vinegar.
- Watch as the mixture fizzes and bubbles, creating a foaming action.
- This foaming action helps to break down the grime and unclog the drain.
- Let the mixture sit for about 30 minutes.
- After the time has passed, flush the drain with hot water.
- If the clog persists, you may need to use a drain snake to physically remove the blockage.
Now that we’ve discussed effective drain cleaning methods, let’s move on to cleaning and maintaining the flush valve.
Cleaning and Maintaining the Flush Valve
To keep your flush valve clean and functioning properly, you should regularly clean and maintain it. Here’s a step-by-step guide on how to do it.
First, gather the necessary cleaning products such as white vinegar, baking soda, and a toilet brush.
Start by pouring a cup of white vinegar into the overflow tube located in the toilet tank. Let it sit for a few minutes to break down any mineral deposits.
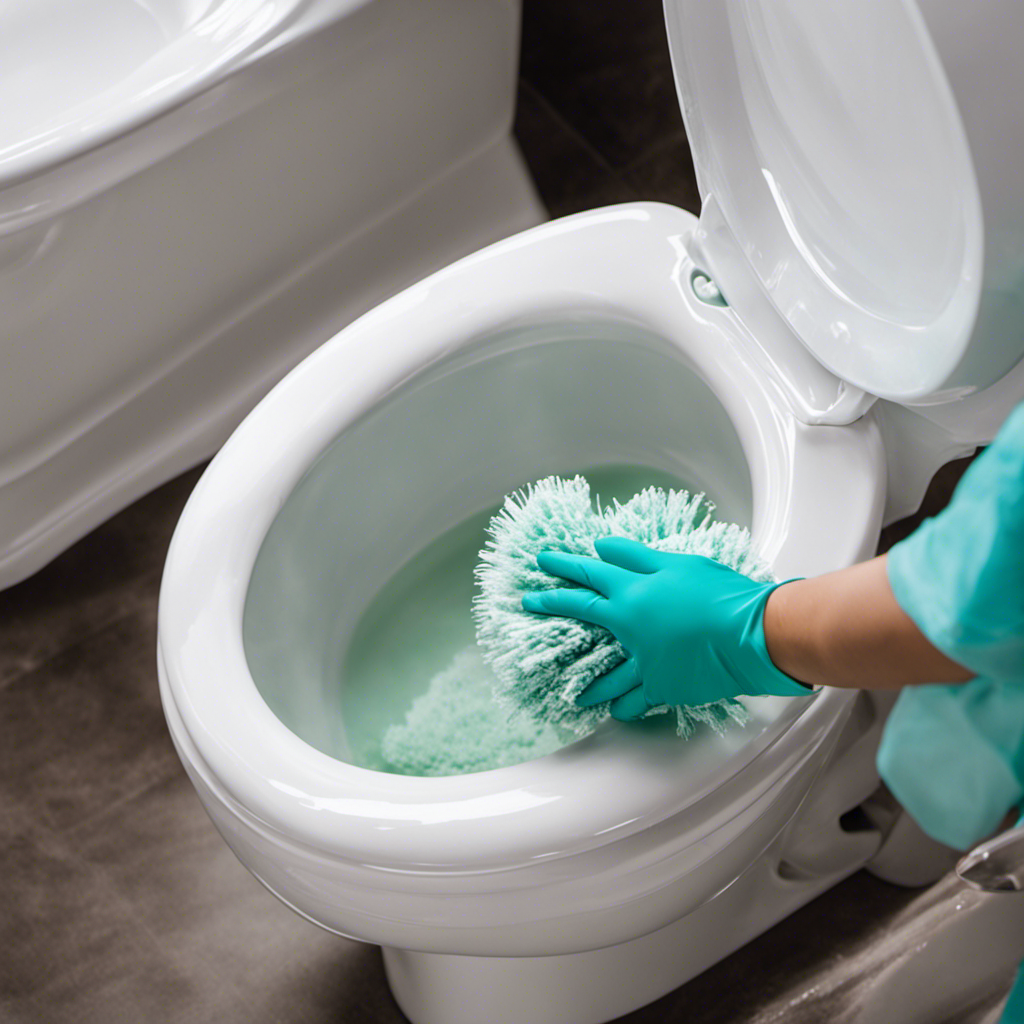
Then, scrub the flush valve and surrounding areas with a toilet brush dipped in a mixture of baking soda and water. Rinse thoroughly with water.
For a DIY solution, you can also mix equal parts vinegar and water in a spray bottle and spray it onto the flush valve. Wipe clean with a cloth or sponge.
Regularly performing these maintenance tasks will help prevent clogs and ensure your flush valve operates smoothly.
Replacing Faulty Flapper or Flush Handle
When replacing a faulty flapper or flush handle, it’s important to ensure that you have the correct replacement parts. Here is a step-by-step guide on how to replace a faulty flapper or flush handle:
-
Turn off the water supply to the toilet by shutting off the valve located behind the toilet.
-
Remove the tank lid and place it in a safe location.
-
Identify the flapper or flush handle that needs to be replaced.
-
Disconnect the chain or lever that connects the flapper or flush handle to the flush valve.
-
Remove the old flapper or flush handle from the toilet tank.
-
Install the new flapper or flush handle by following the manufacturer’s instructions.
-
Reconnect the chain or lever to the new flapper or flush handle.
-
Turn on the water supply and test the flush to ensure it is working properly.
Upgrading to a High-Efficiency Toilet
When considering upgrading to a high-efficiency toilet, there are several key points to keep in mind.
Firstly, high-efficiency toilets offer significant water-saving benefits, helping to conserve water and reduce utility costs.
Secondly, the installation and cost of these toilets may vary depending on the specific model and any additional plumbing adjustments required.
Water-Saving Benefits
If you want to reduce your water usage and save money on your utility bills, switching to a water-saving toilet can be a great option. Here are some water-saving benefits to consider:
-
Reduced Water Consumption: Water-saving toilets use less water per flush compared to traditional toilets, helping you conserve water and reduce your overall usage.
-
Lower Utility Bills: By using less water, you can expect to see a decrease in your monthly water bills, saving you money in the long run.
-
Imagine: Instead of watching gallons of water go down the drain with each flush, imagine a water-saving toilet efficiently using just the right amount of water to get the job done.
-
Imagine: Picture a greener future where every household uses water-saving toilets, significantly reducing the environmental impact of water consumption.
Installation and Cost
Switching to a water-saving toilet can be a cost-effective installation for your home. When considering the toilet installation process, it is important to factor in the cost of toilet installation.
Here is a step-by-step guide to help you understand the process and associated costs.
-
Evaluate the existing toilet: Assess the condition and functionality of your current toilet to determine if a replacement is necessary.
-
Choose a water-saving toilet: Select a toilet model that meets your water-saving needs and preferences.
-
Gather the necessary tools and materials: Ensure you have all the required tools and materials before starting the installation process.
-
Remove the old toilet: Turn off the water supply, disconnect the water line, and remove the old toilet.
-
Install the new toilet: Follow the manufacturer’s instructions to properly install the new water-saving toilet.
-
Test for leaks and functionality: Turn on the water supply and check for any leaks or issues with the new toilet.
-
Calculate the cost: Consider the cost of the new toilet, any additional materials, and the labor involved in the installation process.
Performance and Effectiveness
Using a water-saving toilet can significantly reduce water consumption in your home and contribute to environmental conservation efforts. When it comes to evaluating the performance and effectiveness of your toilet, there are a few key factors to consider.
Here are some troubleshooting techniques to help you ensure optimal functionality:
-
Check the water level: Make sure the water level in the tank is at the appropriate height, typically marked on the inside of the tank.
-
Inspect the flapper valve: Ensure that the flapper valve is sealing properly and not allowing water to continuously leak into the bowl.
-
Test the flush power: Assess the strength of the flush by flushing toilet paper and observing if it is effectively carried away.
By following these performance evaluation and troubleshooting techniques, you can ensure that your water-saving toilet is functioning efficiently.
Now, let’s move on to troubleshooting common flush problems.
Troubleshooting Common Flush Problems
When your toilet isn’t flushing properly, there are several common problems that you can troubleshoot.
Here are some troubleshooting tips to help you get your toilet flushing smoothly again:
-
Check the water level: Ensure that the water level in the tank is at the correct height. If it’s too low, adjust the fill valve to increase the water level.
-
Inspect the flapper: The flapper is responsible for allowing water to flow from the tank into the bowl during a flush. If it’s worn or damaged, it may not seal properly, causing a weak flush. Replace the flapper if necessary.
-
Clear any clogs: A clog in the toilet trap or drain can hinder proper flushing. Use a plunger or a toilet auger to remove any blockages.
-
Examine the flush valve: The flush valve is located at the bottom of the tank and controls the release of water into the bowl. If it’s not opening fully, clean or replace it.
-
Check the water supply: Ensure that the water supply valve is fully open. If it’s partially closed, it can restrict water flow and affect flushing performance.
Conclusion
So there you have it, folks! Getting your toilet to flush doesn’t have to be a daunting task anymore. With our step-by-step guide, you can become a master plumber in no time.
From understanding the flush mechanism to troubleshooting common problems, we’ve covered it all. And don’t worry if you encounter any clogs or blockages, we’ve got you covered there too.
So grab your plunger and get ready to conquer the world of toilet flushing. It’s time to turn your bathroom experience from a nightmare to a blissful journey.
Happy flushing!


