
I’ve always been frustrated with weak toilet flushes that just don’t get the job done. It’s like trying to push a boulder uphill with a feather.
But fear not, there are ways to increase toilet flush pressure and save yourself from this never-ending battle.
In this article, I will guide you through the process of understanding the flush mechanism, adjusting the water level, clearing blockages, and even upgrading your toilet flush system.
Trust me, with these tips, you’ll never have to worry about a feeble flush again.
Key Takeaways
- Regular maintenance is necessary for optimal flush performance
- Adjusting or replacing the float mechanism improves flush efficiency
- Maintaining the optimal water level ensures consistent and powerful flush
- Measuring flush pressure helps identify potential issues with the flush valve or fill valve

Fluidmaster 400H-002 Performax Universal Toilet Fill Valve High Performance Tank and Bowl Water Control, 1-Pack, Multicolor
- Quiet, Powerful Fill Valve: Reduces noise and fills quickly
- Easy Installation: Includes step-by-step instructions
- Universal Compatibility: Fits most toilet models and brands
As an affiliate, we earn on qualifying purchases.
As an affiliate, we earn on qualifying purchases.
Understanding the Flush Mechanism
To understand the flush mechanism, it’s important to know how water flows through the toilet. When you press the flush lever, the lever lifts the flapper, allowing water to flow from the tank into the bowl.
The force of the water creates a siphoning effect, which pulls waste and water down the drain. The flush mechanism consists of several components, including the flush valve, fill valve, and flapper.
To ensure optimal flush performance, regular maintenance is necessary. This includes checking for any leaks or cracks in the flush valve, adjusting the water level in the tank, and replacing the flapper if it is worn out.
Troubleshooting common toilet flush issues, such as weak flush or incomplete flush, often involves adjusting or replacing these components to improve water flow and pressure.
Checking and Adjusting the Water Level
When it comes to checking and adjusting the water level in a toilet, there are a few key points to consider.
First and foremost is determining the optimal water level for efficient flushing. This can be done by adjusting the float mechanism, which controls the water level in the tank.
Once the water level is set, it’s important to test the flush pressure to ensure it is sufficient for proper waste removal.
Optimal Water Level
Maintaining the optimal water level in the toilet tank ensures efficient flush pressure. This is crucial for improving water pressure and increasing flushing power.
Here are four reasons why maintaining the optimal water level is important:
-
Consistent and powerful flush: When the water level is at its optimal level, it allows for a steady and forceful flow of water during the flush, resulting in a more efficient and powerful flush.
-
Prevents clogs: A proper water level helps to prevent clogs by ensuring that there is enough water to properly flush away waste, reducing the chances of blockages.
-
Saves water: By maintaining the optimal water level, you can ensure that you are using just the right amount of water for each flush, helping to conserve water and reduce your water bills.
-
Prolongs the life of your toilet: When the water level is too low, it can cause stress on the flushing mechanism, leading to premature wear and tear. By maintaining the optimal water level, you can extend the lifespan of your toilet.
To maintain the optimal water level in your toilet tank, adjust the water level to the recommended mark indicated on the inside of the tank. Regularly check and adjust the float valve or fill valve to ensure that the water level remains consistent.
Adjusting Float Mechanism
Adjusting the float mechanism in your toilet tank is essential for maintaining the proper water level and ensuring efficient flushing. The float mechanism is responsible for controlling the water level by regulating the amount of water that enters the tank after each flush. If the water level is too low, it can result in weak flush pressure and incomplete waste removal.
To adjust the float height, start by locating the float valve assembly. You can then adjust the float arm or screw to the desired level. Make sure to test the flush pressure after making adjustments to ensure that it has improved. If adjusting the float height does not solve the issue, it may be necessary to replace the float valve altogether.
Replacing the float valve involves removing the old valve and installing a new one. This can help ensure that the float mechanism functions properly and maintains the correct water level in the tank. Once you have adjusted or replaced the float mechanism, you can proceed to the next step, which involves testing the flush pressure to ensure that it is now working efficiently.
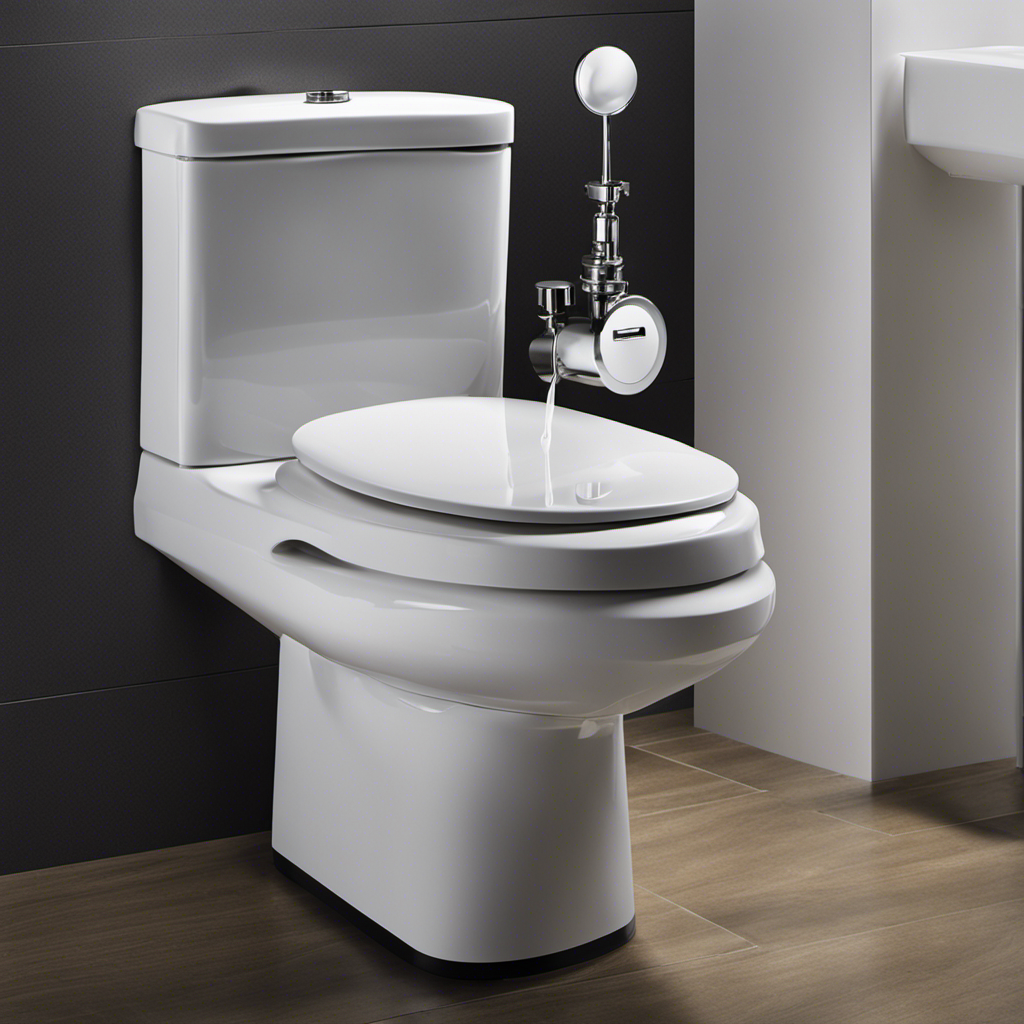
Testing Flush Pressure
To ensure efficient toilet operation, it’s important to test the flush pressure after adjusting or replacing the float mechanism. Here’s a step-by-step guide to help you measure flush pressure and troubleshoot a weak flush:
- Start by removing the toilet tank lid and locate the flush valve.
- Attach a pressure gauge to the fill valve or flush valve opening.
- Slowly open the water supply valve to allow water to fill the tank.
- Once the tank is full, quickly press the flush lever and observe the pressure reading on the gauge.
By measuring the flush pressure, you can determine if it falls within the recommended range for your toilet model. If the pressure is too low, it may indicate a problem with the flush valve, clogged jets, or a faulty fill valve.
Troubleshooting weak flush issues will help you identify and fix the underlying problem, ensuring a powerful and efficient flush every time.
Clearing Blockages in the Toilet Trap
When it comes to unclogging the toilet trap, improving flush performance, and removing blockages efficiently, there are several key points to consider.
First, it is important to understand the anatomy of the toilet trap and how blockages can occur in this area.
Second, there are various techniques and tools that can be used to effectively remove blockages and improve the overall flush performance of the toilet.
Lastly, implementing regular maintenance and preventative measures can help prevent future blockages and maintain optimal toilet functionality.
Unclogging Toilet Trap
If your toilet trap is clogged, you’ll want to try using a plunger to clear the blockage. Here are four steps to efficiently remove the obstruction:
-
Position the plunger: Place the rubber cup of the plunger over the drain opening, ensuring a tight seal.
-
Apply downward pressure: Push down firmly on the plunger to compress the air and create suction.
-
Work the plunger: Use a forceful up-and-down motion to dislodge the blockage. Repeat several times if necessary.
-
Test the drainage: Flush the toilet to check if the blockage has been cleared. If not, repeat the process.
Once you’ve successfully cleared the blockage, you can move on to improving the flush performance of your toilet.
Improving Flush Performance
One way to enhance the performance of your toilet flush is by adjusting the water level in the tank. By increasing the water level, you can improve water flow and increase flushing power.
To do this, locate the fill valve inside the tank and adjust the float arm or the water level adjustment screw, depending on the type of fill valve you have. Start by turning off the water supply to the toilet and flushing it to drain the tank.
Then, adjust the float arm or the water level adjustment screw to raise the water level to the desired height. Be careful not to set it too high, as this may cause water to overflow.
Once you have adjusted the water level, turn on the water supply and test the flush to see the improved performance.
Removing Blockage Efficiently
To remove a blockage efficiently, start by using a plunger to create suction and dislodge the obstruction. Here are four steps to troubleshoot flush problems and ensure efficient blockage removal:
-
Position the plunger: Place the plunger over the drain hole, ensuring a tight seal.
-
Create suction: Push the plunger downward forcefully, then pull up quickly to create suction and dislodge the blockage.
-
Repeat the process: Continue plunging until the water starts to drain properly.
-
Flush and test: After removing the blockage, flush the toilet to ensure everything is flowing smoothly.
By following these steps, you can effectively troubleshoot flush problems and remove blockages efficiently.
Now, let’s move on to the next section about cleaning the flush holes and rim jets to further improve your toilet’s performance.
Cleaning the Flush Holes and Rim Jets
Cleaning the flush holes and rim jets is essential for improving toilet flush pressure. To ensure efficient flushing, it is crucial to regularly clean these components, as they can easily become clogged with mineral deposits and debris over time.
To begin, turn off the water supply and flush the toilet to drain any remaining water. Next, using a toilet brush or a small wire brush, gently scrub the flush holes and rim jets to remove any buildup. For stubborn deposits, a mixture of vinegar and water can be used to dissolve the mineral deposits.
After cleaning, turn the water supply back on and flush the toilet several times to ensure proper water flow. Regularly performing these cleaning techniques will help maintain optimal flush pressure and prevent any potential blockages.
Upgrading the Toilet Flush System
After cleaning the flush holes and rim jets, I decided to take the next step in troubleshooting the low flush pressure issue by upgrading the toilet flush system. Here’s what I did:
-
Replacing the flush valve: The flush valve controls the release of water into the toilet bowl during a flush. Upgrading to a newer, more efficient flush valve can greatly improve flush pressure.
-
Installing a dual flush system: Dual flush systems allow for different water volumes to be used for liquid and solid waste. This can help conserve water while still maintaining a strong flush.
-
Upgrading the fill valve: The fill valve controls the water level in the toilet tank. A newer fill valve with adjustable settings can ensure that the tank fills up to the optimal level for a powerful flush.
-
Checking the flapper: The flapper is responsible for sealing the flush valve. If it’s worn or damaged, it can cause low flush pressure. Upgrading to a new flapper can prevent this issue.
Seeking Professional Help
Seeking professional help can be a smart decision when dealing with persistent issues with your toilet’s flush system. While there are troubleshooting tips available, sometimes the problem may be beyond your expertise. A skilled plumber can provide alternatives and solutions to improve the flush pressure of your toilet. They have the knowledge and tools to diagnose the problem accurately. To emphasize the importance of seeking professional help, consider the following table:
| Troubleshooting Tips | Seeking Professional Help |
|---|---|
| Adjusting water level | Conducting a thorough inspection |
| Clearing clogs | Identifying hidden blockages |
| Checking for leaks | Repairing or replacing faulty components |
| Cleaning the flush valve | Upgrading the flush system |
| Replacing worn-out parts | Providing expert advice |
Conclusion
In conclusion, increasing toilet flush pressure can improve the overall functionality of your bathroom. By understanding the flush mechanism and checking the water level, you can ensure optimal performance.
Clearing blockages in the toilet trap and cleaning the flush holes and rim jets are essential maintenance tasks.
If you’re looking for a more powerful flush, consider upgrading the toilet flush system. However, if you’re unsure or encounter any difficulties, it’s always best to seek professional help.
Remember, a well-functioning toilet is crucial for a smooth and efficient bathroom experience.
Rhetorical Device: Alliteration ‘Choosing a top-notch toilet tank technology can tremendously transform your flushing experience, ensuring a forceful, flawless flow.’