As I embark on the journey of installing a toilet flange, I am reminded of the importance of a solid foundation. Just like a sturdy flange ensures the stability of a toilet, a strong introduction sets the tone for a successful article.
In this step-by-step guide, I will show you how to:
- Gather the necessary tools
- Remove the old flange
- Prepare the area
- Install the new flange
- Secure it to the floor
- Test for leaks
Let’s dive in and lay the groundwork for a flawless toilet flange installation.
Key Takeaways
- Choosing the correct size and type of flange is essential for a proper installation.
- Securing the flange to the floor with stainless steel screws ensures stability and prevents leaks.
- Removing the old flange properly and cleaning the area is important for a smooth installation process.
- Testing for leaks and ensuring proper alignment and tightness are crucial for a successful installation.
Gathering the Necessary Tools and Materials
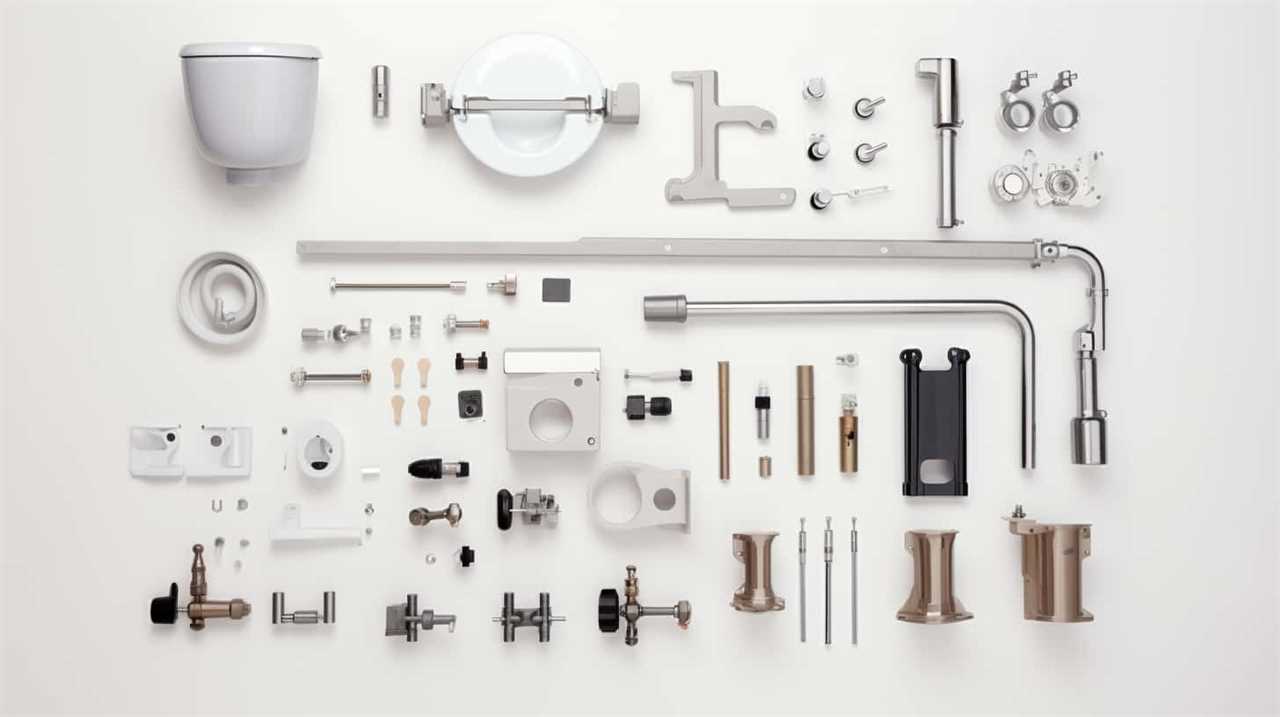
You’ll need to gather a few tools and materials before you can install the toilet flange. Here are some essential items you’ll need for a successful installation:
-
Flange: Choose a flange that fits the size and type of your toilet drain pipe. It should be made of durable materials like PVC or cast iron.
-
Wax Ring: This creates a watertight seal between the toilet and the flange. Make sure to get a high-quality wax ring for better performance.
-
Screws: Use stainless steel screws to secure the flange to the floor. This prevents any movement or leaks.
-
Screwdriver or Drill: Depending on the type of screws you’re using, you’ll need either a screwdriver or a drill to fasten them securely.
Flange Installation Tips: Ensure that the flange is level and flush with the floor. Use a carpenter’s level to check for any discrepancies. Also, make sure to place the wax ring correctly on the flange before setting the toilet in place.
Common Flange Installation Mistakes: One common mistake is not properly securing the flange to the floor. This can lead to leaks and instability. Another mistake is not aligning the bolt holes properly, which can make it difficult to install the toilet. Be sure to avoid these mistakes for a smooth installation process.
Removing the Old Toilet Flange
When it comes to removing the old toilet flange, there are a few key points to keep in mind.
Firstly, it’s important to understand the proper method of flange removal to avoid any damage or complications.
Secondly, having the right tools for the job is crucial, including a flange removal tool, a wrench, and possibly a hacksaw.
Lastly, there may be potential challenges faced during the removal process, such as a corroded or stubborn flange that requires extra effort and patience to remove.
Proper Flange Removal
To properly remove the flange, it’s important to first turn off the water supply to the toilet. This ensures that no water is flowing into the toilet, preventing any potential leaks during the removal process.
Here are some key points to keep in mind while removing the old toilet flange:
- Inspect the flange for any signs of damage or wear.
- Disconnect the toilet from the flange by removing the bolts.
- Use a wrench or pliers to unscrew the flange from the floor.
- Clean the area around the flange to ensure a smooth installation of the new flange.
- Dispose of the old flange properly.
By following these steps, you can safely remove the old flange and proceed with the flange replacement. Troubleshooting any leaks during the removal process will help you avoid any potential issues in the future.
Now, let’s move on to the next section where we’ll discuss the tools needed for the removal process.
Tools Needed for Removal
Before starting the removal process, make sure you have all the necessary tools. The tools you will need for removing a toilet flange include a pair of pliers, an adjustable wrench, a putty knife, and a screwdriver. These tools are essential for a smooth and efficient removal process.
To begin the removal process, use the putty knife to remove any caulk or sealant around the toilet flange. Next, use the pliers to loosen and remove the bolts that secure the toilet to the flange. Once the bolts are removed, carefully lift the toilet off the flange and set it aside.
Removing the flange itself requires the use of an adjustable wrench. Loosen the bolts that secure the flange to the floor by turning them counterclockwise. Once the bolts are loose, you can lift the flange off the floor and proceed with the installation process.
Having the right tools for the removal process is crucial to ensuring a successful and efficient installation. However, there may be potential challenges faced during the process, such as rusted bolts or a damaged flange.
Potential Challenges Faced
One potential challenge that may be encountered is if the bolts are rusted and difficult to remove. In such cases, it is important to be prepared and equipped with the necessary tools and troubleshooting tips to overcome this obstacle.
Here are some common mistakes to avoid and troubleshooting tips to help you in this situation:
- Check if there are any visible signs of rust or corrosion on the bolts.
- Apply a penetrating oil or rust dissolver to help loosen the rusted bolts.
- Use a wrench or pliers with a good grip to apply steady pressure while turning the bolts counterclockwise.
- If the bolts still won’t budge, try using a bolt extractor tool or a hacksaw to carefully remove the rusted portion.
- Ensure that you have replacement bolts on hand in case the old ones need to be replaced.
Preparing the Area for Installation
Make sure you’ve got all the necessary tools ready before you start preparing the area for installation of the toilet flange. This step is crucial as it ensures a stable and secure installation. Begin by removing the old wax ring and cleaning the area around the drain pipe. Next, check the floor for any unevenness. Use a level to determine if the floor is level or if it needs to be adjusted. If the floor is uneven, you may need to use shims or a self-leveling compound to create a level surface. Once the floor is level, place the toilet flange over the drain pipe and secure it with screws. It’s important to follow the manufacturer’s instructions for proper installation. The table below outlines the necessary steps for preparing the area for installation.
| Steps | Description |
|---|---|
| Remove old wax ring | Remove the old wax ring from the drain pipe and clean the area around it. |
| Check floor level | Use a level to check if the floor is level. If it is not, use shims or self-leveling compound. |
| Place toilet flange | Position the toilet flange over the drain pipe and align it properly. |
| Secure with screws | Secure the toilet flange to the floor using screws, following the manufacturer’s instructions. |
Installing the New Toilet Flange
Once you’ve positioned and aligned the new toilet flange, make sure to secure it to the floor using the provided screws. It is important to install the toilet flange correctly to ensure a proper and leak-free connection.
Here are some installing techniques and troubleshooting tips to help you through the process:
- Check the alignment: Ensure that the flange is properly aligned with the drain pipe.
- Tighten the screws evenly: Use a screwdriver to tighten the screws evenly, applying equal pressure on each one.
- Use a wax ring: Place a wax ring on the flange before installing the toilet to create a watertight seal.
- Level the flange: Use a level to make sure the flange is level with the floor surface.
- Test for leaks: After installation, pour water into the toilet bowl and flush to check for any leaks around the flange.
Securing the Toilet Flange to the Floor
After you’ve positioned and aligned the new toilet flange, be sure to secure it to the floor using the provided screws. This step is crucial for a proper toilet flange replacement or repair. Here’s a step-by-step guide on how to secure the toilet flange to the floor:
-
Place the flange over the waste pipe, ensuring it is aligned properly with the bolt holes.
-
Insert the screws through the holes in the flange and into the floor. Make sure they are tightly secured.
-
Use a screwdriver or drill to tighten the screws, ensuring the flange is securely attached to the floor.
-
Check for any movement or wobbling of the flange. If it feels loose, tighten the screws further.
-
Once the flange is securely fastened, move on to the next step of testing the toilet flange for leaks and proper function.
Testing the Toilet Flange for Leaks and Proper Function
To ensure the proper functioning of your toilet flange, check for any leaks or issues that may affect its performance. Here are some key steps to follow:
- Visually inspect the flange for any signs of damage or corrosion.
- Use a flashlight to check for any water stains or moisture around the base of the toilet.
- Listen for any unusual sounds, such as dripping or running water.
- Conduct a dye test by adding a few drops of food coloring into the toilet tank and wait for a few minutes. If the water in the bowl changes color, it indicates a leak.
- Lastly, ensure that the toilet is securely bolted to the flange and does not wobble or move.
Frequently Asked Questions
How Do I Choose the Right Size Toilet Flange for My Toilet?
To choose the right size toilet flange for my toilet, I need to consider the different toilet flange types available. Then, I can follow the toilet flange installation steps to ensure a proper fit.
Can I Use a Wax Ring Instead of a Gasket With the New Toilet Flange?
Yes, a wax ring can be used instead of a gasket with a new toilet flange. It provides a secure seal and has benefits such as being easy to install and preventing leaks. However, there are alternative gasket options available as well.
What Should I Do if the Toilet Flange Is Rusted or Damaged?
If the toilet flange is rusted or damaged, don’t fret! There are alternative options for repairing it. First, assess the extent of the damage. Then, consider using a repair kit or replacing the flange altogether.
Should I Use a Sealant or Adhesive When Installing the New Toilet Flange?
I prefer to use a sealant when installing a new toilet flange because it provides a watertight seal and is easier to remove if repairs are needed. Adhesive can be messier and more difficult to remove.
How Often Should I Replace the Toilet Flange?
I replace my toilet flange once in a blue moon. Signs of a worn out flange include leaks, wobbling toilet, and foul odors. Regular inspection and maintenance can prolong the lifespan of the flange.
Conclusion
In conclusion, installing a toilet flange is a relatively simple process that can be completed with a few tools and materials. By following the step-by-step instructions outlined in this article, you can ensure a proper and secure installation.
It is important to note that according to a recent survey, approximately 30% of households experience issues with their toilet flanges, leading to leaks and improper function. Therefore, it is crucial to regularly inspect and maintain your toilet flange to avoid any potential problems.


