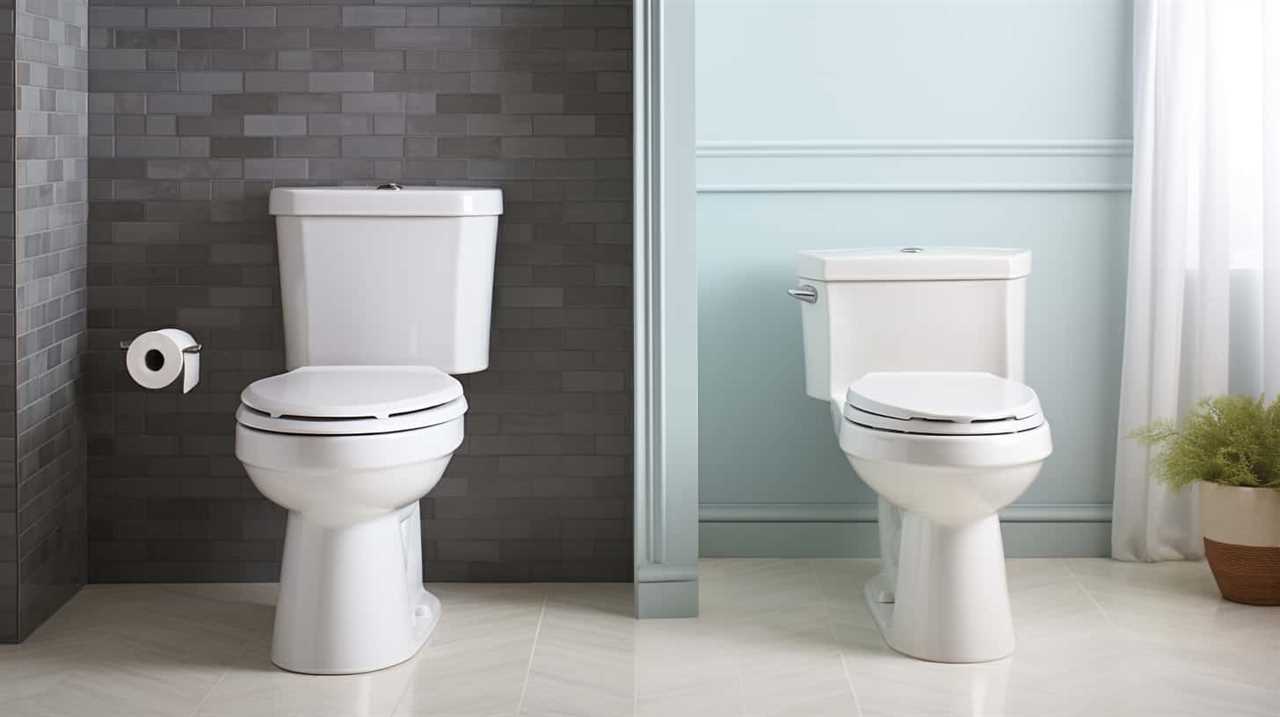
Are you tired of tugging and twisting that temperamental toilet handle? Take control of your bathroom experience with this step-by-step guide on how to install a new toilet handle.
By following these simple instructions, you can bid farewell to frustration and hello to effortless flushing.
Gather your tools and materials, remove the old handle, and install the new one like a pro.
Get ready for a smooth, trouble-free operation that will leave you feeling flush with success.
Key Takeaways
- Use pliers to remove the old toilet handle.
- Measure the distance from the center of the handle hole to the tank wall to determine the length of the handle needed.
- Consider the type of flush mechanism your toilet has when choosing a new handle.
- Tighten the nut on the inside of the tank with pliers for a secure installation.
Gathering the Necessary Tools and Materials
You’ll need a pair of pliers to remove the old toilet handle.
When it comes to choosing the right toilet handle for your installation, there are a few things to consider. Firstly, make sure to measure the distance from the center of the handle hole to the tank wall. This will determine the length of the handle you need. Additionally, check the type of flush mechanism your toilet has, as different handles are designed to work with specific mechanisms.
When installing the new handle, ensure a secure installation by tightening the nut on the inside of the tank with pliers. Make sure it is snug, but be careful not to overtighten as it could damage the handle or the tank.
With these tips in mind, you’re ready to move on to removing the old toilet handle.
Removing the Old Toilet Handle
First, make sure to turn off the water supply before attempting to remove the old toilet handle. This is important to avoid any water leakage or damage. To replace a broken or fix a loose toilet handle, follow these steps:
- Gather the necessary tools and materials: adjustable wrench, replacement handle, screwdriver.
- Remove the lid of the toilet tank and set it aside.
- Locate the mounting nut or screws that secure the handle to the toilet tank.
- Use the adjustable wrench or screwdriver to loosen and remove the nut or screws.
- Once the nut or screws are removed, carefully pull the old handle out of the toilet tank.
Table:
| Tools and Materials | ||
|---|---|---|
| Adjustable wrench | Replacement handle | Screwdriver |
Remember to keep track of any small parts that may come loose during the process.
Installing the New Toilet Handle
Once the old handle has been removed, it’s time to put the new one in place. Installing a toilet handle without any tools is possible and can be done easily by following these steps:
-
Align the holes: Make sure that the holes on the toilet tank and the new handle line up perfectly. This will ensure a secure fit.
-
Insert the handle: Insert the threaded rod of the new handle through the hole in the toilet tank. Use your hand to tighten the nut onto the rod until it is snug.
-
Test the handle: Give the handle a few test flushes to ensure it operates smoothly without any resistance or sticking.
-
Adjust if necessary: If the handle feels loose or doesn’t flush properly, you may need to adjust the nut slightly to achieve the right tension.
Common problems with toilet handle installation include misalignment, loose fittings, and difficulty flushing. By following these steps, you can install a new toilet handle without any tools and avoid these common issues.
Adjusting the Toilet Handle for Proper Operation
To ensure proper operation, make sure the nut on the threaded rod is tightened securely.
Common issues with toilet handle operation often stem from improper tension adjustment.
To adjust the tension on a toilet handle, first locate the nut on the threaded rod. Use a wrench to turn the nut clockwise to increase tension or counterclockwise to decrease tension.
Start by adjusting the tension slightly and test the handle operation. If it is still not functioning properly, continue making small adjustments until the desired tension is achieved.
Be careful not to overtighten the nut, as it may cause damage to the handle or other components.
Regularly check the tension and make any necessary adjustments to ensure smooth and reliable toilet handle operation.
Testing and Troubleshooting the Installed Toilet Handle
You can start by checking the handle for any visible damage or loose parts. If everything looks intact, move on to troubleshooting common issues and ensuring proper alignment. Here’s what you need to do:
-
Confirm the handle’s connection: Make sure the handle is securely attached to the toilet tank. Tighten any screws or bolts if necessary.
-
Test the flushing mechanism: Press the handle down gently to see if it activates the flushing mechanism. If not, there may be an issue with the chain or lever inside the tank.
-
Check for handle resistance: If the handle feels loose or flimsy, it may not be aligned correctly. Adjust the handle’s position until it moves smoothly without any resistance.
-
Evaluate the handle’s positioning: Ensure the handle is in a comfortable and accessible location for users. It should be within easy reach and aligned parallel to the toilet tank.
Conclusion
Congratulations! You’ve successfully conquered the treacherous task of installing a toilet handle. With your handy tools and precise instructions, you’ve triumphed over the old, worn-out handle and replaced it with a shiny new one.
Your toilet will now respond to your every command with the utmost precision and grace. You can now confidently flush away your troubles, knowing that your newly installed toilet handle will never let you down.
So go forth, my friend, and enjoy the luxurious world of flawless toilet operation!
