As I carefully lower myself onto the porcelain throne, a disconcerting squish beneath my weight reminds me that it’s time to replace the wax ring.
In this step-by-step guide, I’ll walk you through the process of installing a toilet wax ring. With a few basic tools and a little elbow grease, you’ll have a leak-free and secure toilet in no time.
So, let’s roll up our sleeves and get ready to tackle this messy yet essential home improvement task.
Key Takeaways
- Clean the flange and ensure it is in good condition.
- Measure the diameter of the flange and the distance from the floor to the top of the flange.
- Use a putty knife to carefully scrape off any residue from the flange or the bottom of the toilet bowl.
- Ensure a proper seal and prevent leaks by firmly pressing the toilet onto the flange.
Preparing for Installation
Now, before you can start installing the toilet wax ring, you need to make sure the flange is clean and in good condition. To ensure a proper seal, it is crucial to measure for the correct wax ring size.
Start by removing the old wax ring and any debris from the flange. Use a tape measure to determine the diameter of the flange. You will also need to measure the distance from the floor to the top of the flange. These measurements will help you choose the appropriate wax ring size for your toilet.
Additionally, gather the necessary tools for the installation, such as a putty knife, adjustable wrench, and a new wax ring. Having these tools ready will make the installation process smoother and more efficient.
Removing the Old Wax Ring
To remove the old wax ring, you’ll need a putty knife to gently scrape it away. Here’s how to do it:
- Start by turning off the water supply to the toilet and flushing it to empty the tank.
- Use a wrench to disconnect the water supply line from the bottom of the tank.
- Carefully lift the toilet bowl straight up and place it on a drop cloth or old towels.
- Use the putty knife to scrape away any residue left on the flange or the bottom of the toilet bowl.
Make sure to remove all the old wax and scraping residue before proceeding to install the new wax ring. It’s important to have a clean and smooth surface for the new wax ring to create a watertight seal.
Now that the old wax ring is removed, let’s move on to installing the new wax ring.
Installing the New Wax Ring
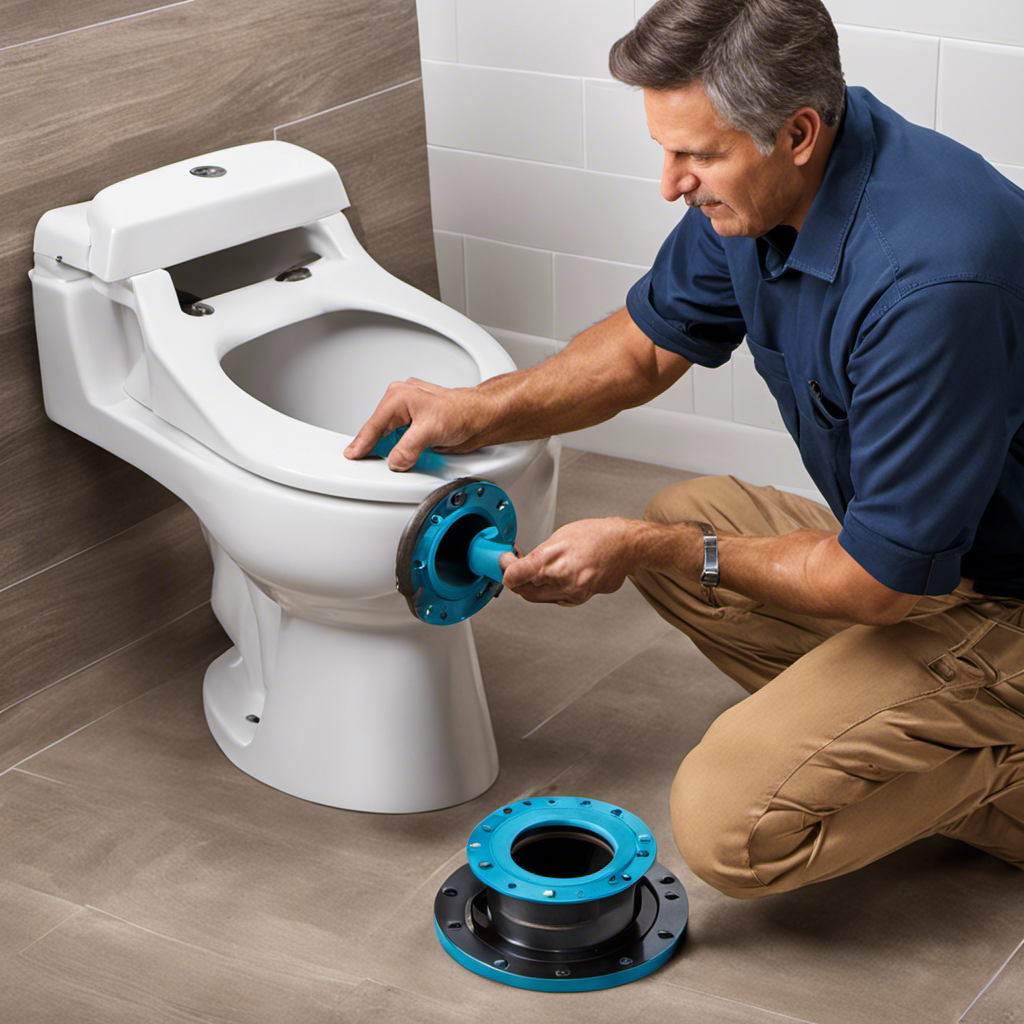
Once the old wax ring has been removed, you’ll need to carefully position the new wax ring in the center of the flange. This step is crucial to ensure a proper seal and prevent any leaks. When choosing a wax ring, it’s important to consider the type of toilet installation you have. There are different types of wax rings available, such as standard wax rings, extra thick wax rings, and wax rings with a built-in flange. The right type of wax ring will depend on the height of your flange and the distance between the toilet bowl and the flange. It’s also important to troubleshoot common installation problems, such as an uneven flange or a wax ring that is not properly seated. By following these steps and choosing the right wax ring, you can ensure a successful toilet installation without any leaks or issues.
| Common Problems | Possible Solutions |
|---|---|
| Uneven Flange | Use shims or a flange extender to level the flange. |
| Wax Ring Not Seated Properly | Press down firmly on the toilet bowl to properly seat the wax ring. |
| Leaking Wax Ring | Reinstall the wax ring and ensure a tight seal between the toilet bowl and the flange. |
| Flange Too Low | Use a wax ring with a built-in flange or add an extra wax ring to create a better seal. |
| Flange Too High | Use an extra thick wax ring or add a wax ring extender to bridge the gap between the toilet bowl and the flange. |
Securing the Toilet in Place
To secure the toilet in place, you’ll need to tighten the bolts on each side of the base using a wrench. This step is crucial to ensure proper alignment and prevent any leaks or wobbling.
Here’s a step-by-step guide on how to tighten the bolts effectively:
- Start by placing the toilet on the wax ring and aligning it with the floor drain.
- Insert the bolts through the holes on each side of the toilet base.
- Place a washer onto each bolt, followed by a nut.
- Use a wrench to tighten the nuts, alternating between each side to ensure even pressure.
Make sure not to overtighten the bolts, as this can cause damage to the toilet or the flange.
Once the bolts are securely tightened, you can proceed with connecting the water supply and testing for any leaks.
Testing for Leaks
After securing the toilet in place, you’ll want to test for leaks by turning on the water supply and checking for any water seeping around the base. This step is crucial to ensure that your toilet installation is watertight and functioning properly.
To begin, slowly turn on the water supply valve and listen for any unusual sounds. Then, carefully inspect the area around the base of the toilet for any signs of water leakage. Look for puddles, dampness, or discoloration on the floor.
If you notice any leaks, you will need to troubleshoot and address the issue before proceeding. Common causes of leaks include a loose connection between the toilet and the water supply line, a faulty wax ring, or a cracked toilet base.
Conclusion
And there you have it! Installing a toilet wax ring may seem like a daunting task, but with a little patience and the right tools, it’s as simple as pie.
Just like a chef carefully slices through a perfectly baked pie crust, you too can carefully remove the old wax ring and delicately place the new one.
Remember to secure the toilet in place like a puzzle piece, ensuring a snug fit.
Finally, like a detective on the case, test for leaks to ensure a job well done.
Happy plumbing!


