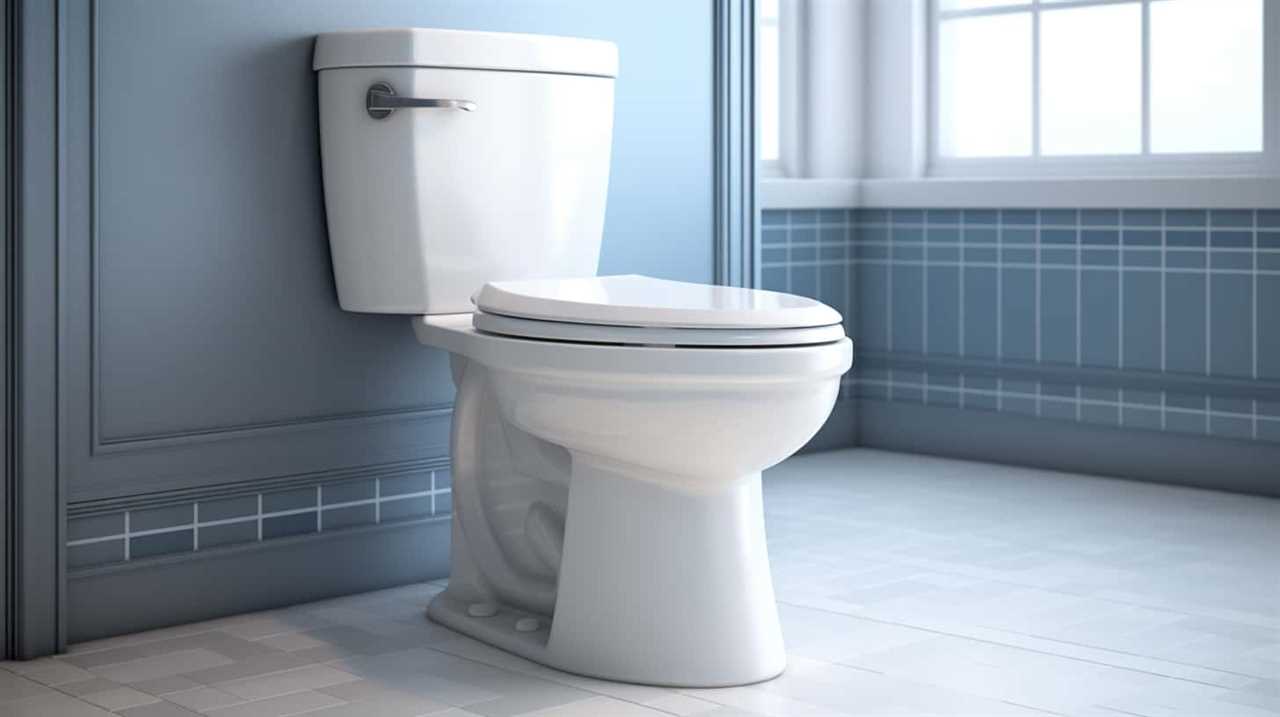
Hey there! I’m here to walk you through the step-by-step process of installing a toilet flange. Trust me, it’s easier than you might think!
In this article, we’ll cover everything from removing the old flange to connecting your toilet securely.
So, if you’re ready to tackle this plumbing project and ensure a leak-free bathroom experience, let’s get started!
Key Takeaways
- The old toilet flange needs to be removed before installing a new one.
- The new toilet flange should be securely attached to the floor with screws.
- The wax ring should be centered on top of the flange to create a seal.
- The toilet bowl should be lowered onto the flange and secured with bolts, ensuring proper alignment and stability.

Oatey 43538 ABS Cast Iron Flange Replacement, 4-Inch
Replaces broken cast iron closet flanges
As an affiliate, we earn on qualifying purchases.
Tools and Materials Needed
You’ll need a few tools and materials to install the toilet flange properly. First, gather a wax ring, a toilet flange, a screwdriver, a wrench, and a level.
The wax ring is essential for creating a watertight seal between the flange and the toilet. The toilet flange is the piece that connects the toilet to the drainpipe. The screwdriver and wrench are needed to secure the flange to the floor and the toilet to the flange. The level is important for ensuring that the toilet is properly aligned and level.
Removing the Old Toilet Flange
First, make sure to turn off the water supply to the toilet before attempting to remove the old flange. The process of repairing a flange is crucial for the proper installation of a toilet.
A flange is a circular piece that connects the toilet to the drainpipe and ensures a watertight seal. Over time, the flange can become damaged or worn out, leading to leaks and instability.
Removing the old flange involves unscrewing the bolts that hold it in place and carefully prying it off the floor. It is important to inspect the surrounding area for any water damage or rot that may have occurred due to the faulty flange.
Installing the New Toilet Flange
Once the old flange has been removed, it’s time to securely attach the new one in its place. Before we begin, make sure you have the necessary tools and materials: a new toilet flange, a wax ring, a screwdriver, and screws.
To install the new flange, follow these steps:
- Place the new flange over the waste pipe and align it with the bolt holes.
- Securely attach the flange to the floor using screws. Make sure they are tight and flush with the flange.
- Once the flange is securely attached, place the wax ring on top of it, ensuring it is centered.
- Carefully lower the toilet bowl onto the flange and press down firmly to create a good seal.
Troubleshooting tips for flange installation:
- If the flange is not level with the floor, use shims or an extended flange to adjust the height.
- If the bolt holes do not align with the flange, it may need to be rotated or replaced.
Remember to consult a professional if you encounter any difficulties during the installation process.
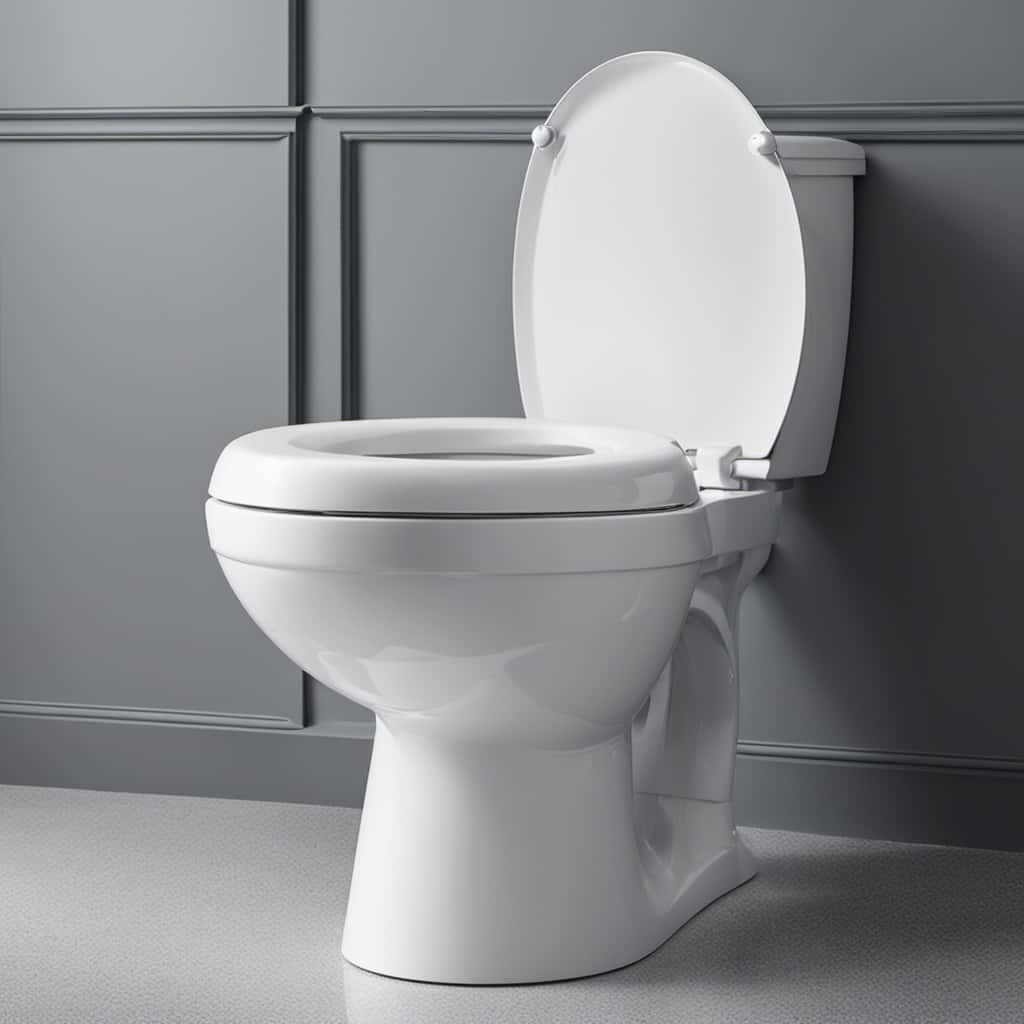
Connecting the Toilet to the Flange
To connect your toilet securely, align the bolt holes of the wax ring with the flange. This ensures a proper seal and prevents any leaks.
Here are some connecting techniques and troubleshooting tips to help you with the installation process:
-
Apply gentle pressure: Press down on the toilet bowl to compress the wax ring and create a tight seal.
-
Hand-tighten the bolts: Use a wrench to tighten the bolts just enough to secure the toilet in place. Avoid overtightening, as it can crack the toilet or damage the flange.
-
Check for stability: Gently rock the toilet back and forth to ensure it is stable and properly aligned.
-
Inspect for leaks: Once connected, check for any signs of leaks around the base of the toilet or the wax ring.
-
Make adjustments if needed: If there are any leaks or instability, try repositioning the toilet and tightening the bolts again.
Now that the toilet is securely connected to the flange, it’s time to move on to testing and finishing touches.
Testing and Finishing Touches
Now that you have successfully connected the toilet to the flange, it’s time to test for any leaks and add the finishing touches. To ensure a proper installation, it is important to troubleshoot common issues and follow proper maintenance tips.
To test for leaks, fill a bucket with water and pour it slowly into the toilet bowl. Observe if any water leaks from the base or around the flange. If you notice any leaks, tighten the bolts connecting the toilet to the flange or replace the wax ring if necessary.
Once you have confirmed that there are no leaks, it’s time to add the finishing touches. Attach the toilet seat and lid securely, ensuring they are aligned properly. Then, turn on the water supply and flush the toilet to check for proper flushing and refilling.
Remember to perform regular maintenance, such as cleaning the toilet and checking for any loose bolts. By troubleshooting common issues and following proper maintenance tips, you can ensure the longevity and functionality of your newly installed toilet flange.
| Troubleshooting Common Issues | Tips for Proper Maintenance |
|---|---|
| Leaks from the base or flange | Regular cleaning |
| Loose bolts | Check for any cracks |
| Inefficient flushing | Tighten any loose parts |
| Slow refilling | Replace worn-out parts |
Frequently Asked Questions
What Is the Purpose of a Toilet Flange?
The purpose of a toilet flange is to connect the toilet to the drain pipe and provide a secure and watertight seal. It also helps support the weight of the toilet and prevents leaks.
Can I Reuse the Old Toilet Flange?
No, it is not recommended to reuse the old toilet flange. It is important to install a new flange to ensure a proper and secure connection between the toilet and the waste pipe. Reusing the old flange can lead to leaks and other issues.
How Do I Know if My Toilet Flange Is Damaged or Worn Out?
If my toilet is wobbling or leaking, it could be a sign of toilet flange damage. To fix it, I would need to replace the flange. I can learn how to replace a toilet flange by following a step-by-step guide.
What Type of Toilet Flange Should I Choose for My Specific Toilet?
To choose the right toilet flange, consider the compatibility with your specific toilet model. Follow these installation steps: 1) Remove old flange, 2) Clean the area, 3) Position new flange, 4) Secure it tightly, 5) Connect the toilet.
Are There Any Alternative Methods to Installing a Toilet Flange if I Don’t Have Access to the Necessary Tools?
There are alternative methods for installing a toilet flange if you don’t have the necessary tools. These methods may include using epoxy or adhesive to secure the flange in place.
Conclusion
In conclusion, installing a toilet flange requires a few simple steps and the right tools. By following the outlined process, you can ensure a secure and leak-free connection between your toilet and the sewer pipe.
One interesting statistic to note is that according to a study conducted by the American Water Works Association, a leaking toilet can waste up to 200 gallons of water per day. This highlights the importance of properly installing a toilet flange to prevent any water wastage and potential damage to your bathroom floor.