Hey there! Ever found yourself in a sticky situation with a broken toilet handle? Well, fear not, because I’m here to guide you through the steps of installing a new one.
It’s a simple process that anyone can tackle with a few tools and materials. So, grab your wrench and let’s get started on this DIY journey to a smoothly functioning toilet handle.
Trust me, it’s easier than you think!
Key Takeaways
- Gather the necessary tools and materials for the installation, including a screwdriver and adjustable wrench.
- Troubleshoot common issues with toilet handles to identify the problem.
- Remove the old toilet handle by loosening and removing the mounting nut, and disconnecting the chain or wire attached to the flapper valve if necessary.
- Install the new toilet handle by choosing the right type and style that matches your bathroom decor, inserting it into the hole on the outside of the toilet tank, and securing it in place with the nut.
Gathering the Necessary Tools and Materials
You’ll need to gather a screwdriver and an adjustable wrench before you can begin installing the toilet handle.
First, let’s troubleshoot common issues with toilet handles. If your handle doesn’t flush or is loose, it may need to be replaced.
Now, let’s move on to choosing the right type of toilet handle for your bathroom décor. Consider the style and finish that best matches your bathroom’s overall aesthetic.
Once you have the necessary tools and have selected the right handle, you’re ready to begin installation. Start by removing the lid of the toilet tank and locate the existing handle. Use the adjustable wrench to loosen the nut holding the handle in place.
Once the nut is loosened, remove the old handle and replace it with the new one. Tighten the nut using the adjustable wrench, but be careful not to overtighten.
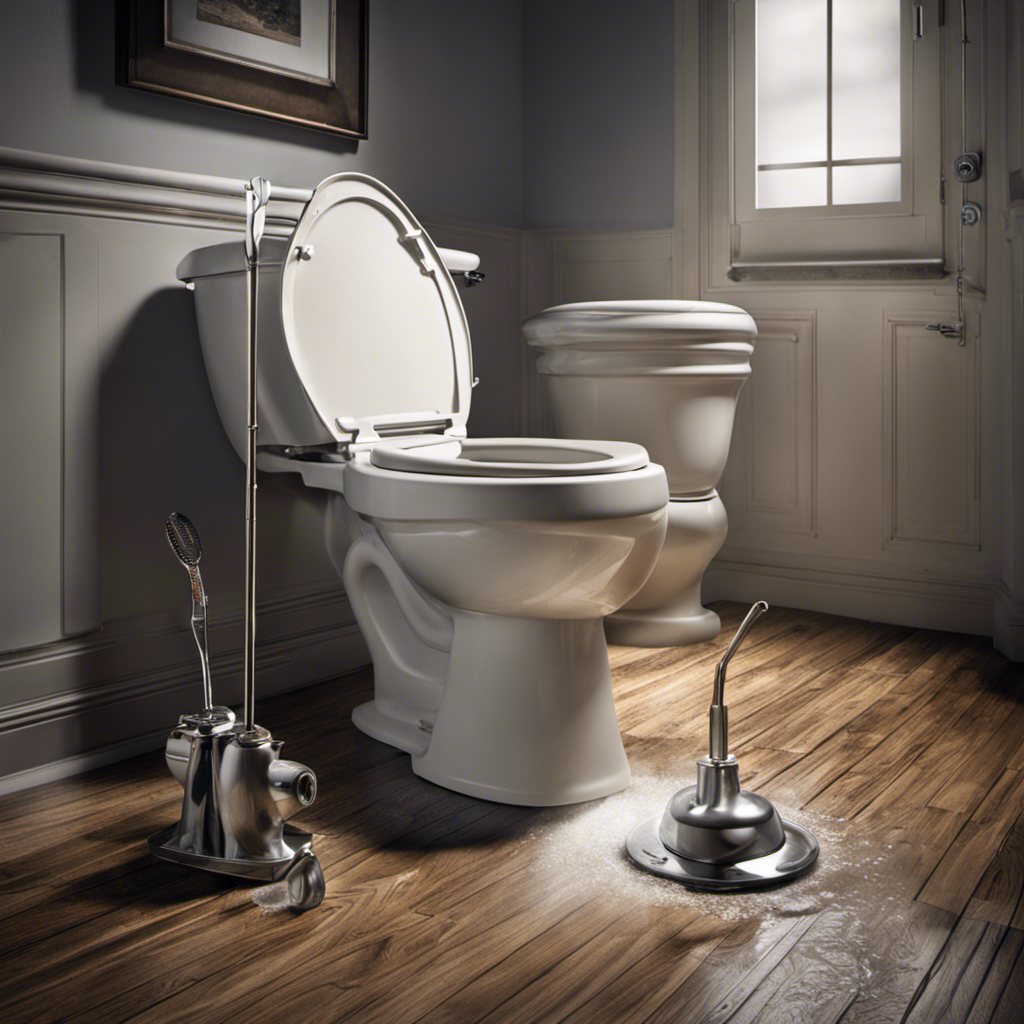
Removing the Old Toilet Handle
First, grip the metal rod attached to the toilet tank. Make sure to have a firm hold on it before proceeding with the following steps:
- Locate the mounting nut at the back of the broken toilet handle.
- Use a wrench to loosen and remove the mounting nut.
- Gently pull the broken handle out of the toilet tank.
- Disconnect the chain or wire attached to the flapper valve, if necessary.
Removing the old toilet handle is an essential step in replacing a broken handle or troubleshooting common toilet handle issues. By following these steps, you can ensure a smooth removal process and make way for the installation of a new handle.
Once the old handle is removed, we can move on to preparing the new toilet handle for installation.
Now, let’s move on to preparing the new toilet handle for installation.
Preparing the New Toilet Handle for Installation
To get started, gather the necessary tools and parts for the installation of the new toilet handle.
Before installing a new handle, it’s important to troubleshoot common toilet handle issues. If your current handle is loose, sticking, or not flushing properly, it may be time for a replacement.
Additionally, consider choosing a new handle that complements your bathroom decor. There are various styles and finishes available, including chrome, brass, and matte black.
Make sure to measure the distance between the handle and the tank to ensure a proper fit.
Once you have selected the right handle, you can proceed with installing it.
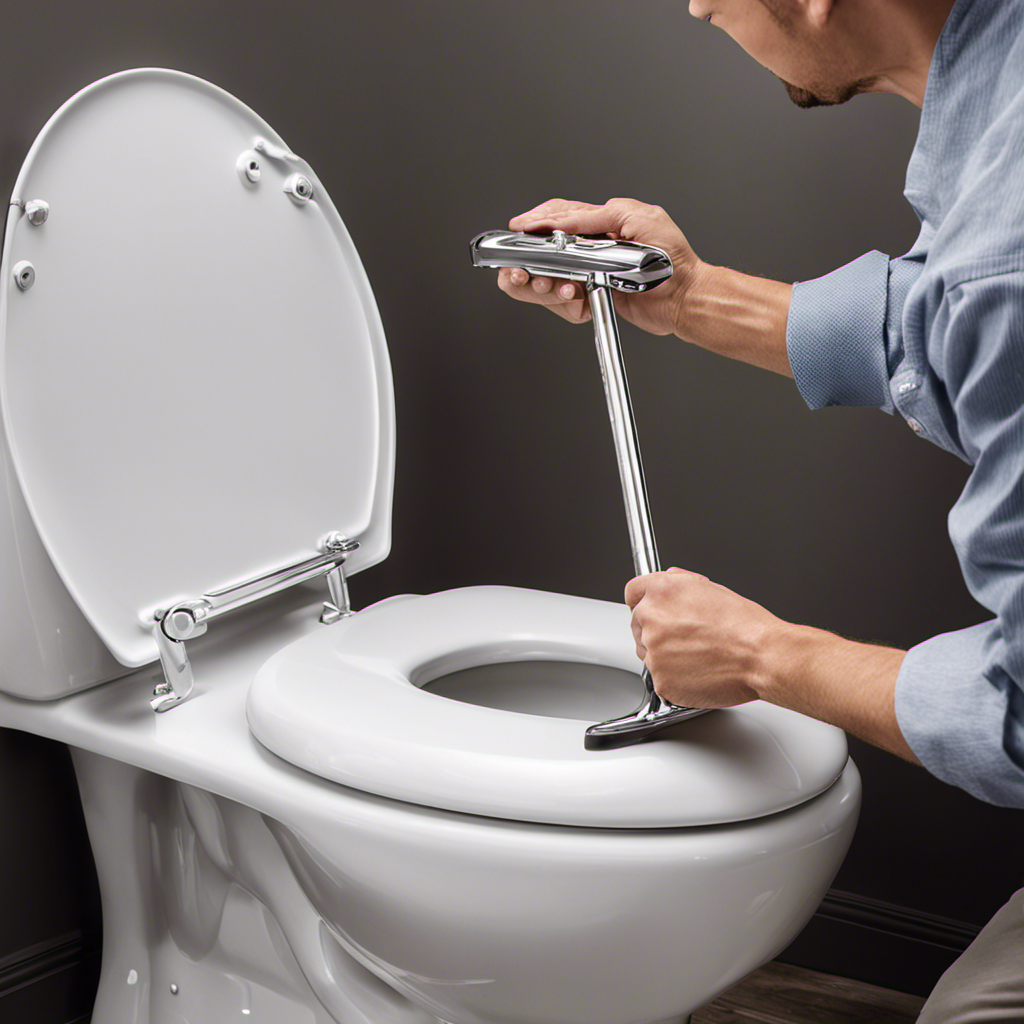
Installing the New Toilet Handle
Once you’ve gathered the necessary tools and parts, it’s time to start installing the new toilet handle. Here’s a step-by-step guide to help you through the process:
-
Remove the old handle:
Start by disconnecting the chain from the flush valve and unscrewing the nut that holds the handle in place. Remove the old handle carefully to avoid any damage to the toilet tank. -
Choose the right replacement handle:
Consider the style, material, and compatibility with your toilet model when selecting a new handle. Look for handles made of durable materials like metal for long-lasting performance. -
Attach the new handle:
Insert the new handle into the hole on the outside of the toilet tank. Secure it in place by tightening the nut with your hand. Make sure it is aligned properly, facing the right direction. -
Test the handle:
Flush the toilet to test the new handle. Ensure it operates smoothly without any sticking or resistance.
Common mistakes to avoid when installing a toilet handle:
- Over-tightening the nut, which can cause cracks in the toilet tank.
- Not aligning the handle properly, resulting in a misaligned flush.
- Choosing a handle that is not compatible with your toilet model.
- Neglecting to test the handle before finishing the installation.
Testing and Adjusting the Toilet Handle
Now that the new handle is securely attached, you should test it by flushing the toilet to ensure it operates smoothly. This step is crucial in troubleshooting common toilet handle issues and ensuring proper maintenance for a toilet handle. Here’s a step-by-step guide to testing and adjusting the toilet handle:
-
Start by gently pushing down on the handle to flush the toilet. Observe if the handle moves smoothly and if the flush is strong and complete.
-
If the handle feels stiff or doesn’t flush properly, you may need to adjust the chain length. Lift the toilet tank lid and locate the chain connected to the handle. Adjust the chain length by either tightening or loosening it.
-
Test the handle again by flushing the toilet. Repeat the adjustment process until the handle operates smoothly and the flush is satisfactory.
By following these steps, you can troubleshoot common toilet handle issues and ensure proper maintenance for your toilet handle.
| Common Issues | Troubleshooting Steps |
|---|---|
| Handle feels loose | Tighten the handle nut or replace the handle |
| Handle doesn’t return to its original position after flushing | Adjust the chain length or replace the flapper |
| Handle is difficult to push down | Lubricate the handle or replace it |
| Handle doesn’t flush the toilet properly | Adjust the chain length or replace the flapper |
| Handle is stuck and doesn’t move | Check for any obstructions or replace the handle |
Remember to regularly inspect and clean your toilet handle to ensure its longevity and proper functioning.
Conclusion
In conclusion, installing a toilet handle is a simple task that can be easily accomplished with the right tools and materials. By following the step-by-step instructions provided in this article, you can successfully replace your old toilet handle with a new one.
Remember to gather all the necessary tools beforehand, remove the old handle, prepare the new handle for installation, and finally, test and adjust the handle as needed.
With patience and attention to detail, you can quickly and efficiently complete this DIY project.
Happy plumbing!

Mateo’s flair for writing is matched only by his keen eye for design. As an interior designer turned writer, Mateo brings a unique perspective. He blends aesthetics with functionality in every piece he pens, providing readers with beautifully crafted content that’s also supremely useful.
Mateo loves exploring the latest bathroom tech trends and is our expert on smart toilets. When he’s not writing or designing, Mateo can be found sketching ideas for his next big project at local coffee shops.