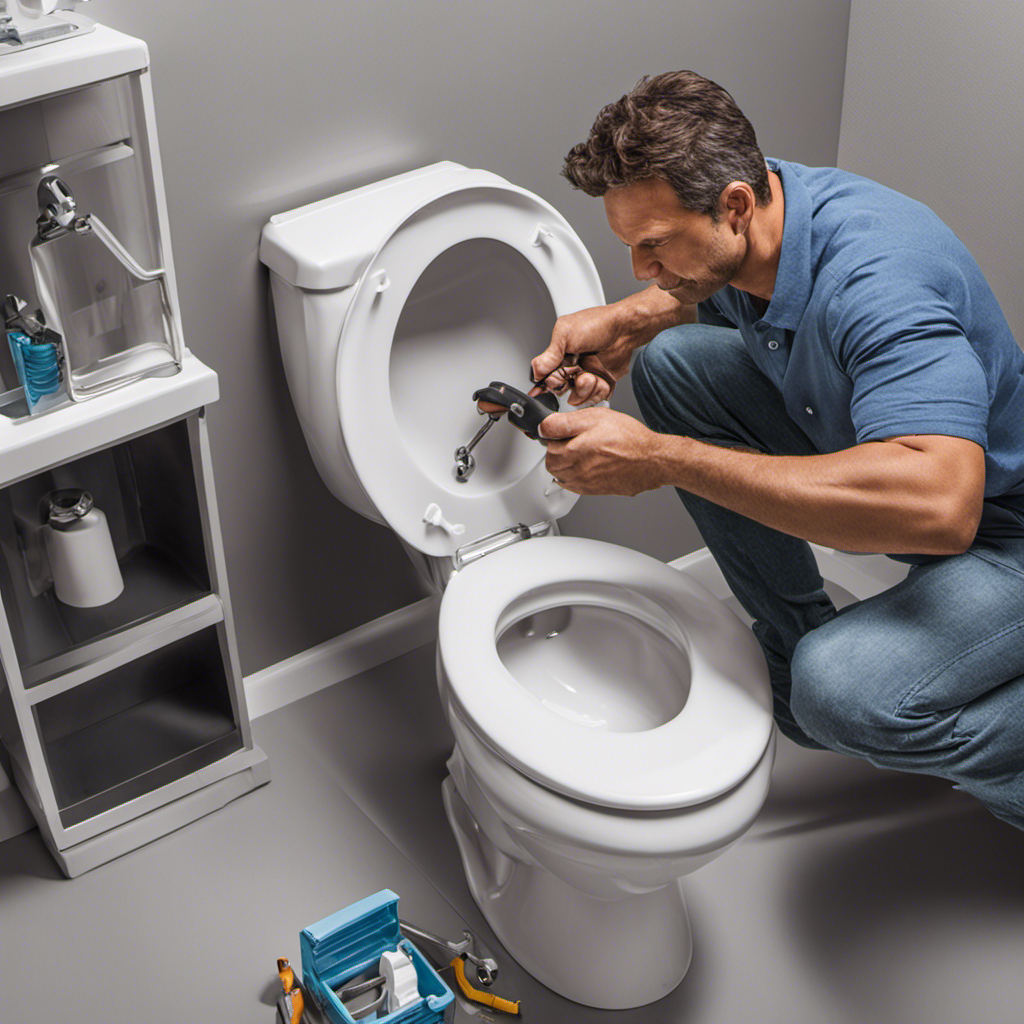

I’ve got a foolproof method to make putting a toilet seat on a breeze. With just a few simple steps, you’ll have a sturdy and comfortable seat in no time.
First, gather your tools and materials. It’s important to have everything you need before you start the process. This may include a screwdriver, pliers, and the new toilet seat itself.
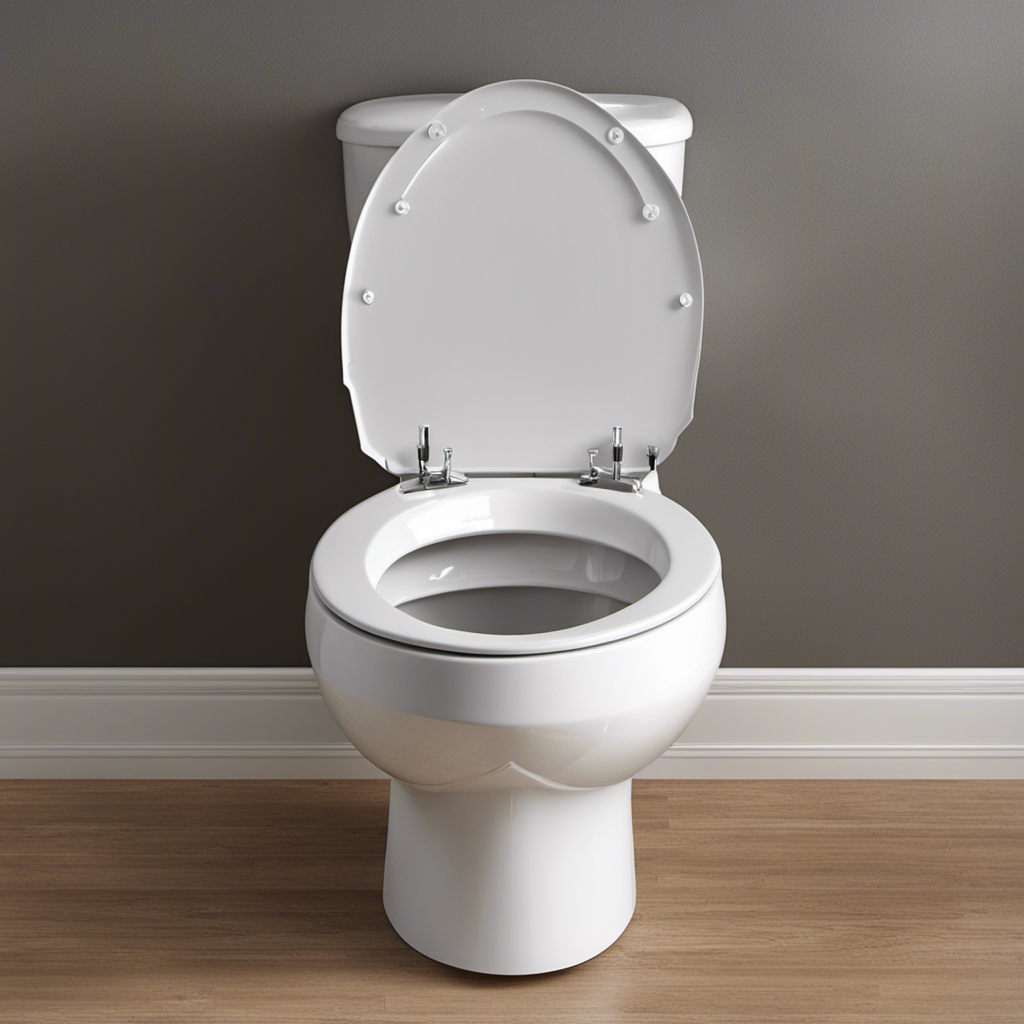
Next, remove the old seat. This can usually be done by unscrewing the bolts that hold it in place. Be careful not to damage the toilet bowl or any surrounding areas while doing this.
Once the old seat is removed, get the toilet bowl ready for the new one. This may involve cleaning the area and making sure it’s free of any debris.
Now, it’s time to attach the new seat securely. Follow the instructions that come with the seat to ensure proper installation. Use the bolts provided to attach the seat to the toilet bowl, making sure it is tight and secure.
After attaching the seat, make any necessary adjustments. This may include leveling the seat or tightening any loose bolts.
Finally, give it a thorough check. Sit on the seat and make sure it feels sturdy and comfortable. If there are any issues, make the necessary adjustments before finishing up.
Once everything is in place, clean up any mess that may have been made during the process. Wipe down the toilet bowl and surrounding areas to ensure everything is clean and tidy.
Trust me, this guide will make the process smooth and effortless. Just follow these steps and you’ll have a new toilet seat installed in no time.
Key Takeaways
- Ensure you have all the necessary tools and materials before starting.
- Look for a toilet seat that fits the shape and size of your toilet bowl.
- Thoroughly clean the toilet bowl before installing the new seat.
- Properly align the new seat on the toilet bowl.

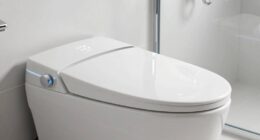
Brondell Bidet Toilet Seat Non-Electric Swash Ecoseat, Fits Elongated Toilets, White - Dual Nozzle System, Ambient Water Temperature - Bidet with Easy Installation
CLEAN AND REFRESHING: With Brondell’s Ecoseat 101 Bidet, you’ll experience a soothing, freshwater wash that leaves you feeling...
As an affiliate, we earn on qualifying purchases.
Gathering the Necessary Tools and Materials
Before you start, make sure you’ve gathered all the necessary tools and materials for putting on the toilet seat.
Choosing the right toilet seat is crucial for a comfortable and functional bathroom experience. Look for a seat that fits the shape and size of your toilet bowl, ensuring a snug and secure fit. Additionally, consider the material and style that best suits your preferences and bathroom decor.
Now, for a seamless installation, you’ll need a screwdriver, adjustable wrench, and possibly a hacksaw if the bolts are too long. It’s also a good idea to have a level handy to ensure the seat is properly aligned.
Following these tips and having the right tools will make installing your toilet seat a breeze.

BIGCOW Ultra-Slim Bidet Attachment for Toilet - Dual Nozzle (Frontal & Rear Wash) with Adjustable Cold Water Pressure and Stainless Steel Inlet - Hygienic Solution for Fresh Cleanliness, Silver 1 Pcs
【Dual Spraying Modes】- This toilet bidet offers both rear wash for thorough cleaning and a specially designed frontal...
As an affiliate, we earn on qualifying purchases.
Removing the Old Toilet Seat
When removing an old toilet seat, it’s essential to follow proper seat removal techniques to ensure a smooth and efficient process. Safety precautions should also be taken during the removal to prevent any injuries or damage.
In this discussion, I’ll provide helpful tips and guidelines on how to properly remove a toilet seat and the necessary safety measures to take.
Proper Seat Removal
To properly remove the toilet seat, you’ll need to locate and unscrew the bolts securing it to the toilet bowl. Here is a step-by-step guide to help you with the process:
- Start by lifting the seat cover and locating the bolts on the underside of the toilet seat.
- Use a screwdriver or wrench to unscrew the bolts in a counterclockwise direction.
- Once the bolts are loose, you can lift the seat and remove it from the toilet bowl.
Properly removing the toilet seat is essential for both toilet seat installation and maintenance. It allows you to clean the area thoroughly and replace the seat if needed. Regular maintenance of the toilet seat helps prevent any damage or wear and tear.
Remember to check the bolts periodically and tighten them if necessary to ensure a secure and comfortable seat.
Safety Precautions During Removal
For your safety, it’s important to remember to wear gloves and use caution when removing the toilet seat.
Before starting the removal process, ensure that the water supply to the toilet is turned off and the lid is closed.
To remove the seat, locate the bolts securing it to the toilet bowl. These bolts are typically located at the back of the seat.
Using a wrench or screwdriver, carefully unscrew the nuts holding the bolts in place.
Once the bolts are removed, gently lift the seat off the toilet bowl. It is crucial to handle the seat with care to avoid any accidents.
Remember to clean the area before proceeding with toilet seat installation or maintenance to ensure a hygienic and safe environment.

LUXE Bidet NEO 120 - Single Nozzle, Self-Cleaning, Non-Electric Bidet Attachment for Toilet Seat, Adjustable Water Pressure, Rear Wash (White)
THE ULTIMATE VALUE – With a sleek design and high-quality parts, Our Bidet Attachment will give your bathroom...
As an affiliate, we earn on qualifying purchases.
Preparing the Toilet Bowl for Installation
Before you begin putting the toilet seat on, make sure to thoroughly clean the toilet bowl. This step is essential for both toilet seat installation and maintenance. Cleaning the toilet bowl ensures that the seat will be properly secured and prevents any unpleasant odors or stains from developing over time.
To clean the toilet bowl, start by using a toilet bowl cleaner and a toilet brush to scrub away any dirt, grime, or residue. Be sure to pay attention to the underside of the rim and the water line. Once the bowl is thoroughly cleaned, rinse it with water and dry it with a clean cloth.

WITMYA Smart Toilet with Bidet Built In, One Piece Bidet Toilet with Auto Dual Flush, Foam Shield, Modern Elongated Tankless Toilet with Foot Sensor, Heated Bidet Seat, Warm Water & Dryer,LED Display
【Efficient Flush & Energy-Saving Design】There smart toilets feature a highly efficient 1.28 GPF water-saving dual flush system with...
As an affiliate, we earn on qualifying purchases.
Attaching the New Toilet Seat to the Bowl
When it comes to attaching a new toilet seat to the bowl, there are two key points that need to be addressed: proper seat alignment and tightening the seat securely.
Proper seat alignment is crucial to ensure a comfortable and stable seating position. By aligning the seat properly, you can prevent any unwanted movement or wobbling.
Once the seat is aligned, it is important to tighten it securely to the bowl to avoid any looseness or potential accidents. Remember, a properly aligned and securely tightened toilet seat is essential for a hassle-free and safe experience.
Proper Seat Alignment
To ensure proper seat alignment, it’s important to position the seat evenly on the toilet bowl. This step is crucial for a comfortable and secure seating experience.
Here are some toilet seat installation tips and troubleshooting common seat alignment issues:
-
Make sure the seat is centered: Align the seat with the front of the toilet bowl to ensure equal spacing on both sides.
-
Check the hinge alignment: Ensure that the hinges are properly aligned with the mounting holes on the bowl. Adjust them if necessary.
-
Test for stability: Sit on the seat and check for any wobbling or shifting. If the seat feels unstable, try adjusting the alignment or tighten the screws.
Proper seat alignment is essential for comfort and longevity. Once the seat is aligned correctly, it’s time to move on to the next step: tightening the seat securely.
Tightening Seat Securely
Once the seat is aligned correctly, it’s important to ensure it is securely tightened. Properly tightening the toilet seat is crucial for maintaining its stability and preventing any wobbling or shifting.
To tighten the seat securely, locate the bolts underneath the toilet bowl. These bolts are usually covered by plastic caps that can be easily removed. Using a screwdriver, tighten the bolts evenly on both sides until the seat feels firmly in place. Be careful not to overtighten, as this may cause damage to the seat or toilet.
Regular maintenance of the toilet seat is also essential to prolong its lifespan. Choosing the right toilet seat and regularly checking its tightness will help maintain a comfortable and stable seat.
Transitioning into the next section, let’s discuss how to properly adjust and tighten the seat for optimal performance.
Properly Adjusting and Tightening the Seat
First, make sure the toilet seat is properly adjusted and tightened to ensure stability and comfort.
Adjusting the seat height is important to ensure that it is at a comfortable level for the user. To do this, locate the seat adjustment screws on the underside of the seat and use a screwdriver to loosen them. Once loosened, you can adjust the seat to your desired height and then tighten the screws again.
Selecting the right seat size is also crucial for a proper fit. Measure the distance between the mounting holes on your toilet bowl to determine the correct seat size. It’s important to choose a seat that matches the dimensions of your toilet bowl to ensure a secure and comfortable fit.
Performing a Final Check and Cleaning up
Before you finish, make sure to give the area a quick wipe down to clean up any dirt or debris. This step is crucial in ensuring proper hygiene and cleanliness in the bathroom.
After installing the toilet seat, it’s important to perform a final check to ensure everything is in place. Start by checking for any damages, defects, or missing parts. Inspect the seat for any cracks, chips, or loose hinges. Make sure that all the screws and bolts are tightened securely.
Test the seat by sitting on it and rocking back and forth to ensure stability. Additionally, give the seat a gentle tug to make sure it’s securely attached to the toilet bowl.
Once you’ve completed the final check, take a moment to appreciate your work and enjoy your newly installed toilet seat.
Conclusion
Well, there you have it! Putting on a toilet seat may seem like a daunting task, but with the right tools and a little bit of know-how, it’s actually quite simple.
Just follow the steps outlined in this article, and you’ll have your new toilet seat installed in no time.
It’s like a breath of fresh air for your bathroom, giving you a whole new level of comfort and style.
So go ahead, take the plunge and give your toilet a makeover that will leave you feeling like the king or queen of the porcelain throne!