As I carefully prepare to install a new wax ring on my toilet, I realize the importance of this often overlooked component.
The wax ring creates a watertight seal between the base of the toilet and the drainage pipe, preventing any leaks or unpleasant odors.
In this article, I will guide you through the step-by-step process of removing the old wax ring and installing a new one.
With the right tools and materials, you can ensure a proper seal and keep your bathroom clean and functional.
Key Takeaways
- Wax rings create a watertight seal between the toilet flange and base, preventing leaks and water damage.
- Proper installation is crucial to avoid common mistakes such as improper alignment, using incorrect amounts of wax, and not checking for leaks.
- Choosing the right size and thickness of wax ring, along with using toilet bolts and optional reinforcement kit, ensures a successful installation.
- Testing for leaks after installation is essential to identify any issues and troubleshoot if necessary.
Importance of a Wax Ring
You’ll want to understand the importance of a wax ring before installing it on your toilet.
A wax ring is a crucial component that creates a watertight seal between the toilet flange and the toilet base. Without it, you risk leaks and potential water damage.
While there are alternative options like rubber or foam rings, wax rings have been proven to be the most reliable and durable choice.
Common mistakes when installing a wax ring include not properly aligning the ring with the flange, using too much or too little wax, and not checking for leaks after installation.
Taking the time to understand the importance of a wax ring and avoiding these common mistakes will ensure a successful and leak-free toilet installation.
Tools and Materials Needed
To complete this task, gather the necessary tools and materials. Here’s what you’ll need:
-
A wax ring: Choosing the right wax ring is crucial for a proper seal. Make sure to check the size and thickness that matches your toilet and floor flange.
-
Toilet bolts: These bolts secure the toilet to the floor flange. It’s important to have them on hand before starting the installation.
-
Toilet wax ring reinforcement kit: This optional kit provides extra support for the wax ring, preventing leaks and ensuring a tight seal.
Properly positioning the wax ring is essential for a successful installation. Here are some tips:
-
Center the wax ring: Make sure the wax ring is centered directly on the toilet flange. This will ensure an even distribution of pressure when the toilet is installed.
-
Check the alignment: Before placing the toilet on the wax ring, double-check that it is aligned with the floor flange. This will prevent any misalignment issues that could lead to leaks.
Following these steps and using the right tools will help you properly position the wax ring and ensure a tight seal for your toilet.
Removing the Old Wax Ring
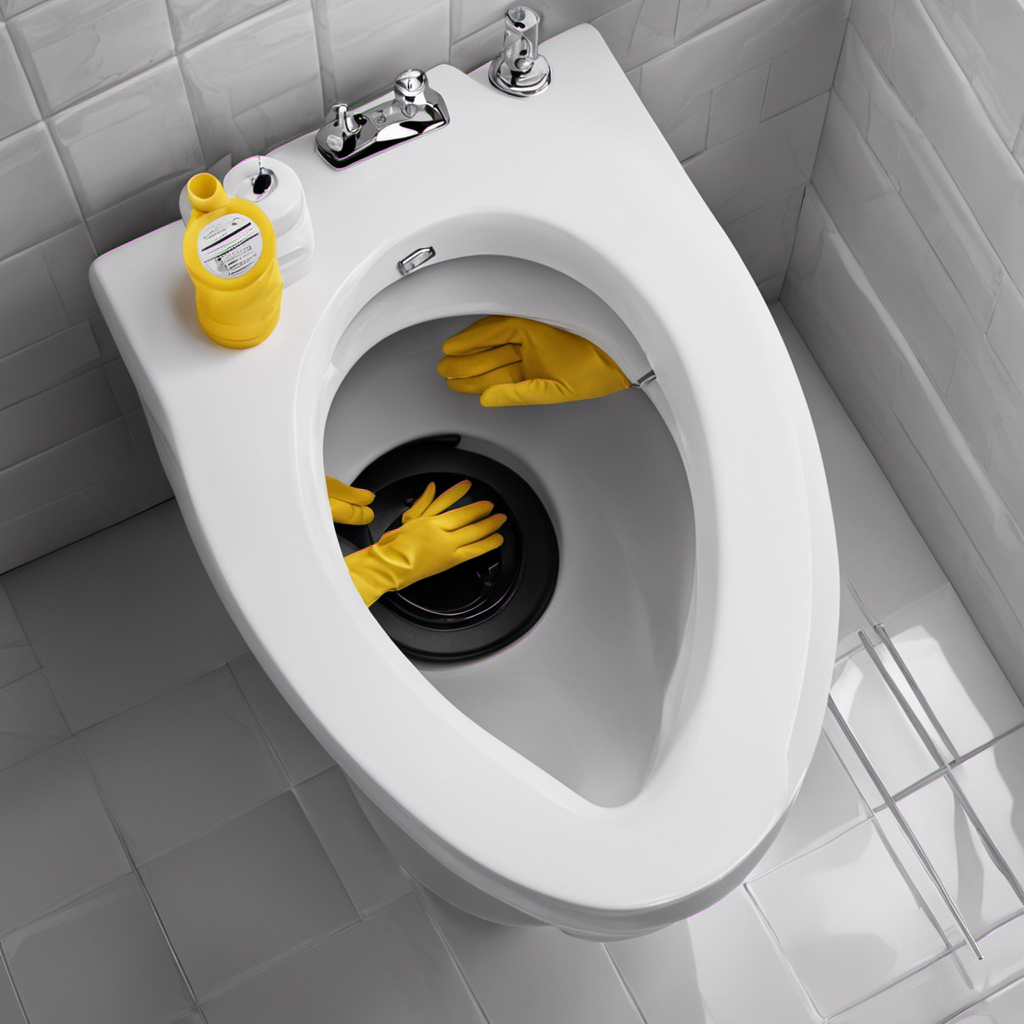
Before starting, make sure you have the necessary tools and materials to remove the old wax ring. First, gather some gloves, a putty knife, and a plastic bag for disposal.
To prepare the toilet, turn off the water supply and flush to empty the tank and bowl. Next, remove the tank lid and set it aside. Carefully disconnect the water supply line from the bottom of the tank using an adjustable wrench.
Now, it’s time to remove the old wax ring. Begin by using the putty knife to scrape away any excess wax from the toilet flange and the bottom of the toilet. Be sure to dispose of the old wax ring in a plastic bag to avoid any mess or contamination.
Installing the New Wax Ring
Once the old wax ring has been removed, it’s important to properly align and secure the new wax ring in place. To ensure a successful installation, follow these steps:
-
Preparing the Toilet:
-
Clean the flange and toilet base thoroughly to remove any residue or debris.
-
Inspect the flange for any damage or cracks that may affect the seal.
-
Place the new wax ring on a flat surface and allow it to warm to room temperature for easier manipulation.
-
Applying the Wax Ring Correctly:
-
Gently press the wax ring onto the flange, ensuring it is centered and aligned with the waste pipe.
-
Carefully lower the toilet bowl onto the wax ring, making sure the bolts align with the holes in the base.
-
Apply even pressure to compress the wax ring and create a watertight seal.
Testing for Proper Seal
After aligning and securing the new wax ring, you can test for a proper seal by flushing the toilet and checking for any leaks. This step is crucial to ensure that the installation was done correctly and to avoid any potential problems in the future.
One common mistake that people make is not checking for leaks after installing the wax ring. This can lead to water damage and unpleasant odors. To troubleshoot any issues, start by flushing the toilet and observing if there are any leaks around the base. If you notice water seeping out, it could indicate that the wax ring wasn’t properly aligned or compressed. In this case, you may need to remove the toilet and reposition the wax ring.
Remember to tighten the bolts evenly to prevent any leaks. By testing for a proper seal and addressing any issues promptly, you can ensure a watertight and hassle-free toilet installation.
Conclusion
In conclusion, putting a wax ring on a toilet is a task that might sound daunting, but fear not! With the right tools and a little patience, you can conquer this mission like a DIY superhero.
Just imagine the satisfaction of knowing that your toilet is sealed tight, ready to take on anything you throw at it (figuratively, of course).
So go forth, my fellow bathroom warriors, and embrace the glory of a properly installed wax ring. Your throne awaits!


