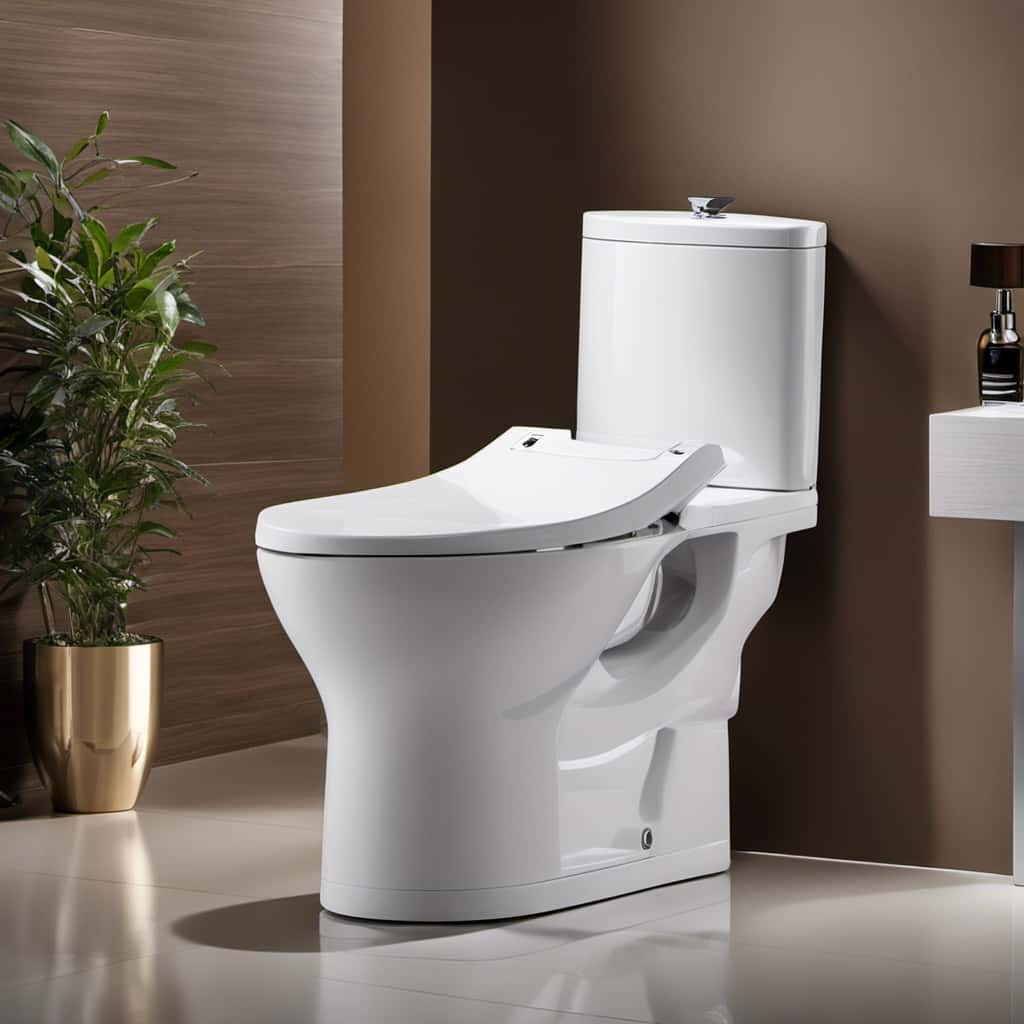
I’ve always believed that the smallest details can have the biggest impact. Take, for example, the humble toilet seat. It may seem like a minor fixture, but the right seat can make a world of difference in your daily comfort.
In this article, I’ll walk you through the precise and detailed steps of how to put on a toilet seat. With a little knowledge and some basic tools, you’ll have a sturdy and comfortable seat in no time.
Key Takeaways
- Choose the right size and style of a new toilet seat
- Remove the old toilet seat by locating and removing the bolts at the back of the seat
- Clean the toilet bowl and seat area using appropriate cleaning products
- Align and attach the new toilet seat securely, adjusting the hinges if necessary
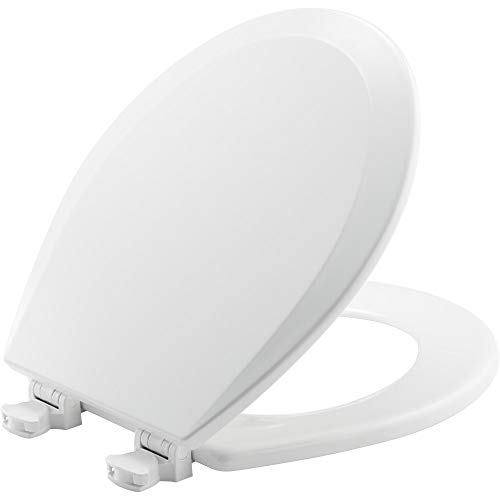
BEMIS 500EC 390 Toilet Seat with Easy Clean & Change Hinges, 1 Pack Round, Cotton White
EASY CLEAN: Designed for your convenience, this toilet seat comes with hinges that easily release the seat for…
As an affiliate, we earn on qualifying purchases.
As an affiliate, we earn on qualifying purchases.
Step 1: Gather the Necessary Tools and Materials
First, you’ll need to gather all the necessary tools and materials for putting on a toilet seat. Toilet seat installation requires a few essential items.
Firstly, you’ll need a new toilet seat, which can be found in various types such as standard, elongated, or soft-closing. Make sure to choose the right size and style that suits your toilet.
Additionally, you’ll need a screwdriver or wrench to remove the old seat and attach the new one. It’s also helpful to have a pair of gloves for hygiene purposes.
Lastly, you may want to consider using a level to ensure the seat is properly aligned.

KOHLER 20110-0 Brevia, Slow Close Toilet Seat, Elongated Toilet Seat, Grip-Tight Bumpers Quick-Attach Hardware, White
Quiet-Close KOHLER Toilet Seat Elongated and lid prevent slamming with Grip-Tight bumpers holding seat firmly in place
As an affiliate, we earn on qualifying purchases.
As an affiliate, we earn on qualifying purchases.
Step 2: Remove the Old Toilet Seat
Next, you’ll want to unscrew and detach the existing seat from the toilet bowl. Here’s how you can remove the old toilet seat and dispose of it properly:
- Locate the plastic or metal bolts at the back of the seat.
- Use a screwdriver or adjustable wrench to loosen and remove the bolts.
- Lift the seat and lid assembly away from the toilet bowl.
- Place the old seat in a garbage bag for disposal.
When removing the old toilet seat, it’s important to be careful and avoid any damage to the toilet bowl or surrounding area. Once you have successfully removed the seat, make sure to dispose of it responsibly.
You can either throw it away in your regular trash or check with your local waste management facility for proper disposal methods.

LemonBest Toilet Seat Fitting Tool – Universal Toilet seat Installation Key, Toilet Seat Repair Wrench, 10/13/17mm Professional Universal Plastic High-Strength Installation Key (1 Pack)
【Universal Rotation Design】This wrench adopts a universal rotation design, which is convenient and labor-saving to use in hard-to-reach…
As an affiliate, we earn on qualifying purchases.
As an affiliate, we earn on qualifying purchases.
Step 3: Clean the Toilet Bowl and Seat Area
After removing the old toilet seat, it’s important to thoroughly clean the toilet bowl and the surrounding area.
Proper toilet seat hygiene is essential for maintaining a clean and sanitary bathroom.
To clean the toilet bowl, I recommend using a toilet bowl cleaner specifically designed to remove stains and kill germs. Apply the cleaner to the inside of the bowl, scrub with a toilet brush, and flush to rinse.
For the seat area, I suggest using a disinfecting wipe or a mixture of water and bleach to wipe down the surface. Be sure to clean all the nooks and crannies, including the hinges and underside of the seat.
Remember to wear gloves and wash your hands thoroughly after cleaning.

Clorox Toilet Bowl Cleaner Clinging Bleach Gel, Kills 99.9% of Bacteria and Viruses, Ocean Mist, 24 Fl Oz, Pack of 2
CLEANS AND DISINFECTS: Use the only toilet bowl cleaning solution with Clorox bleach to kill 99.9% of germs…
As an affiliate, we earn on qualifying purchases.
As an affiliate, we earn on qualifying purchases.
Step 4: Align and Attach the New Toilet Seat
To properly align and attach the new toilet seat, you’ll need to locate the holes on the toilet bowl where the seat will be secured. Once you have found the holes, follow these steps to attach the seat securely:
- Start by placing the seat on the toilet bowl, ensuring that the holes on the seat align with the holes on the bowl.
- Take the attaching hardware, which usually consists of bolts and nuts, and insert them through the holes on the seat and bowl.
- Tighten the nuts onto the bolts using a wrench. Make sure to tighten them evenly to avoid any wobbling or instability.
Finally, adjust the hinges on the seat to ensure that it opens and closes smoothly. This can be done by loosening or tightening the screws on the hinges.
Step 5: Test and Adjust the Toilet Seat for Comfort and Stability
Once you’ve completed the attachment process, now it’s time to test the comfort and stability of your newly installed toilet seat. This step is crucial to ensure that your toilet seat is properly adjusted and provides a comfortable experience.
To begin, gently sit on the seat and check if it feels secure and stable. Make sure it doesn’t wobble or shift when you move.
Next, assess the comfort level by sitting for a few minutes and evaluating the seat’s shape and padding. If you find it uncomfortable, some toilet seats allow for adjustments. Look for any adjustment screws or knobs underneath the seat and make necessary changes to improve your comfort.
Conclusion
Well, there you have it! Putting on a toilet seat may seem like a mundane task, but it is truly a feat of skill and precision.
Armed with the necessary tools and materials, you can conquer the challenge of removing the old seat and cleaning the area with ease.
And don’t even get me started on the alignment and attachment of the new seat – it requires the finesse of a surgeon!
Finally, after testing and adjusting for ultimate comfort and stability, you can proudly declare yourself the master of toilet seat installation. Bravo!