So, you’ve found yourself in a situation where you need to put a wax ring on your toilet. Don’t worry, I’ve got you covered with this step-by-step guide on how to get the job done.
With a few tools and materials, you’ll be able to remove the old wax ring, prepare the toilet and flange, and install a shiny new one. Say goodbye to leaks and hello to a properly sealed toilet.
Let’s dive in and get this wax ring party started!
Key Takeaways
- Choose the right wax ring for your toilet.
- Remove the old wax ring using a plastic putty knife.
- Properly position the wax ring centered on the flange.
- Ensure a tight seal and check for leaks before using the toilet.

Hibbent Extra Thick Toilet Wax Ring Replacement Kit, Universal Toilet Seal Ring with Brass Toilet Floor Bolts and Retainer Washers, PE Flange Fits 3 Inch and 4 Inch Drain Pipes
Universal Toilet Wax Ring: The Hibbent toilet flange is compatible with 3-inch and 4-inch waste lines, suitable for…
As an affiliate, we earn on qualifying purchases.
As an affiliate, we earn on qualifying purchases.
Gathering the Necessary Tools and Materials
Before you can begin installing the wax ring, you’ll need to gather all the necessary tools and materials.
Firstly, choose the right wax ring for your toilet. Look for a ring that matches the size and shape of your toilet’s drain opening.
Next, make sure you have a pair of disposable gloves to protect your hands from any mess.
You’ll also need a putty knife or scraper to remove any old wax residue from the flange.
Additionally, have a bucket or plastic bag nearby to dispose of the old wax ring.
Finally, it’s important to have a level handy to ensure proper placement of the wax ring.
Having these tools and materials ready will help make the installation process smoother and more efficient.

Fluidmaster Universal Install/Uninstall Toilet Repair Tool
Fluidmaster’s universal install and uninstall toilet tool makes any toilet repair job simple
As an affiliate, we earn on qualifying purchases.
As an affiliate, we earn on qualifying purchases.
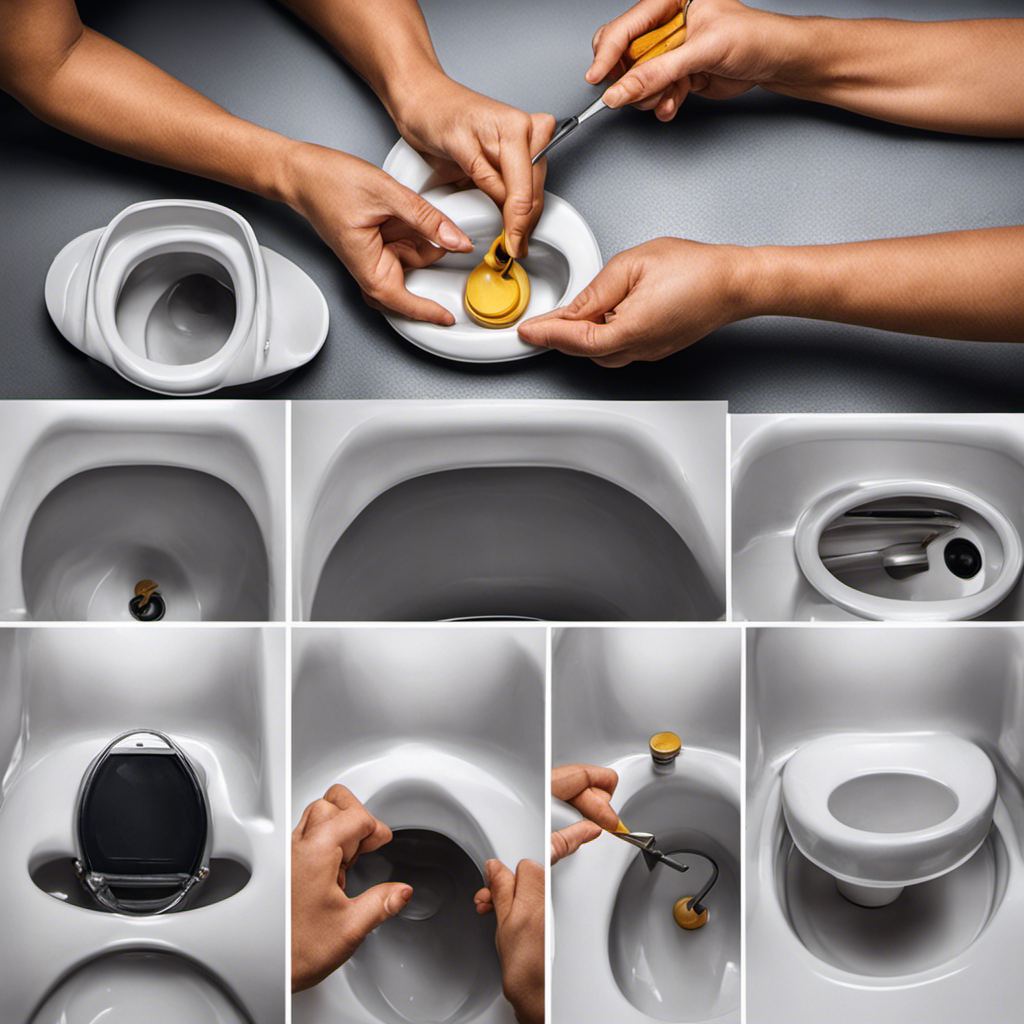
Removing the Old Wax Ring
First, you’ll want to carefully scrape off the old wax ring using a plastic putty knife. This step is important to ensure a clean surface for the new wax ring to adhere to.
Here’s a step-by-step guide on how to remove the old wax ring and clean the toilet:
- Gather the necessary tools and materials.
- Put on a pair of gloves to protect your hands.
- Use a plastic putty knife to scrape off the old wax ring. Be gentle but thorough, removing any residue or debris.
- Dispose of the old wax ring in a plastic bag or garbage bin.
- After removing the wax ring, use a toilet cleaner and a scrub brush to thoroughly clean the toilet bowl. Pay special attention to the area where the wax ring was located.
- Rinse the toilet bowl with clean water to remove any cleaning residue.
- Dry the toilet bowl with a clean towel.
Now that the old wax ring has been removed and the toilet is clean, it’s time to move on to preparing the toilet and flange for installation.
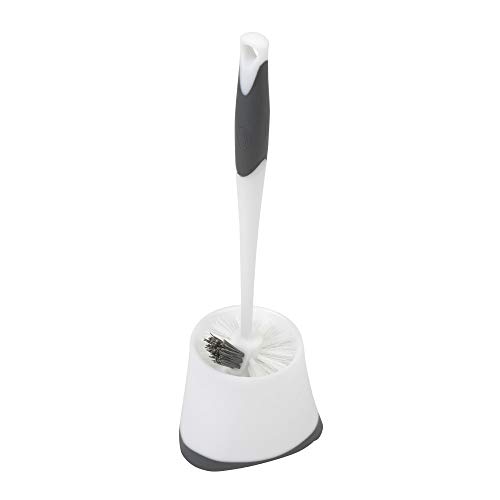
Clorox Corner Toilet Bowl Brush with Under Rim Scrubber, Includes Corner Storage Caddy, White
TOILET BOWL BRUSH AND HOLDER SET: Includes an under-rim bowl brush and coordinating caddy for convenient access and…
As an affiliate, we earn on qualifying purchases.
As an affiliate, we earn on qualifying purchases.
Preparing the Toilet and Flange for Installation
Now that you’ve finished cleaning the toilet bowl, it’s time to prepare the flange and get the toilet ready for installation. Here’s what you need to do:
-
Inspect the toilet flange: Check if the flange is in good condition and securely attached to the floor. If it’s damaged or loose, you’ll need to repair or replace it before proceeding.
-
Place the wax ring: Take the wax ring and position it on the flange, ensuring it is centered and aligned with the toilet’s drain hole. Gently press down to create a secure seal.
-
Lower the toilet: Carefully lower the toilet onto the wax ring, aligning the bolts on the base with the holes in the flange. Apply even pressure to ensure a proper seal.
-
Secure the toilet: Secure the toilet to the floor by tightening the nuts onto the bolts. Be careful not to overtighten, as this can damage the toilet or flange.
toilet wax ring installation
As an affiliate, we earn on qualifying purchases.
As an affiliate, we earn on qualifying purchases.
Installing the New Wax Ring
To create a secure seal, gently press the wax ring onto the flange, ensuring it is centered and aligned with the drain hole. This step is crucial for a proper installation.
Once the wax ring is in position, you can proceed with installing the toilet. However, there are a few common issues that may arise during the wax ring installation process.
One problem you may encounter is an uneven or wobbly toilet. To troubleshoot this, make sure the flange is level and securely fastened to the floor.
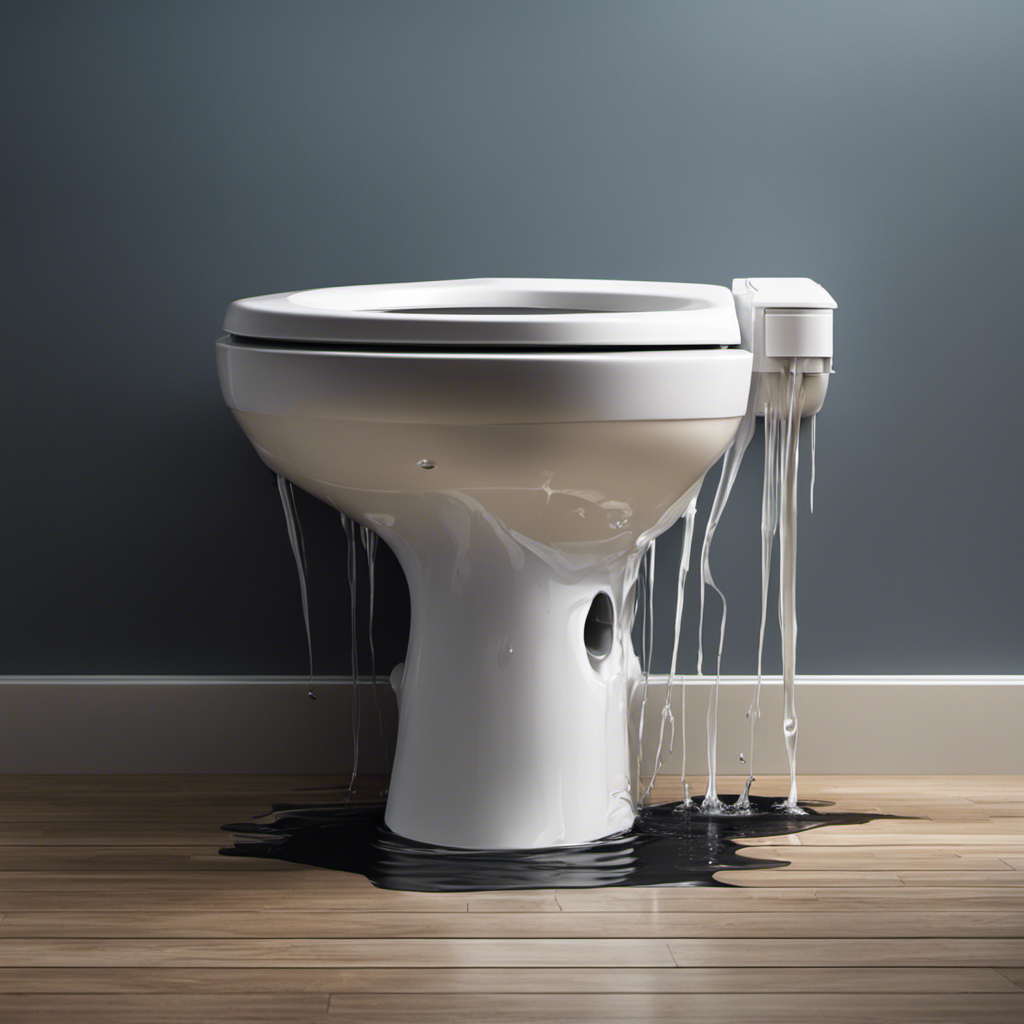
Another issue is a leaking toilet. To prevent this, double-check that the wax ring is properly aligned and compressed.
Additionally, here are some tips to ensure a proper seal with the new wax ring: apply even pressure when pressing the wax ring onto the flange, avoid over-tightening the toilet bolts, and test for leaks before using the toilet.
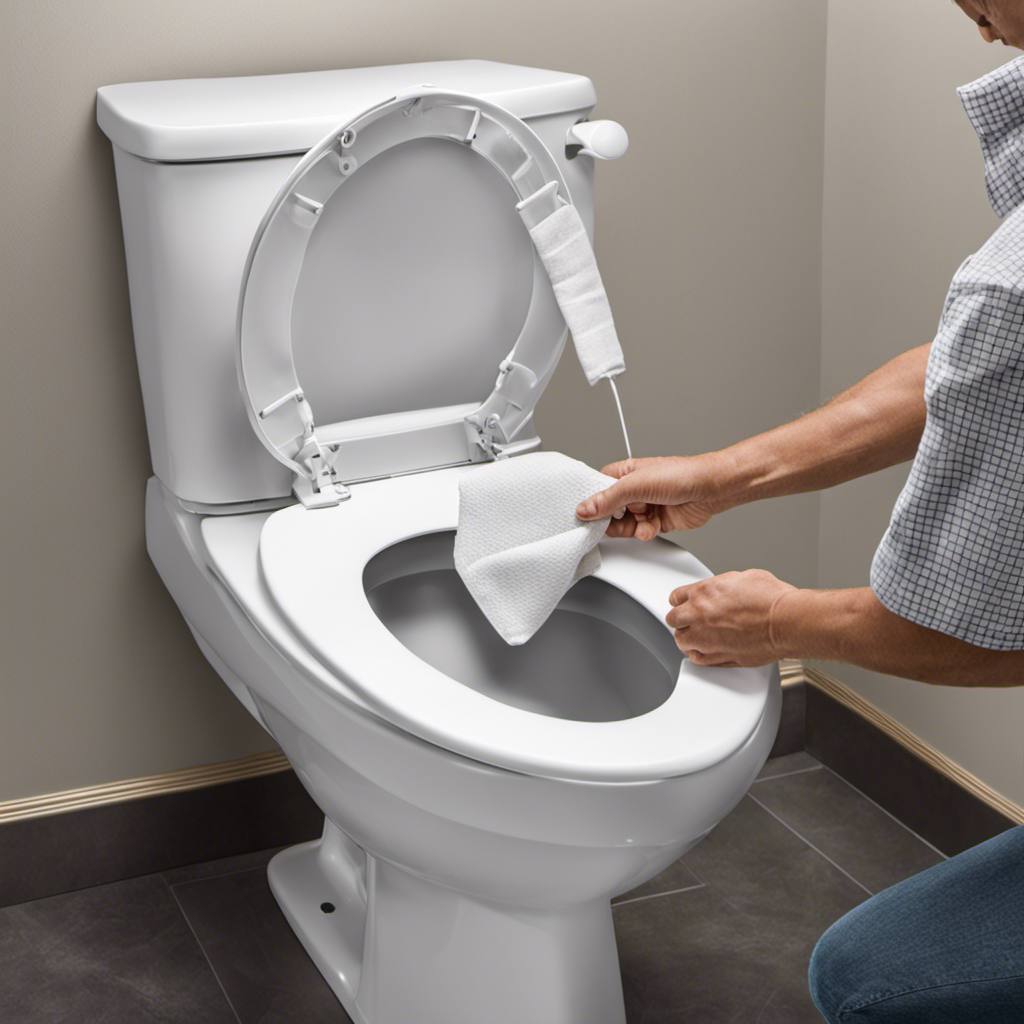
Reattaching the Toilet and Checking for Leaks
Before reattaching the toilet, ensure that the wax ring has been properly aligned and compressed to avoid any potential leaks. Troubleshooting common toilet leaks and proper maintenance of toilet flanges are essential to keep your bathroom in good working order.
Here’s a step-by-step guide to reattaching the toilet and checking for leaks:
- Lift the toilet bowl and carefully place it over the flange, ensuring that the wax ring is properly aligned with the flange.
- Apply pressure to compress the wax ring, making sure it forms a tight seal.
- Lower the toilet bowl onto the flange, aligning the bolts with the holes on the flange.
- Use a wrench to tighten the nuts onto the bolts, making sure they are secure but not overly tightened.
After reattaching the toilet, it’s important to check for any leaks. Flush the toilet and inspect the area around the base for any signs of water. If you notice any leaks, tighten the nuts a little more or replace the wax ring if necessary.
Properly maintaining the toilet flange and regularly checking for leaks will help prevent any future issues.
Conclusion
In conclusion, learning how to put a wax ring on a toilet is an essential skill for any homeowner.
By following the step-by-step instructions provided in this article, you can successfully replace the old wax ring and ensure a proper seal between the toilet and the floor.
However, it’s important to remember that every toilet installation may vary slightly, so always consult the manufacturer’s instructions for specific guidelines.
Don’t be afraid to investigate alternative methods or theories to enhance your understanding and improve your DIY skills.
Happy plumbing!