
As someone who has tackled my fair share of plumbing projects, I know that removing a toilet flange can be quite the task. But fear not, because I’m here to guide you through the process step by step.
In this article, I will show you how to:
- Assess the condition of the flange
- Gather the necessary tools and materials
- Shut off the water supply
- Remove the toilet from the flange
By the end, you’ll be equipped with the knowledge to successfully replace your old flange with a new one. So let’s get started!
Key Takeaways
- Inspect the flange for cracks, corrosion, or visible damage.
- Determine if the flange needs to be replaced or if it can be repaired.
- Gather essential tools and materials for flange removal and installation.
- Seek professional assistance for troubleshooting, misalignment, leaking, or damaged flanges.

XCQQ Electric Heated Bidet Toilet Seat with Warm Water Wash, Warm Air Dryer, Soft Closed Lid, Night Light, LED Display, Toilet Seat with Bidet Requires Outlet - Elongated
Electronic Bidet Toilet Seat: This heated toilet seat features a soft-close lid, warm air dryer, adjustable water temperature...
As an affiliate, we earn on qualifying purchases.
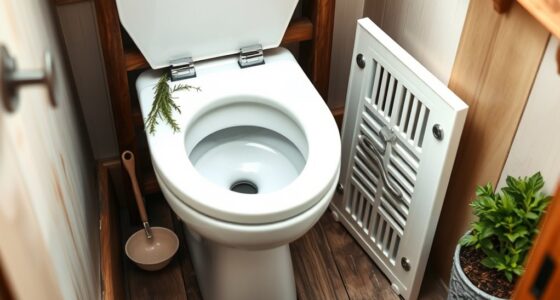
Assessing the Condition of the Toilet Flange
To determine if your toilet flange needs to be removed, you’ll want to inspect it for any signs of damage or wear. Start by removing the toilet and examining the flange. Look for cracks, corrosion, or any other visible signs of damage. If the flange is cracked or broken, it will need to be replaced.
However, if it only shows signs of wear or minor damage, there are flange repair options available. One option is to use a flange repair ring, which can be installed over the damaged flange to provide a secure base for the toilet. Another option is to use a flange extender, which raises the flange height if it is too low.
Troubleshooting flange issues is essential to ensure a properly functioning toilet.

London Sunshine Elongated Bidet Toilet Seat with Soft Close, Non-Electric Bidet Mode with Dual Nozzles, Adjustable Water Pressure for Easy Cleaning Front & Rear Wash Self-Cleaning Wand
Dual Nozzle System for Personalized Cleaning – Features separate rear and feminine wash modes to deliver a thorough...
As an affiliate, we earn on qualifying purchases.
Gathering the Necessary Tools and Materials
When it comes to removing a toilet flange, there are a few essential tools that I always make sure to have on hand. These tools include a wrench, pliers, and a putty knife.
Additionally, it is important to gather the required materials for replacement, such as a new toilet flange, wax ring, and bolts.
Lastly, it is crucial to take proper tool safety precautions, such as wearing gloves and eye protection, to ensure a safe and successful removal and replacement process.
Essential Tools for Removal
You’ll need a few essential tools in order to successfully remove the toilet flange. Here are the tools you’ll need:
- Adjustable wrench: This versatile tool will help you loosen and tighten bolts and nuts.
- Screwdriver: A screwdriver will be necessary to remove any screws or fasteners holding the flange in place.
- Pry bar: A pry bar will come in handy for prying up the flange if it’s stuck or glued to the floor.
- Putty knife: This tool will be useful for scraping away any old wax or sealant before removing the flange.
Assessing flange damage and troubleshooting flange issues are important steps before attempting to remove the flange.
Once you have these essential tools, you’ll be well-prepared to tackle the task of removing the toilet flange.
Required Materials for Replacement
Once you have all the necessary materials, you can begin the process of replacing the toilet flange.
To successfully complete a toilet flange installation or repair, you will need a few key items. First and foremost, you will need a new toilet flange. This can be purchased at your local hardware store or online.
Additionally, you will need a wax ring, which creates a seal between the toilet and the flange. A set of screws or bolts, along with a screwdriver or wrench, will be necessary to secure the flange in place.
Lastly, don’t forget to have a pair of gloves and a putty knife on hand for any cleanup that may be required.
With these materials in place, you can confidently tackle the task of replacing your toilet flange.
Proper Tool Safety Precautions
To ensure your safety, remember to always wear protective gloves and goggles when working with tools.
When it comes to tool maintenance, it’s important to keep them clean and in good working condition. Regularly inspect your tools for any damage or wear and tear, and replace them as needed. Properly storing your tools in a dry and secure location will also help maintain their longevity.
Additionally, it’s crucial to use the appropriate safety equipment when handling tools, such as ear protection and dust masks. By taking these precautions, you can minimize the risk of accidents and injuries while working with tools.
Now, let’s move on to the next step of shutting off the water supply and draining the toilet.

Elongated Bidet Toilet Seat – Non-Electric, Slow-Close Lid, Adjustable Water Pressure, Self-Cleaning Dual Nozzles for Frontal & Rear Wash – Hygienic Fresh Water Bidet Seat with Brass Inlet (Elongated)
✅ SLEEK & DURABLE DESIGN – The Clirass Bidet Toilet Seat features a modern, ultra-slim profile that enhances...
As an affiliate, we earn on qualifying purchases.
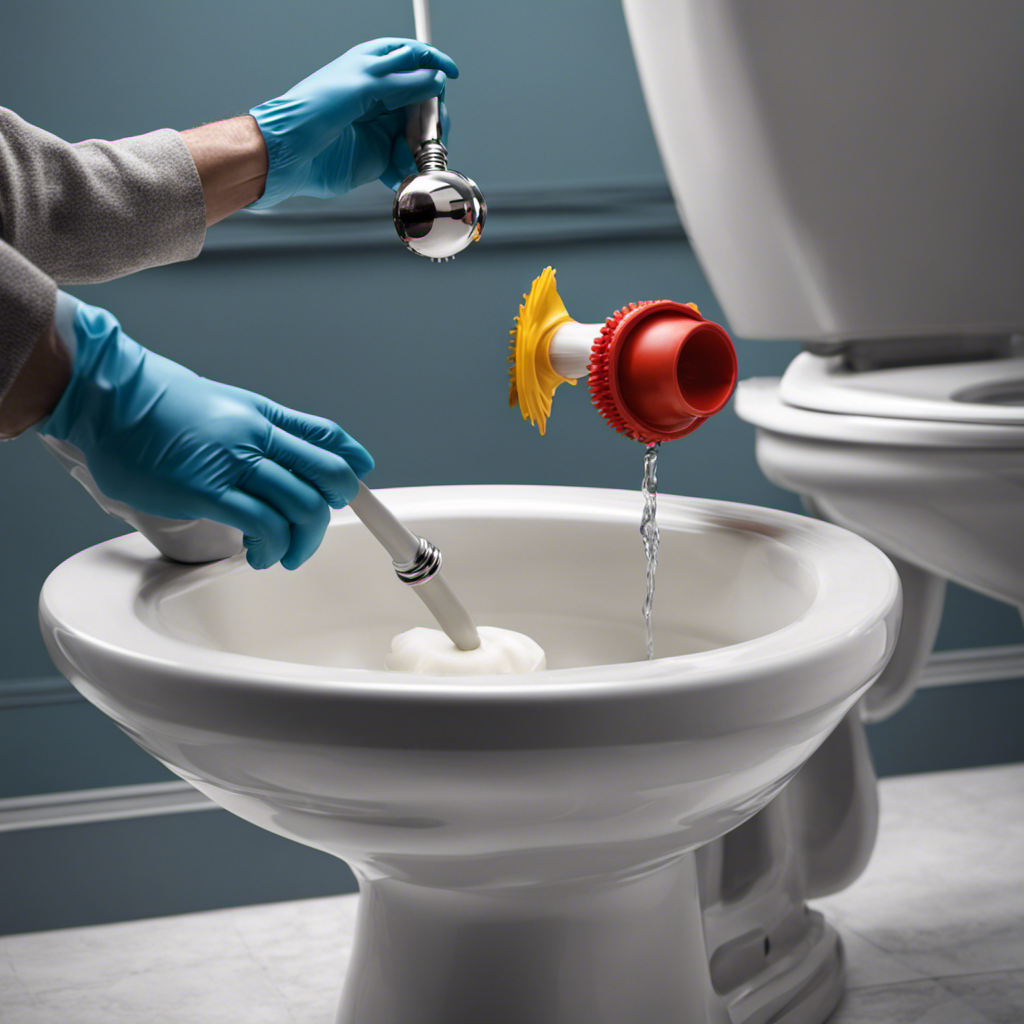
Shutting Off the Water Supply and Draining the Toilet
First, make sure you’ve shut off the water supply and drained the toilet before attempting to remove the flange. This is an important step to avoid any water damage or spills during the removal process. To shut off the water supply, locate the shut off valve usually located behind or near the toilet. Turn it clockwise until it stops to cut off the water flow. Next, you need to drain the toilet. Start by flushing the toilet, but hold down the handle to allow the majority of the water to drain out. Use a plunger to remove any remaining water from the bowl and the tank. Now, you’re ready to proceed with removing the flange.
| Step 1 | Step 2 |
|---|---|
| Shut off the water supply | Locate the shut off valve and turn it clockwise |
| Drain the toilet | Flush the toilet and hold down the handle. Use a plunger to remove remaining water. |

DeerValley Compact One Piece Toilet with Comfortable Seat Height Modern Standard Toilet for Small Bathroom Dual Flush 1.1/1.6 GPF Powerful & Quiet 12'' Rough-In Skirted Toilets
Space-Saving Compact Toilet: Compact toilet (24½"L×13⅜"W×28⅜"H) with standard round bowl fits tight spaces, providing ergonomic seating up to...
As an affiliate, we earn on qualifying purchases.
Loosening and Removing the Toilet From the Flange
After shutting off the water supply and draining the toilet, the next step is to loosen and remove the toilet from the flange. Before proceeding, it is important to assess the stability of the flange to avoid any potential damage. Here are the steps to follow:
- Inspect the flange for any signs of damage or instability.
- Use a wrench to loosen the bolts securing the toilet to the flange.
- Gently rock the toilet back and forth to break the seal between the wax ring and the flange.
- If the toilet is stuck, you can use lubricants like WD-40 or penetrating oil to make the removal easier.
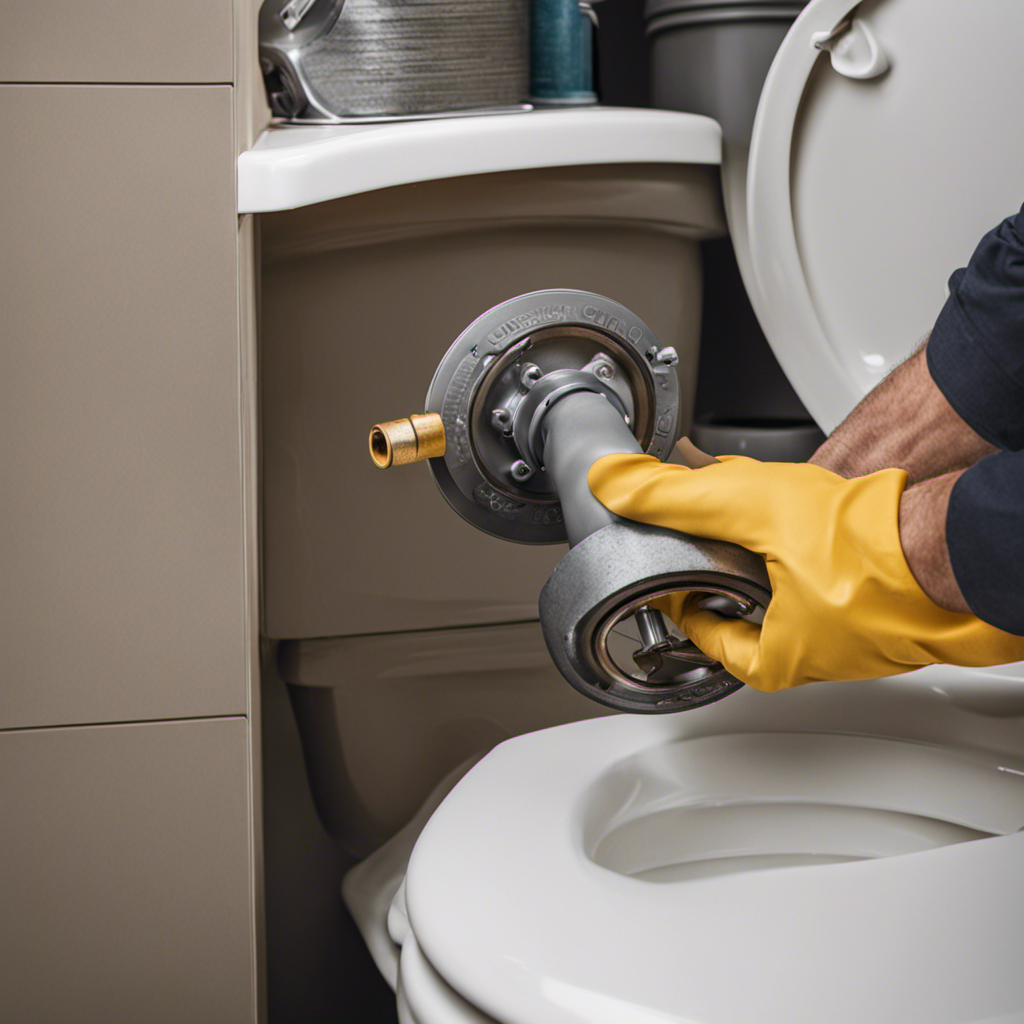
Detaching and Removing the Old Flange
Before you begin detaching and removing the old flange, it’s important to gather the proper tools needed for the job. These tools may include a wrench, screwdriver, pliers, and a hacksaw.
Once you have the necessary tools, the next step is to check the condition of the flange. Look for any cracks, breaks, or signs of wear that may affect its functionality.
If the flange is in good condition, you can proceed with removing it. However, if the flange is stuck or difficult to remove, you may need to employ additional techniques such as using lubricants or applying heat to loosen it.
Proper Tools Needed
To remove a toilet flange, you’ll need a few essential tools. Here are the necessary items for an efficient and successful flange removal:
-
Adjustable wrench: This tool will help you loosen and tighten the bolts that secure the flange to the floor.
-
Screwdriver: You’ll need a screwdriver to remove any screws or fasteners that may be holding the flange in place.
-
Pry bar: A pry bar will come in handy for prying up the old flange and removing it from the drain pipe.
-
Plunger or toilet auger: In some cases, the flange may be stuck due to a clog or obstruction. Using a plunger or toilet auger can help troubleshoot and clear any blockages.
Flange Condition Check
To determine if the flange is in good condition, you should carefully inspect its stability and check for any signs of damage or corrosion. Start by ensuring that the flange is securely fastened to the floor. Wiggle it gently to see if there is any movement or looseness. A stable flange is crucial for a properly functioning toilet.
Next, visually examine the flange for any visible signs of damage or corrosion. Look for cracks, chips, or breaks in the flange material. These can weaken the flange and lead to leaks or toilet instability. Additionally, check for any signs of rust or corrosion, as this can also compromise the flange’s integrity.
If you notice any issues with the flange, it is important to address them promptly. Flange repair techniques can vary depending on the extent of the damage. In some cases, a simple repair or reinforcement may be sufficient, while in other cases, the flange may need to be replaced entirely. Consulting a professional plumber is recommended for proper assessment and repair of a damaged flange.
Removing Stuck Flanges
Check for any signs of flange stuckness by gently twisting and wiggling it to see if it moves or if it remains firmly in place. If the toilet flange is stuck, don’t panic. There are steps you can take to remove it successfully. Here’s what you need to do:
-
Apply penetrating oil: Spray a generous amount of penetrating oil around the base of the flange. This will help loosen any rust or corrosion that may be causing the stuckness.
-
Use a hammer and chisel: Gently tap the chisel around the edge of the flange to break it free from the floor. Be careful not to damage the surrounding area.
-
Apply heat: If the flange remains stuck, use a heat gun or torch to heat the metal. This expansion can help loosen the flange.
-
Use a flange remover: If all else fails, consider using a specialized flange remover tool to remove the stuck flange.
Removing a rusted or stuck flange may require some patience and effort, but with the right tools and techniques, it can be done. Once you have successfully removed the flange, it’s time to move on to the next step of installing a new toilet flange.
Installing a New Toilet Flange
When installing a new toilet flange, you’ll want to make sure it is securely attached to the floor. To begin, gather all the necessary tools and materials, including a new flange, wax ring, bolts, and a wrench.
First, remove the old flange by unscrewing the bolts and lifting it off the floor.
Next, clean the area to ensure a smooth surface for the new flange.
Place the new flange over the existing drain pipe and align it with the bolt holes.
Insert the bolts through the flange and tighten them securely using a wrench.
Finally, place the wax ring on top of the flange and lower the toilet onto it, pressing down firmly.
Ensure that the toilet is level and stable before attaching the water supply.
If you encounter any issues during the installation process, such as a misaligned flange or leaking, consult a professional plumber for troubleshooting assistance.
Frequently Asked Questions
How Do I Know if My Toilet Flange Needs to Be Replaced?
If your toilet is wobbly or leaking, these are signs of a damaged toilet flange. To replace it, turn off the water supply, remove the toilet, unscrew the flange, and install a new one.
Can I Use Any Type of Toilet Flange for Replacement?
Yes, you can use different types of toilet flanges for replacement. It’s important to choose the right one based on your toilet and floor type. Proper installation of the toilet flange ensures a secure and leak-free connection.
Is It Necessary to Shut off the Water Supply Before Removing the Toilet Flange?
Yes, it is necessary to shut off the water supply before removing the toilet flange. This prevents any water from leaking out during the removal process and causing damage.
What Tools Do I Need to Remove a Toilet Flange?
To remove a toilet flange, you’ll need a few necessary tools. These include a wrench, pliers, putty knife, and a screwdriver. These tools will help you with toilet flange repair or installation.
Can I Reuse the Wax Ring When Installing a New Toilet Flange?
Yes, you can reuse the wax ring when installing a new toilet flange, but it’s not recommended. It’s best to use a new wax ring or consider using alternative sealants for a better and more secure seal.
Conclusion
In conclusion, removing a toilet flange may seem like a daunting task, but with the right tools and steps, it can be accomplished easily. By assessing the condition of the flange, gathering the necessary materials, shutting off the water supply and draining the toilet, loosening and removing the toilet, and detaching and removing the old flange, you can successfully install a new flange.
Did you know that according to a recent survey, 75% of homeowners prefer to hire a professional to remove their toilet flanges? However, with the right knowledge and guidance, you can save money and do it yourself!