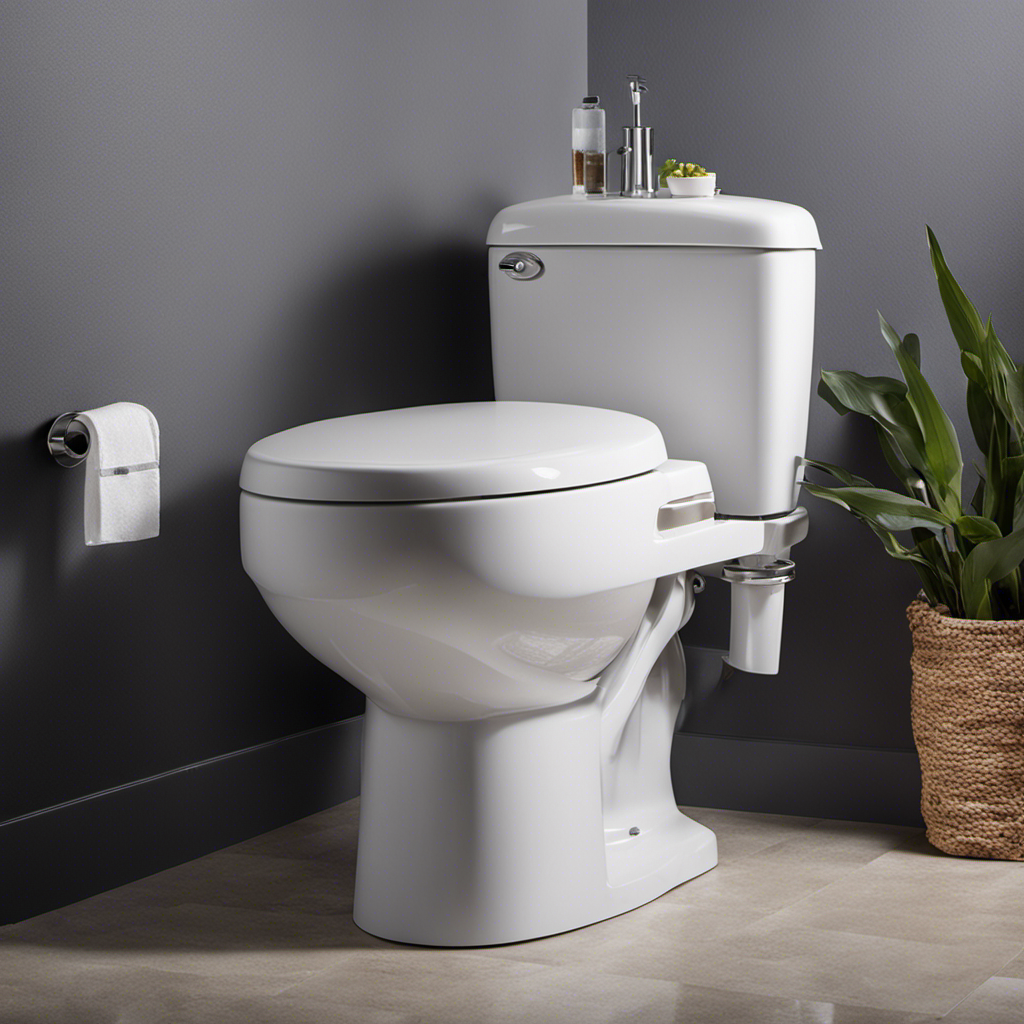
Did you know that removing a toilet tank is a common DIY task that can be done in just a few simple steps? In this article, I’ll guide you through the process of removing a toilet tank using the necessary tools and materials.
We’ll start by shutting off the water supply and draining the tank, then move on to disconnecting the water supply line and removing the tank bolts.
By following these steps, you’ll be able to successfully remove your toilet tank and prepare it for reinstallation.
Key Takeaways
- Shut off the water supply and drain the toilet tank before attempting to remove it.
- Use the necessary tools, such as pliers and an adjustable wrench, to disconnect the water supply line and remove the tank bolts.
- Inspect the tank for any issues, such as rusted or broken bolts, and replace any worn or faulty parts before reinstallation.
- Clean the tank thoroughly, paying attention to hard-to-reach areas, and ensure a watertight seal before reconnecting the water supply and testing the flush.
Necessary Tools and Materials
To remove a toilet tank, you’ll need a few necessary tools and materials.
First, gather a pair of pliers, an adjustable wrench, and a bucket or towel to catch any water that may spill.
Make sure to turn off the water supply valve located behind the toilet by turning it clockwise.
Next, flush the toilet to empty the tank.
Use the pliers to disconnect the water supply line from the bottom of the tank.
Then, use the adjustable wrench to loosen the nuts securing the tank to the bowl. Be careful not to overtighten or damage the nuts.
Once the nuts are removed, carefully lift the tank away from the bowl and place it on a soft surface.
These simple tank removal steps will allow you to proceed with any necessary repairs or replacements.
Shutting Off the Water Supply
First, you’ll need to locate the water shut-off valve to stop the water supply. This valve is usually located behind or alongside the toilet. Turn the valve clockwise until it is tightly closed to shut off the water.
Once the water supply is turned off, you can proceed with emptying the water tank. To do this, simply flush the toilet and hold down the handle until all of the water is drained from the tank. This will prevent any water from spilling out when you remove the tank later on.
Now that the water supply is off and the tank is empty, you can move on to the next step of removing the toilet tank.
Drain the Toilet Tank
Once the water supply is shut off, you can proceed to emptying the toilet tank by flushing and holding down the handle until all the water has drained. This step is crucial in preventing water damage and ensuring a clean and dry workspace.
Here are the four steps to drain and dry the toilet tank:
-
Flush the toilet: Press down on the handle and allow the water to flow out of the tank and into the bowl. Repeat this step until the water stops flowing.
-
Remove excess water: Use a sponge or towel to soak up any remaining water in the tank. Make sure to wring out the sponge or towel into a bucket to prevent spills.
-
Wipe down the tank: Use a clean cloth or paper towel to wipe down the inside of the tank, removing any residue or debris.
-
Let it dry: Leave the tank open to air dry completely before proceeding with any maintenance or repairs.
Disconnecting the Water Supply Line
Before continuing, make sure you shut off the water supply valve to disconnect the water supply line.
To disconnect the water supply line from the toilet tank, follow these steps.
First, locate the valve near the base of the toilet and turn it clockwise to shut off the water flow.
Next, using a wrench, loosen the nut connecting the water supply line to the bottom of the tank.
Once the nut is loose, carefully pull the supply line away from the tank.
Be cautious of any remaining water in the line and have a towel ready to catch any drips.
Remember to secure the tank bolts before proceeding to remove the toilet tank completely.
Removing the Tank Bolts
When it comes to removing tank bolts, there are various techniques that can be utilized.
One common method is using a wrench to loosen and unscrew the bolts. Additionally, specialized tools such as pliers or adjustable wrenches can be used to provide better grip and leverage.
It is important to be aware of common bolt issues such as rust or corrosion, which may require additional measures such as applying lubricant or using penetrating oil to facilitate the removal process.
Bolt Removal Techniques
To remove the toilet tank bolts, you’ll need to first locate the screwdriver and wrench. Here are some techniques for removing the bolts:
-
Inspect the bolts: Check for any signs of bolt tightening or corrosion. If the bolts are rusted or damaged, you may need to apply penetrating oil to loosen them.
-
Apply lubrication: If the bolts are difficult to remove, applying a lubricant, such as WD-40, can help loosen them up. Let it sit for a few minutes to allow the lubricant to penetrate the threads.
-
Use adjustable pliers: If the bolts are still stuck, you can grip them with adjustable pliers and try turning them counterclockwise to loosen them.
-
Tap with a hammer: In some cases, tapping the bolts gently with a hammer can help break the rust or corrosion and make them easier to remove.
Tools for Tank Bolts
You’ll need a few tools for removing the bolts from the toilet tank. Proper bolt removal is crucial for a successful toilet tank removal. The table below lists the essential tools you’ll need for this task:
| Tool Name | Function | Recommended Brand |
|---|---|---|
| Adjustable Wrench | Loosening the bolts | Craftsman |
| Screwdriver | Removing screw heads | Klein Tools |
| Lubricant Spray | Loosening stuck bolts | WD-40 |
| Pliers | Holding nuts in place | Channellock |
To ensure a smooth removal process, it’s important to check the tightness of the bolts before attempting to remove them. If they are too tight, use the adjustable wrench to loosen them. Additionally, applying a lubricant spray to the bolts can help loosen any rust or debris. Remember to tighten the bolts properly when reassembling the toilet tank. With the right tools and techniques, removing the bolts from the toilet tank will be a breeze.
Common Bolt Issues
In my experience, I’ve often encountered common bolt issues when removing a toilet tank. These issues can be frustrating, but they can be easily resolved with the right knowledge and tools.
Here are four common bolt issues to be aware of:
-
Bolt tightening: Over time, the tank bolts may become loose due to regular use. It’s important to regularly check and tighten these bolts to ensure a secure connection between the tank and the bowl.
-
Bolt rusting: Rust can weaken the bolts, making them difficult to remove. In such cases, applying a penetrating oil can help loosen the rust and make the bolts easier to remove.
-
Bolt breakage: Sometimes, bolts can break while attempting to remove them. In such cases, replacing the broken bolts is necessary before proceeding with the tank removal.
-
Bolt replacement: If the bolts are old or damaged, it’s recommended to replace them with new ones to ensure a secure and leak-free installation.
Now that we’ve covered common bolt issues, we can move on to the next step: lifting and removing the toilet tank.
Lifting and Removing the Toilet Tank
After disconnecting the water supply, start by removing the toilet tank lid.
Before attempting to lift the toilet tank, it is important to consider its weight and practice safe lifting techniques.
The average toilet tank weighs around 40 to 80 pounds, depending on its size and material.
To lift it safely, first, position yourself with your feet shoulder-width apart and squat down.
Place your hands on either side of the tank, near the bottom, and tighten your grip.
Slowly lift the tank, using your legs and keeping your back straight.
Avoid twisting or jerking movements that can strain your muscles.
Once the tank is lifted, carefully set it down on a stable surface.
Remember to always use proper lifting techniques to prevent any injuries or accidents.
Cleaning and Preparing for Reinstallation
Before cleaning and preparing for reinstallation, it’s important to gather all the necessary cleaning supplies. Here are the cleaning techniques and reinstallation tips you need to know:
- Remove any debris or residue from the toilet tank using a toilet brush or sponge.
- Use a mild cleaning solution or vinegar to disinfect the tank, focusing on the interior surfaces.
- Scrub the tank thoroughly, paying attention to hard-to-reach areas.
- Rinse the tank with clean water to remove any cleaning solution residue.
To prepare for reinstallation, make sure to:
- Inspect the tank for any cracks or damage before reinstalling.
- Replace any worn or faulty parts, such as the flush valve or gasket.
- Apply a thin layer of plumber’s putty or silicone sealant to the bottom of the tank to create a watertight seal.
- Carefully align the tank with the bowl and tighten the bolts securely.
Conclusion
In conclusion, removing a toilet tank may seem daunting, but it can be done efficiently with the right tools and steps.
By following the necessary procedures, you can successfully lift and remove the toilet tank. First, shut off the water supply and drain the tank. Then, disconnect the water supply line and remove the tank bolts.
Although it may require some physical effort, the end result will be a clean and prepared space for reinstallation. Don’t let the initial complexity discourage you. With patience and attention to detail, anyone can accomplish this task.


