I thought removing a Bemis toilet seat would be a piece of cake, but boy was I wrong! If you’re facing the same struggle, fear not. In this article, I’ll guide you through the process, step-by-step, so you can bid farewell to that stubborn seat.
Armed with just a few tools and a little patience, you’ll have that Bemis toilet seat off in no time. So, let’s get started and reclaim our throne!
Key Takeaways
- The tools required for removing a Bemis toilet seat include a screwdriver (flathead and Phillips head), pliers, a wrench, and a flashlight.
- Different models of Bemis toilet seats may require different types of screws, so it’s important to check the specific requirements for your seat.
- Before removing the Bemis toilet seat, it is advisable to turn off the water supply, wear gloves, and clean the seat with disinfectant. Rinse and dry the seat and clean the surrounding area before installation.
- To remove the Bemis toilet seat, locate the bolts holding the seat to the toilet bowl and use a wrench or pliers to loosen and remove the nuts. Lift the seat away from the bowl. If the bolts are stubborn, alternative methods such as using lubricant or a hacksaw may be necessary.

LemonBest Toilet Seat Fitting Tool – Universal Toilet seat Installation Key, Toilet Seat Repair Wrench, 10/13/17mm Professional Universal Plastic High-Strength Installation Key (1 Pack)
【Universal Rotation Design】This wrench adopts a universal rotation design, which is convenient and labor-saving to use in hard-to-reach…
As an affiliate, we earn on qualifying purchases.
As an affiliate, we earn on qualifying purchases.
Tools Required for Removing Bemis Toilet Seat
To remove your Bemis toilet seat, you’ll need a few tools.
The first tool you’ll need is a screwdriver. Make sure to have both a flathead and Phillips head screwdriver on hand, as different models may require different types of screws.
Next, you’ll need a pair of pliers to loosen any stubborn bolts or nuts that may be holding the seat in place.
Additionally, it’s a good idea to have a wrench handy, in case you encounter any rusted or corroded hardware.
Lastly, a flashlight can be helpful to provide better visibility in the tight spaces under the toilet.

2Pcs Universal Plastic Toilet Seat Hinge Bolt Screws Replacement Kit with Nuts and Washers, Compatible with Kohler, Bemis, American Standard, TOTO, for Top Mount Toilet Seat Hinges, White
DURABLE CONSTRUCTION: Crafted from high-quality plastic, this toilet seat screws replacement kit includes plastic toilet seat screws, toilet…
As an affiliate, we earn on qualifying purchases.
As an affiliate, we earn on qualifying purchases.
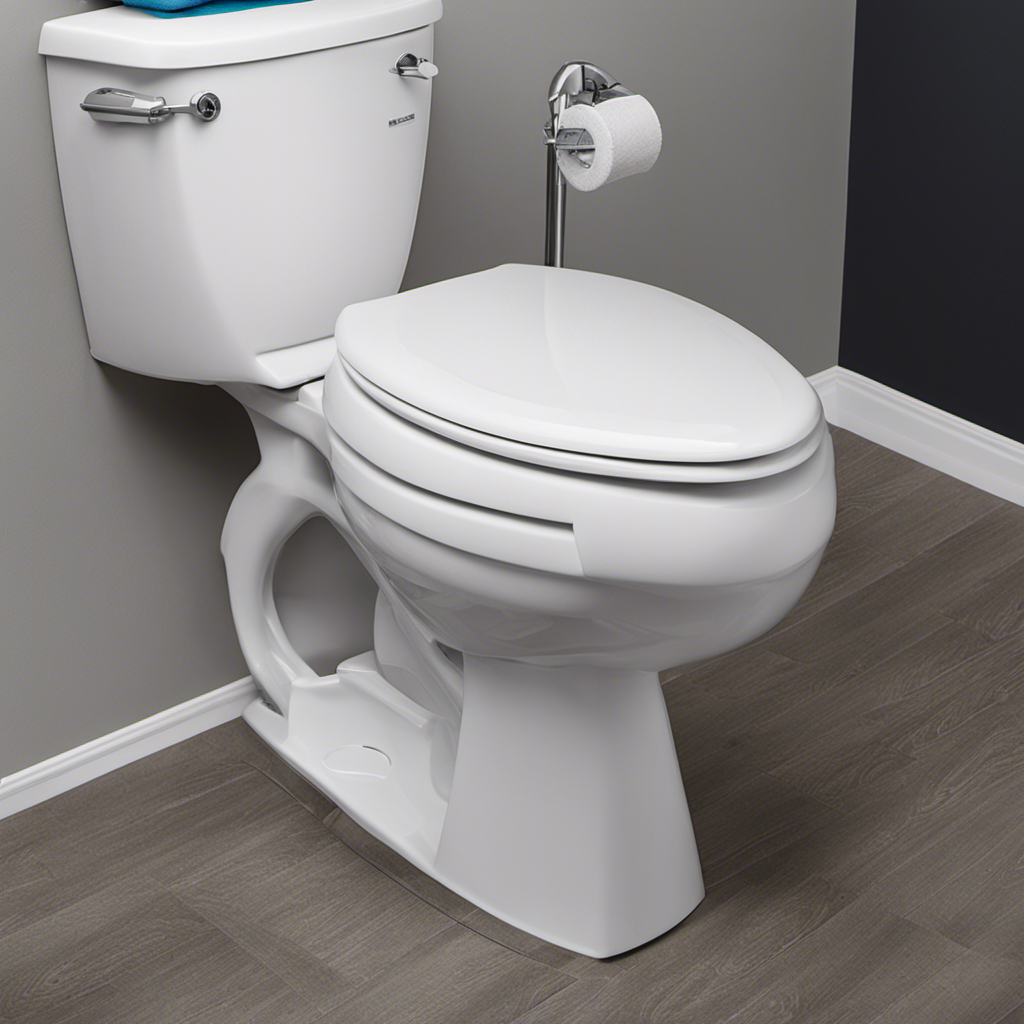
Step-by-Step Instructions to Remove Bemis Toilet Seat
First, you’ll want to make sure that you have all the necessary tools for this task. The most common mistake people make when removing a Bemis toilet seat is not having the right tools on hand. To avoid this, gather a wrench, pliers, and a screwdriver before starting.
There are alternative methods to remove a Bemis toilet seat, such as using a lubricant to loosen stubborn bolts or using a hacksaw to cut through corroded screws. However, for a standard removal, follow these step-by-step instructions:
1) Locate the bolts holding the seat to the toilet bowl.
2) Use a wrench or pliers to loosen and remove the nuts.
3) Lift the seat away from the bowl.
By following these instructions, you can easily remove a Bemis toilet seat.
Now, let’s discuss the precautions to take before removing the seat.

Jam Bar Toilet Tool, Dual V-Teeth Plumbing Tools, Stops Bolt Rotation Wrench(1 Pack)
[Stop Bolt Spin Fast] Lock toilet tank bolts firmly in place to install or remove nuts without spinning….
As an affiliate, we earn on qualifying purchases.
As an affiliate, we earn on qualifying purchases.
Precautions to Take Before Removing Bemis Toilet Seat
Before you start, it’s important to ensure your safety by turning off the water supply to the toilet.
Cleaning and replacing a toilet seat can be a simple task if you follow the right precautions. Firstly, make sure to wear gloves to protect yourself from germs and bacteria.
To clean the toilet seat, use a mild disinfectant and a soft cloth or sponge. Gently scrub the seat, including the underside, hinges, and bolts. Rinse thoroughly and dry with a clean cloth.
If you’re replacing the toilet seat, start by loosening the bolts that hold it in place using a wrench or pliers. Lift the seat and carefully remove it from the toilet. Clean the area before installing the new seat by wiping it down and removing any debris.
Once cleaned, follow the manufacturer’s instructions to install the new seat securely.

Lysol Toilet Bowl Cleaner, Max Strength Bathroom Cleaning Supplies, Toilet Bowl Cleaner Clinging Gel, Home Essential, Instant Stain Removal, Disinfecting and Deodorizing, Bleach Free, 24 oz (2 ct)
TOILET BOWL CLEANER: Lysol Toilet Bowl Cleaner is a bathroom essential tested and proven to kill 99.9% of…
As an affiliate, we earn on qualifying purchases.
As an affiliate, we earn on qualifying purchases.
Troubleshooting Tips for Removing Bemis Toilet Seat
If you’re having trouble, try wiggling the seat gently from side to side to loosen it.
When it comes to removing a Bemis toilet seat, there are some common problems that can arise. One of the main issues is that the seat may be stuck due to years of use or a buildup of dirt and grime. In this case, it can be helpful to use a lubricant, such as WD-40, to loosen the seat before attempting to remove it.
Another common issue is stripped screws or bolts, which can make removal difficult. In this situation, alternative methods can be used, such as using pliers or a wrench to grip the stripped screw and turn it counterclockwise.
Additional Tips and Tricks for Removing Bemis Toilet Seat
When removing a Bemis toilet seat, you can try using a hairdryer to heat the screws and make them easier to loosen. This method works well if the screws are rusty or stuck due to years of use.
However, there are other alternative methods you can try if the hairdryer doesn’t work. One option is to use a screwdriver with a rubber grip to provide better leverage when turning the screws.
Another method is to apply lubricant, such as WD-40, to the screws and let it sit for a few minutes before attempting to remove them.
Additionally, you can use a wrench or pliers to hold the nut underneath the toilet seat while loosening the screws.
Remember to avoid common mistakes such as using excessive force, which can damage the toilet or injure yourself, and always follow the manufacturer’s instructions for proper removal.
Conclusion
In conclusion, removing a Bemis toilet seat is a task that requires patience and attention to detail. Just like unraveling a tangled thread, it is important to approach the task with a steady hand and a clear mind.
By following the step-by-step instructions and taking necessary precautions, you can successfully remove the Bemis toilet seat without any hassle. Remember, every problem has a solution, and with a little effort, you can overcome any obstacle that comes your way.
So go ahead, tackle the challenge, and unveil a clean and fresh toilet seat for a more comfortable bathroom experience.