Are you tired of dealing with a faulty fill valve in your toilet? Well, fret no more! In this article, we will guide you through the step-by-step process of removing the fill valve from your toilet.
By following our detailed instructions and using the necessary tools, you’ll be able to tackle this task with ease.
So, let’s get started and say goodbye to that troublesome fill valve once and for all!
Key Takeaways
- Assess the condition of the fill valve by checking for slow or continuous water flow, cracks, leaks, and deterioration.
- Gather the necessary tools and supplies such as an adjustable wrench, screwdriver, pliers, bucket, pen and paper, replacement fill valve, Teflon tape, and a rag or towel.
- Shut off the water supply to the toilet by turning the shut-off valve clockwise and flush the toilet to ensure the water flow has stopped.
- Drain the water from the toilet tank by shutting off the water supply, flushing the toilet while holding the handle down, and using a bucket or towel to soak up any remaining water.

Elongated One Piece Toilet with Comfort Chair Seat ADA Height 17.33", Powerful Dual Flush 0.8/1.28 GPF Compact Toilet, MAP 1000g, Standard White Toilet Bowl, 12'' Rough-in
[Modern Toilets for Bathrooms]: Full skirt design elongated one-piece toilet, not only is it beautiful and elegant, it's...
As an affiliate, we earn on qualifying purchases.
Assessing the Condition of the Fill Valve
Now, you’ll want to take a closer look at the condition of the fill valve to determine if it needs to be replaced.
Start by evaluating its functionality. To do this, flush the toilet and observe if the fill valve is filling the tank properly. If the water fills too slowly or doesn’t stop when the tank is full, these are signs of a faulty fill valve.
Next, inspect the fill valve for any signs of wear and tear. Look for cracks, leaks, or rust on the valve body and the float mechanism. Additionally, check the rubber components such as the seal and the diaphragm for any signs of deterioration. If you notice any of these issues, it’s likely that the fill valve needs to be replaced.
Now that you have assessed the condition of the fill valve, you can proceed to gathering the necessary tools and supplies.

XCQQ Electric Heated Bidet Toilet Seat with Warm Water Wash, Warm Air Dryer, Soft Closed Lid, Night Light, LED Display, Toilet Seat with Bidet Requires Outlet - Elongated
Electronic Bidet Toilet Seat: This heated toilet seat features a soft-close lid, warm air dryer, adjustable water temperature...
As an affiliate, we earn on qualifying purchases.
Gathering the Necessary Tools and Supplies
First, you’ll need to gather all the tools and supplies necessary for the task of replacing the fill valve in your toilet. This is an essential step to ensure a smooth and successful repair. Here is a list of the items you will need:
| Tools | Supplies |
|---|---|
| Adjustable wrench | Replacement fill valve |
| Screwdriver | Teflon tape |
| Pliers | Rag or towel |
| Bucket | Pen and paper |
Once you have gathered all these tools and supplies, you can proceed with confidence knowing that you have everything you need to complete the task. It is important to find a replacement fill valve that matches the specifications of your current valve. Take note of the brand, model, and dimensions of your current fill valve before heading to the hardware store. With these keywords in mind, you can easily find the right replacement parts and avoid any unnecessary trips back to the store.

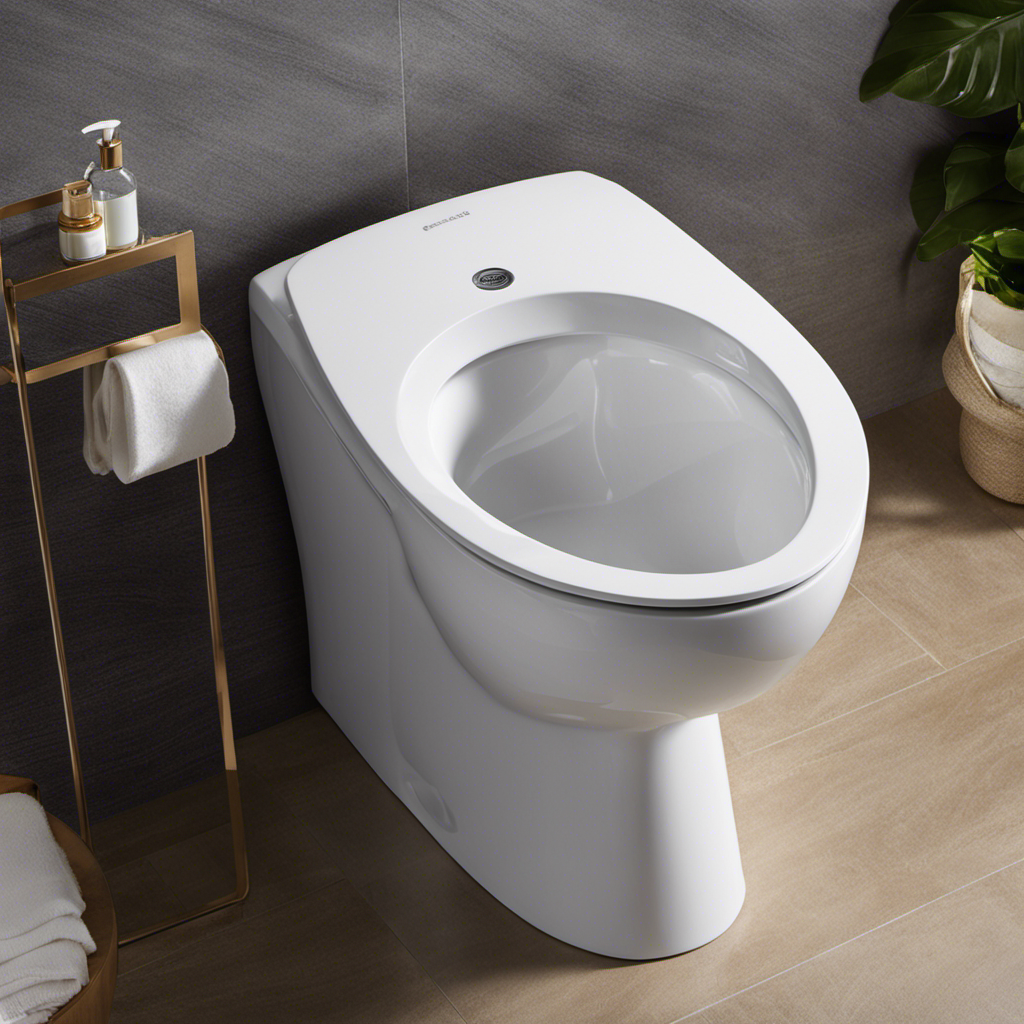
HOROW HR-ST076WD Dual Flush Elongated Toilet with Soft Close Seat, High-Efficiency Supply, Standard Bathroom Toilet 12" Rough-In, White Finish
Dual Flush Modern Design: Our elongated toilet is a more classic style, with smooth shape and one-piece molding....
As an affiliate, we earn on qualifying purchases.
Shutting Off the Water Supply to the Toilet
To prevent any potential water damage, it’s crucial to shut off the water supply to your toilet before proceeding with the repair. Here’s how you can do it:
-
Locate the shut-off valve: Look for a small handle or lever behind or next to the toilet. It is usually connected to a pipe coming out of the wall or the floor.
-
Turn off the water supply: Rotate the handle or lever clockwise until it stops. This will shut off the flow of water to the toilet tank.
-
Test the shut-off: Flush the toilet and make sure no water fills the tank. If water still enters the tank, the shut-off valve may be faulty and needs to be replaced.
By shutting off the water supply, you prevent leaks and potential water damage during the repair process.
Now that you’ve taken this important step, you can proceed with confidence to remove the fill valve from your toilet. Don’t worry, we’ll guide you through the process step by step. But first, let’s talk about finding the right replacement parts.

London Sunshine Elongated Bidet Toilet Seat with Soft Close, Non-Electric Bidet Mode with Dual Nozzles, Adjustable Water Pressure for Easy Cleaning Front & Rear Wash Self-Cleaning Wand
Dual Nozzle System for Personalized Cleaning – Features separate rear and feminine wash modes to deliver a thorough...
As an affiliate, we earn on qualifying purchases.
Draining the Water From the Toilet Tank
To prevent water damage and safely empty the toilet tank, it is important to first shut off the water supply.
Locate the shut-off valve, typically located behind or near the toilet, and turn it clockwise until it is fully closed.
Once the water supply is shut off, you can proceed to empty the toilet tank by flushing it while holding the toilet handle down until all the water has drained.
Shutting off Water
Before shutting off the water, make sure to locate the shut-off valve near the base of the toilet. This valve is typically a small knob or lever that you can turn clockwise to stop the flow of water into the toilet tank.
Assessing the water pressure is important to ensure that the shut-off valve is working properly. You can do this by flushing the toilet and observing the water flow. If the water pressure is weak, it could indicate a problem with the shut-off valve or a leak in the plumbing system.
Checking for leaks is also crucial before shutting off the water. Look for any signs of water dripping or pooling around the toilet base or supply line.
Once you have assessed the water pressure and checked for leaks, you can confidently proceed with shutting off the water to the toilet tank, allowing you to move on to the next step of emptying the tank.
Emptying Toilet Tank
After you’ve located the shut-off valve and assessed the water pressure, you can now begin emptying the toilet tank. To do this, follow these step-by-step instructions:
- Turn off the water supply by turning the shut-off valve clockwise until it is fully closed.
- Flush the toilet to remove as much water as possible from the tank. Use a bucket or towel to soak up any remaining water.
-
Once the tank is empty, it’s important to assess the water pressure and check for leaks. This will help ensure that the tank is fully drained and ready for further repairs.
Water Pressure Leak Check High Yes Low No Normal N/A
Assessing the water pressure involves checking the flow rate and observing any signs of leakage. If the water pressure is high or there are leaks, it may indicate a problem with the fill valve or other components that need to be addressed before proceeding with the removal process.
Preventing Water Damage
Preventing water damage is crucial when emptying the toilet tank. Therefore, it’s important to assess the water pressure and check for leaks before proceeding with any repairs. To prevent leaks and potential water damage, follow these steps:
-
First, turn off the water supply to the toilet by locating the shut-off valve usually located on the wall behind the toilet.
-
Once the water supply is turned off, flush the toilet to drain the tank completely.
-
After the tank is empty, inspect the fill valve and surrounding areas for any signs of leaks or damage. Look for water pooling, dampness, or unusual sounds.
-
If you notice any leaks or damage, it’s important to address them before continuing with any repairs to avoid further water damage.
-
Regular inspections of the toilet tank and fill valve can help prevent leaks and minimize the risk of water damage. Make sure to check for any signs of wear or deterioration and address them promptly.
Detaching the Water Supply Line From the Fill Valve
To detach the water supply line from the fill valve, you’ll need to turn off the water supply valve. This step is essential to prevent any water leakage when you remove the fill valve.
Start by locating the water supply valve, usually located behind or near the toilet. Turn it clockwise until it’s fully closed.
Next, you’ll need to remove the water supply line from the fill valve. Use an adjustable wrench to loosen the nut connecting the supply line to the fill valve. Turn the wrench counterclockwise to loosen the nut.
Once the nut is loose, you can remove the water supply line from the fill valve. Be sure to place a towel or bucket underneath to catch any residual water that may leak out.
Now you’re ready to move on to the next step of replacing the fill valve or troubleshooting the water supply.
Removing the Fill Valve From the Toilet Tank
Now that you have successfully detached the water supply line from the fill valve, it is time to move on to the next step: removing the fill valve from the toilet tank.
This is an important step if you need to replace a damaged fill valve or if you are encountering issues with your toilet’s water flow. Follow these steps to effectively remove the fill valve:
-
Empty the toilet tank: Flush the toilet and hold down the lever to drain as much water as possible.
-
Locate the fill valve: The fill valve is usually located on the left side of the toilet tank. It is connected to the water supply line.
-
Remove the fill valve: Use a wrench to loosen and remove any nuts or bolts securing the fill valve to the toilet tank. If you encounter rusted bolts, apply penetrating oil and let it sit for a few minutes before attempting to remove them.
Cleaning and Replacing the Fill Valve
To properly maintain your fill valve and troubleshoot common issues, there are a few key points to keep in mind.
First, regular cleaning of the fill valve is important to prevent clogs and ensure proper water flow. You can clean the valve by removing it from the toilet tank and soaking it in a mixture of vinegar and water.
Additionally, if you encounter common issues such as a constantly running toilet or a weak flush, you can troubleshoot by checking the water level, adjusting the float, or replacing any faulty components.
Proper Fill Valve Maintenance
Regular maintenance is essential for ensuring the proper functioning of the fill valve in your toilet. By regularly maintaining your fill valve, you can prevent issues such as constant running, weak flushes, and water wastage.
Here are some steps to help you with proper fill valve maintenance:
-
Adjust the fill valve: Proper fill valve adjustment is crucial for maintaining the correct water level in your toilet tank. To do this, locate the adjustment screw on top of the fill valve and turn it clockwise to decrease the water level or counterclockwise to increase it.
-
Check for leaks: Regularly inspect your fill valve for any signs of leaks. If you notice water pooling around the base of the valve or hear hissing sounds, it may indicate a leak that needs to be addressed.
-
Clean the fill valve: Over time, sediment and debris can accumulate in the fill valve, affecting its performance. To clean it, turn off the water supply to the toilet, remove the valve cap, and rinse it under running water. Use a soft brush to gently scrub away any buildup.
Troubleshooting Common Issues
If you notice your toilet constantly running, there could be a simple solution to troubleshoot the issue.
One common problem that can cause a running toilet is a faulty fill valve. The fill valve is responsible for refilling the tank after each flush. If it is not working properly, it can lead to water leaks and continuous running.
To troubleshoot a toilet fill valve, start by turning off the water supply to the toilet. Flush the toilet to drain the water from the tank.
Next, locate the fill valve, which is usually located on the left side of the tank. Inspect the fill valve for any visible leaks or damage. If you notice any leaks, you may need to replace the fill valve.
If there are no visible issues, try adjusting the float level by turning the adjustment screw. This can help regulate the water level in the tank and prevent continuous running.
If troubleshooting the fill valve does not resolve the issue, it may be necessary to call a professional plumber for further assistance.
Conclusion
To conclude, removing the fill valve from your toilet is a simple process that can be done with a few basic tools and some patience. By assessing the condition of the fill valve, shutting off the water supply, and detaching the water supply line, you can easily remove the fill valve from the toilet tank.
Remember to clean and replace the fill valve if necessary. With these step-by-step instructions, you’ll have your toilet up and running smoothly in no time.
Like a well-oiled machine, your toilet will be back in working order.