Removing an old toilet flange is like unraveling a stubborn knot in a plumbing puzzle. In this guide, I’ll take you through the step-by-step process of tackling this task with ease.
With the right tools and materials, you’ll be able to prepare your bathroom, disconnect the toilet, and successfully remove the old flange.
By following these instructions, you’ll be well on your way to a cleaner and more efficient bathroom in no time.
Let’s dive in!
Key Takeaways
- The necessary tools for removing an old toilet flange include pliers or a wrench, a putty knife or scraper, a hacksaw or reciprocating saw, and a bucket or trash bag for debris disposal.
- Before removing the old flange, it is important to prepare the bathroom by clearing the area around the toilet, measuring and marking the new flange position, and inspecting the subfloor for damage or rot.
- To disconnect the toilet, the water supply valve should be shut off, the toilet should be flushed to remove any remaining water, and the water supply line should be disconnected from the tank. The nuts securing the toilet to the floor bolts should then be removed, and the toilet can be lifted and set aside.
- When removing the old flange, it is important to inspect it for damage or corrosion and to loosen the screws holding it in place. A pry bar or screwdriver can be used to pry the old flange off the floor, and penetrating oil may be needed for rusted or stuck screws. A flange remover tool can also be used if necessary.
Tools and Materials Needed
To remove an old toilet flange, you’ll need a few tools and materials. First, you’ll need a pair of pliers or a wrench to loosen and remove the nuts securing the toilet to the flange.
A putty knife or scraper will come in handy to remove any wax or adhesive residue from the flange.
Next, you’ll need a hacksaw or reciprocating saw to cut through any bolts or screws that may be holding the flange in place.
It’s also a good idea to have a bucket or trash bag nearby to dispose of any debris.
Lastly, you may need a new toilet flange if the old one is damaged or corroded.
With these tools and materials, you’ll be prepared to tackle the task of removing the old toilet flange and troubleshooting any issues that may arise during the process.
Now that you have everything you need, let’s move on to preparing the bathroom for the installation of the new flange.
Preparing the Bathroom
Start by clearing the area around the toilet and securing any loose items. This will ensure a safe and clutter-free workspace.
Next, measure and mark the new flange position. Use a measuring tape to determine the distance from the wall to the center of the old flange. Make a mark on the floor to indicate the new position.
Before installing the new flange, it’s important to repair any damages to the subfloor. Inspect the area for any signs of rot or water damage. If there are any soft spots or weak areas, they need to be addressed before proceeding. Replace any damaged sections of the subfloor and make sure it is sturdy and level.
Once the area is cleared and the new flange position is marked, you can move on to the next step of removing the old flange.
Disconnecting the Toilet
First, check if the water supply valve is shut off to prevent any leaks while disconnecting the toilet. To begin, turn off the valve clockwise until it is fully closed.
Next, flush the toilet to remove any remaining water in the tank and bowl. Use a wrench to disconnect the water supply line from the bottom of the tank. Make sure to have a bucket or towel ready to catch any water that may still be in the line.
After that, remove the nuts securing the toilet to the floor bolts. These are usually located at the base of the toilet. Gently lift the toilet and set it aside. Troubleshooting common issues during this step may include rusty or corroded bolts, which may require some lubricant or additional force to loosen.
With the toilet now disconnected, we can move on to removing the old flange.
Removing the Old Flange
Once the water supply line and nuts securing the toilet are disconnected, it’s time to proceed with the removal of the old flange.
Removing the old flange can be a bit tricky, but with some tips and troubleshooting, it can be done smoothly.
First, inspect the flange for any damage or corrosion. If it’s in good condition, you can start by loosening the screws holding it in place. Use a screwdriver or a socket wrench to carefully unscrew them. If the screws are rusted or stuck, applying some penetrating oil can help loosen them.
Once the screws are removed, you can gently pry the old flange off the floor using a flathead screwdriver or a pry bar. Be cautious not to damage the surrounding flooring.
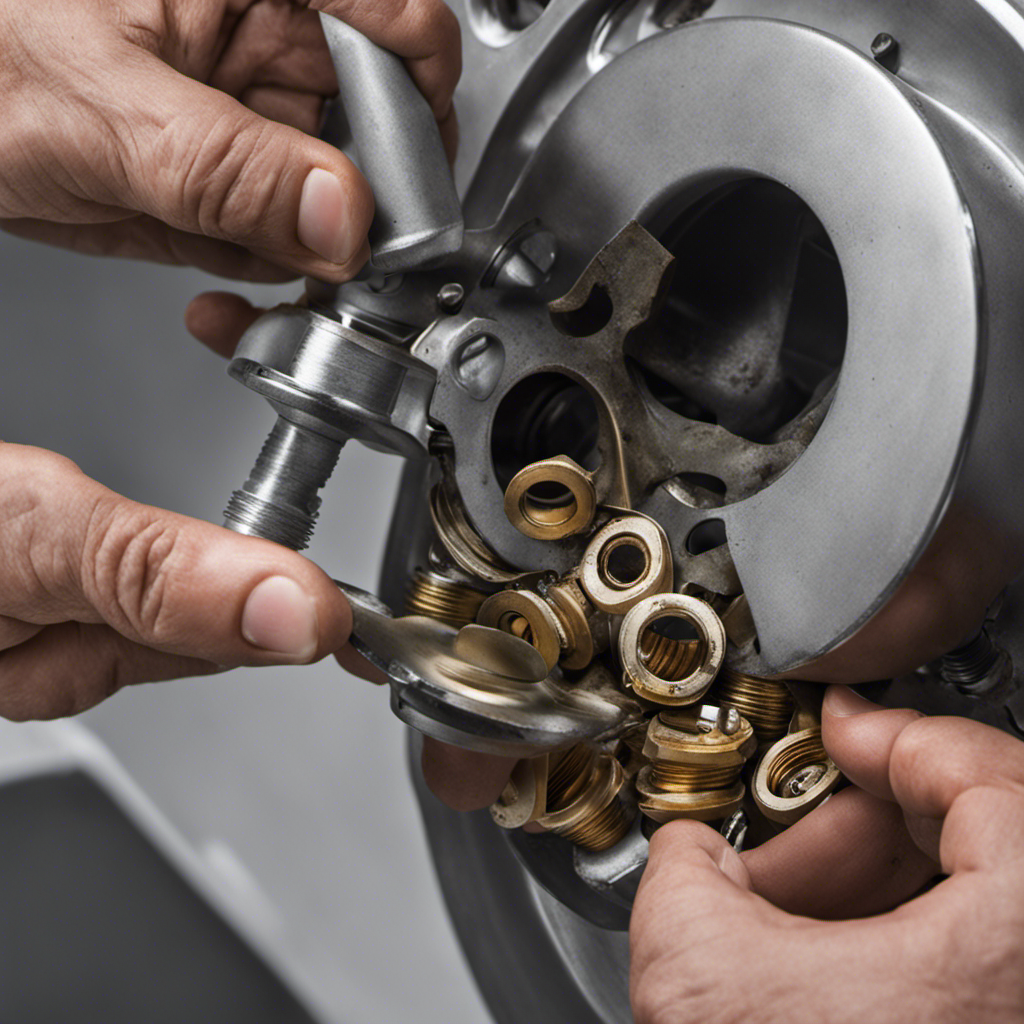
If the flange is stubborn and won’t budge, you can try using a flange remover tool, which provides extra leverage and makes the removal process easier.
With these flange removal tips and troubleshooting techniques, you’ll be able to successfully remove the old flange and proceed with installing a new one.
Cleaning and Preparing for Installation
After disconnecting the water supply line and nuts, it’s important to clean and prepare the area for installation.
To ensure a smooth and effective installation of the new toilet flange, it is crucial to thoroughly clean the area around the old flange. I recommend using a mild household cleaner and a scrub brush to remove any dirt, grime, or residue. Pay close attention to the inside and outside of the flange, as well as the surrounding floor.
Once the area is clean, inspect it for any signs of damage or wear. Look for cracks, chips, or uneven surfaces that may affect the installation. If any damage is found, it is essential to repair or replace the affected areas to prevent further damage and ensure a secure and leak-free installation.
Conclusion
In conclusion, removing an old toilet flange may seem like a daunting task, but it can be done with the right tools and a little bit of patience. By following the steps outlined in this article, you can successfully remove the old flange and prepare for installation of a new one.
Remember to take your time and be careful when disconnecting the toilet and removing the old flange to avoid any damage. So why wait? Start removing that old flange and get your bathroom back in tip-top shape!


