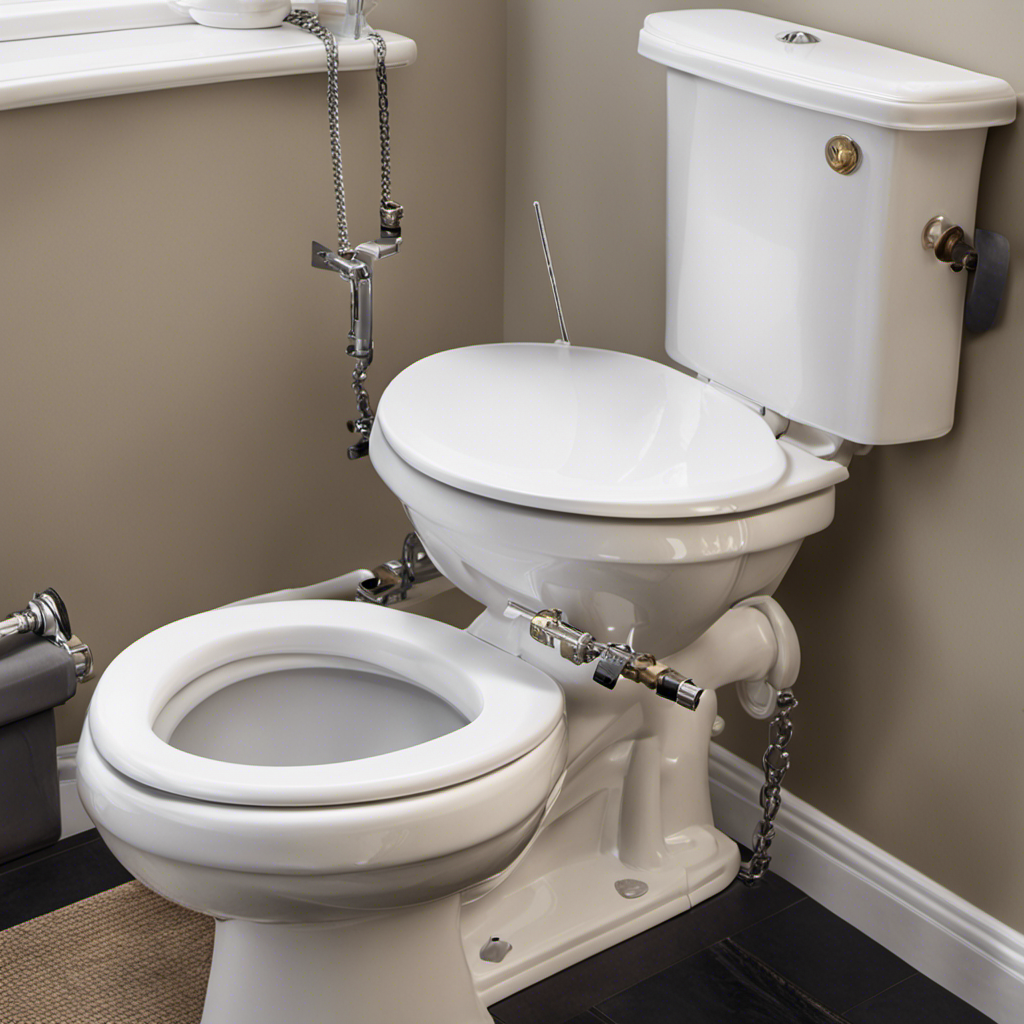
As I stand in front of the toilet, a symbol of functionality and cleanliness, I realize the importance of a well-functioning toilet flapper.
In this article, I will guide you through the process of removing the toilet flapper with ease and precision. With the necessary tools at hand and the water supply shut off, we will detach the flapper chain and remove the old flapper, making way for a new, efficient one.
Let’s get started on this essential bathroom maintenance task.
Key Takeaways
- Check for visible cracks or tears in the flapper.
- Ensure you have pliers, a screwdriver, and a new toilet flapper.
- Locate the water shut-off valve behind the toilet.
- Turn off the water supply and flush to empty the tank.
Assessing the Toilet Flapper
To determine if the toilet flapper needs to be removed, you should check for any signs of damage or leakage. Assessing flapper damage is crucial to maintaining a properly functioning toilet.
Start by examining the flapper for any visible cracks or tears. These can cause water to continuously leak into the toilet bowl, wasting both water and money. Additionally, look for any signs of wear and tear, such as a flapper that is discolored or deteriorating.
Another indicator of flapper damage is if it no longer forms a tight seal when the toilet is flushed. This can lead to water constantly running, resulting in higher water bills.
Gathering the Necessary Tools
First, make sure you have all the tools you’ll need to complete the task of replacing the toilet flapper. Toilet flapper maintenance is essential to ensure proper functioning of your toilet. Troubleshooting common flapper problems is relatively easy if you have the right tools on hand.
To get started, you’ll need a pair of pliers, a screwdriver, and a new toilet flapper. The pliers will help you disconnect the chain from the flush lever, while the screwdriver will allow you to unscrew the old flapper from the overflow tube. Having a new flapper ready will ensure a smooth replacement process.
With these tools in hand, you’ll be ready to move on to the next step: shutting off the water supply.
Shutting off the Water Supply
Make sure you’ve got the necessary tools, like pliers and a screwdriver, before moving on to shutting off the water supply.
To begin, locate the water shut-off valve, usually located behind the toilet. It may be a small lever or knob. Turn it clockwise to shut off the water supply. This step is crucial to prevent any water spillage during the flapper replacement process.
Once the water is turned off, flush the toilet to drain any remaining water in the tank. This will make it easier to work on the flapper. Remember to keep a towel handy to soak up any residual water.
With the water supply successfully shut off, you can now proceed to remove the toilet flapper and continue with the replacement process.
Detaching the Flapper Chain
When it comes to detaching the flapper chain, there are two key points to consider: proper chain length and chain attachment methods.
Firstly, it is important to ensure that the chain is the correct length to allow the flapper to fully close and create a watertight seal.
Secondly, the chain should be securely attached to both the flapper and the flush handle to prevent any malfunctions or leaks.
Proper Chain Length
To ensure proper chain length for your toilet flapper, you should adjust it so that there is a slight slack between the flapper and the flush handle. This allows for smooth and efficient flushing without any unnecessary tension or strain on the chain.
Adjusting the chain length is important because if it is too long, the flapper may not seal properly, leading to water leakage and a constantly running toilet. On the other hand, if the chain is too short, it can prevent the flapper from fully opening, resulting in weak or incomplete flushes.
To adjust the chain length, follow these steps:
- Locate the chain attached to the flush handle.
- Determine the ideal chain length by ensuring there is a slight slack between the flapper and the flush handle.
- Use pliers to remove or add chain links as needed to achieve the desired length.
Chain Attachment Methods
One way to ensure a secure chain attachment is by using a small metal clip. This method is effective in maintaining a proper chain adjustment and ensuring the smooth operation of the chain.
To begin, position the clip on one end of the chain, ensuring that it is securely fastened. Then, attach the other end of the chain to the designated hook or lever.
This small metal clip is designed to prevent the chain from slipping or becoming loose during use. Regular chain maintenance is crucial to prevent any issues or malfunctions. It is recommended to inspect the chain regularly and make necessary adjustments if needed.
Removing the Old Flapper
When it comes to removing the old flapper, there are a few key steps to follow.
First, turn off the water supply to the toilet and flush to empty the tank.
Next, disconnect the chain or strap that connects the flapper to the flush handle.
Finally, carefully remove the old flapper by lifting it off the overflow tube.
If you encounter any issues during the removal process, troubleshooting tips can help you identify and resolve common flapper problems.
Flapper Removal Steps
Start by shutting off the water supply to the toilet before you begin removing the flapper. This is an important step to avoid any water leakage during the process.
Once the water is turned off, follow these steps to successfully remove the flapper:
-
Lift the lid of the toilet tank and locate the flapper. It is usually at the bottom of the tank and connected to the flush valve.
-
Disconnect the chain or strap that is attached to the flapper. This will allow you to easily remove the flapper without any obstructions.
-
Carefully lift the flapper off the flush valve. Be cautious not to damage any surrounding parts or the flush valve itself.
Flapper maintenance is crucial to ensure proper functioning of your toilet. If you encounter any issues with the flapper, such as leakage or deterioration, it may be necessary to replace it. There are various flapper replacement options available in the market, including universal flappers that can fit most toilet models. Consider the specific needs of your toilet and choose a reliable replacement flapper for optimal performance.
Troubleshooting Flapper Issues
If you’re experiencing issues with your flapper, a common troubleshooting step is to check if the chain or strap is properly connected. The chain or strap is responsible for lifting the flapper when you flush the toilet, allowing water to flow into the bowl.
If it’s not properly connected, the flapper may not open fully or close properly, leading to problems such as weak flushes, continuous running, or even a toilet that won’t flush at all.
To ensure proper connection, make sure the chain or strap is securely attached to the flapper and the flush handle. It should have enough slack to allow the flapper to fully close, but not so much that it gets tangled or caught on anything.
Regularly inspecting and maintaining the chain or strap is key to preventing common flapper problems and ensuring your toilet functions properly.
Installing a New Flapper
To install a new flapper, first turn off the water supply to the toilet. Locate the water shut-off valve, usually located behind the toilet near the floor, and turn it clockwise until it is fully closed.
Once the water supply is turned off, follow these steps for proper flapper installation:
-
Remove the old flapper: Start by disconnecting the chain from the flush lever. Then, carefully detach the flapper from the overflow tube, taking note of its position.
-
Prepare the new flapper: Ensure the new flapper matches the old one in size and shape. Check for any seals or gaskets that may need to be attached.
-
Install the new flapper: Place the new flapper onto the overflow tube, aligning it properly. Reattach the chain to the flush lever, ensuring it has a little slack to allow for proper movement.
Conclusion
In conclusion, removing a toilet flapper is a relatively simple task that can be completed with a few basic steps.
First, assess the flapper and gather the necessary tools.
Next, shut off the water supply and detach the flapper chain.
Then, remove the old flapper and install a new one.
By following these steps, you can ensure a properly functioning toilet.
While some may argue that it is easier to hire a professional to handle this task, with a little patience and the right instructions, anyone can successfully replace a toilet flapper themselves, saving time and money in the process.


