Hey there! Ever struggled with removing a toilet seat that seemed impossible to budge? Well, I’ve got you covered.
In this article, I’m going to show you the step-by-step process of removing a toilet seat with hidden fixings. Trust me, it’s not as daunting as it sounds. With the right tools and a little know-how, you’ll have that stubborn seat off in no time.
So, let’s dive in and make your toilet seat removal a breeze!
Key Takeaways
- The first step is to lift up the toilet seat and locate the hidden fixings on the underside.
- Use a screwdriver to gently pry off the plastic caps or decorative covers that are covering the fixings.
- Use pliers to unscrew the fixings counterclockwise and remove them.
- Regular maintenance is important for toilet seats with hidden fixings, including tightening the fixings if the seat is wobbling and replacing weak hinges if the seat is not staying up.

LemonBest Toilet Seat Fitting Tool – Universal Toilet seat Installation Key, Toilet Seat Repair Wrench, 10/13/17mm Professional Universal Plastic High-Strength Installation Key (1 Pack)
【Universal Rotation Design】This wrench adopts a universal rotation design, which is convenient and labor-saving to use in hard-to-reach…
As an affiliate, we earn on qualifying purchases.
As an affiliate, we earn on qualifying purchases.
Tools Needed for Removing a Toilet Seat With Hidden Fixings
To remove a toilet seat with hidden fixings, you’ll need a screwdriver and a pair of pliers. Start by lifting up the seat and locating the fixings on the underside. These fixings are usually covered by plastic caps or decorative covers. Gently pry off these covers using the screwdriver.
Once the fixings are exposed, use the pliers to grip and unscrew them counterclockwise. Be careful not to apply too much force, as this may damage the toilet bowl. Once the fixings are removed, carefully lift the seat and cover off the toilet bowl.
Remember to clean the area where the fixings were attached before installing a new seat. Regularly cleaning your toilet seat will help maintain hygiene and prevent the buildup of germs and bacteria.

Toilet Seat Hinge Bolts Kit Quick Release Top Hinge Fixings Expanding Rubber Toilet Seat Replacement Parts for Home Bathroom 2 Pcs
🚽 Package List: You will receive 2 pieces toilet hinge blind hole fittings complete with matching expansion rubber…
As an affiliate, we earn on qualifying purchases.
As an affiliate, we earn on qualifying purchases.
Step-by-Step Guide to Removing a Toilet Seat With Hidden Fixings
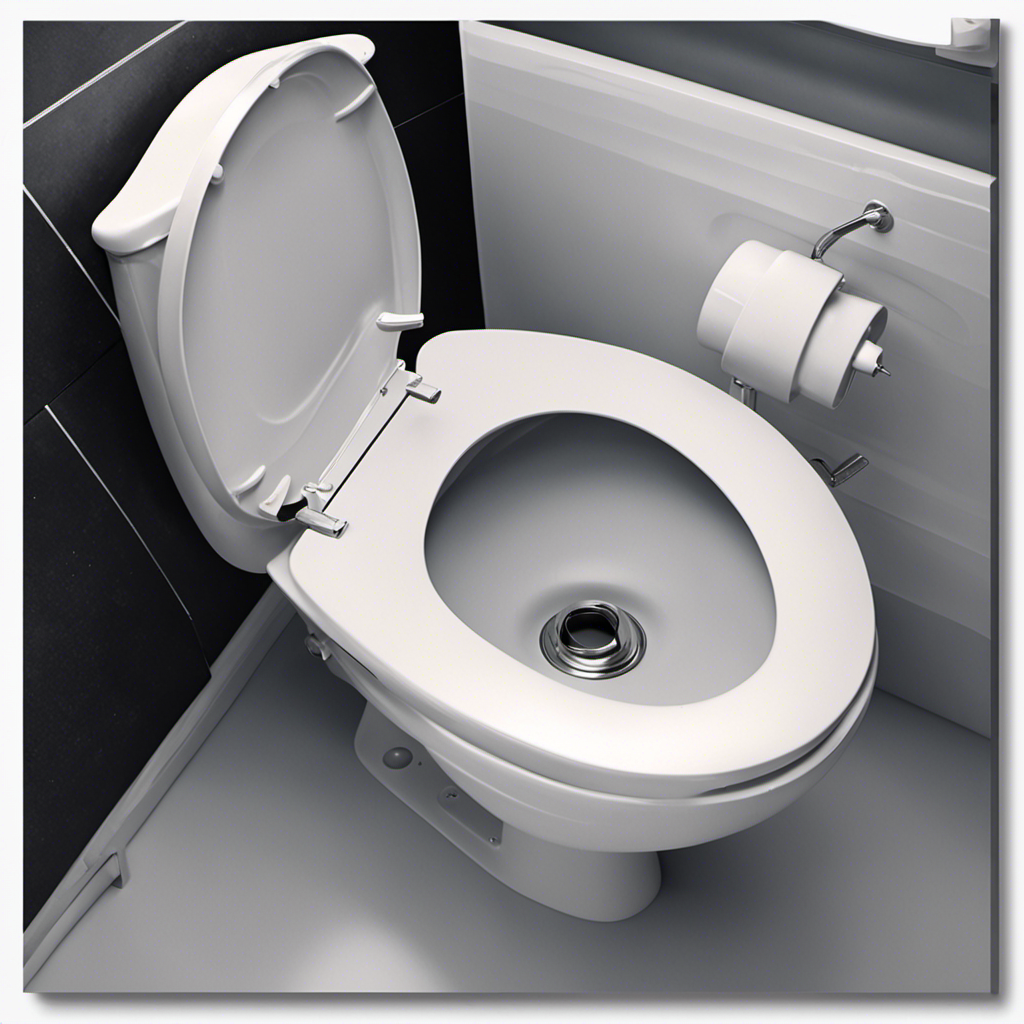
First, you’ll want to locate the access points for the fixings underneath the toilet seat. Regular maintenance is important for toilet seats with hidden fixings to ensure their longevity and prevent any potential issues.
There are different types of toilet seat fixings, each with their own pros and cons. Quick-release fixings allow for easy removal and cleaning of the toilet seat, but they may not be as secure as other types of fixings.
Top fix fixings are located on top of the toilet bowl and are less visible. They provide a secure attachment, but can be difficult to access for removal.
Bottom fix fixings, on the other hand, are located underneath the toilet bowl and are more visible. They provide a secure attachment and are generally easier to remove.

White Plastic Toilet Seat Hinge Replacement with Bolts, Screws, and Nuts, Universal Toilet Seat Bracket Hardware for Replacement and Repair.
Universal Fit and Easy Replacement: Our toilet seat hinges are designed to fit most toilet seats, offering a…
As an affiliate, we earn on qualifying purchases.
As an affiliate, we earn on qualifying purchases.
Precautions to Take Before Removing a Toilet Seat With Hidden Fixings
Before you begin, make sure to take necessary precautions when removing a toilet seat with hidden fixings. Regular maintenance is important for toilet seat hinges to ensure smooth operation and prevent any issues. To troubleshoot common problems with hidden fixing toilet seats, follow these steps:
| Problem | Possible Cause | Solution |
|---|---|---|
| Seat wobbling | Loose fixings | Tighten the fixings using a screwdriver |
| Seat not staying up | Weak hinges | Replace the hinges with new ones |
| Seat not closing properly | Misaligned fixings | Adjust the fixings until the seat closes smoothly |
| Seat hinge cover falling off | Broken clips | Replace the clips with new ones |
| Seat hinge cover not fitting properly | Incorrect size | Ensure the hinge cover matches the seat size |

VortecSys Upgrade Toilet Seat Fitting Tool, Toilet Seat Repair Wrench 10/13/17mm Professional Universal Plastic High-Strength Installation Tool (1 Pack)
【Universal swivel design】Adopting swivel connector design, no need to repeatedly adjust the angle of the wrist, you can…
As an affiliate, we earn on qualifying purchases.
As an affiliate, we earn on qualifying purchases.
Common Mistakes to Avoid When Removing a Toilet Seat With Hidden Fixings
When removing a toilet seat with hidden fixings, it’s important to avoid these common mistakes:
-
Using the wrong tools: Make sure to use the correct tools, such as a screwdriver or an adjustable wrench, to avoid damaging the fixings or the seat itself.
-
Applying excessive force: Hidden fixings are designed to be secure, so trying to forcefully remove the seat can lead to breakage or damage.
-
Neglecting to read the manufacturer’s instructions: Each toilet seat may have its own specific instructions for removal. It’s crucial to read and follow these instructions to ensure a smooth removal process.
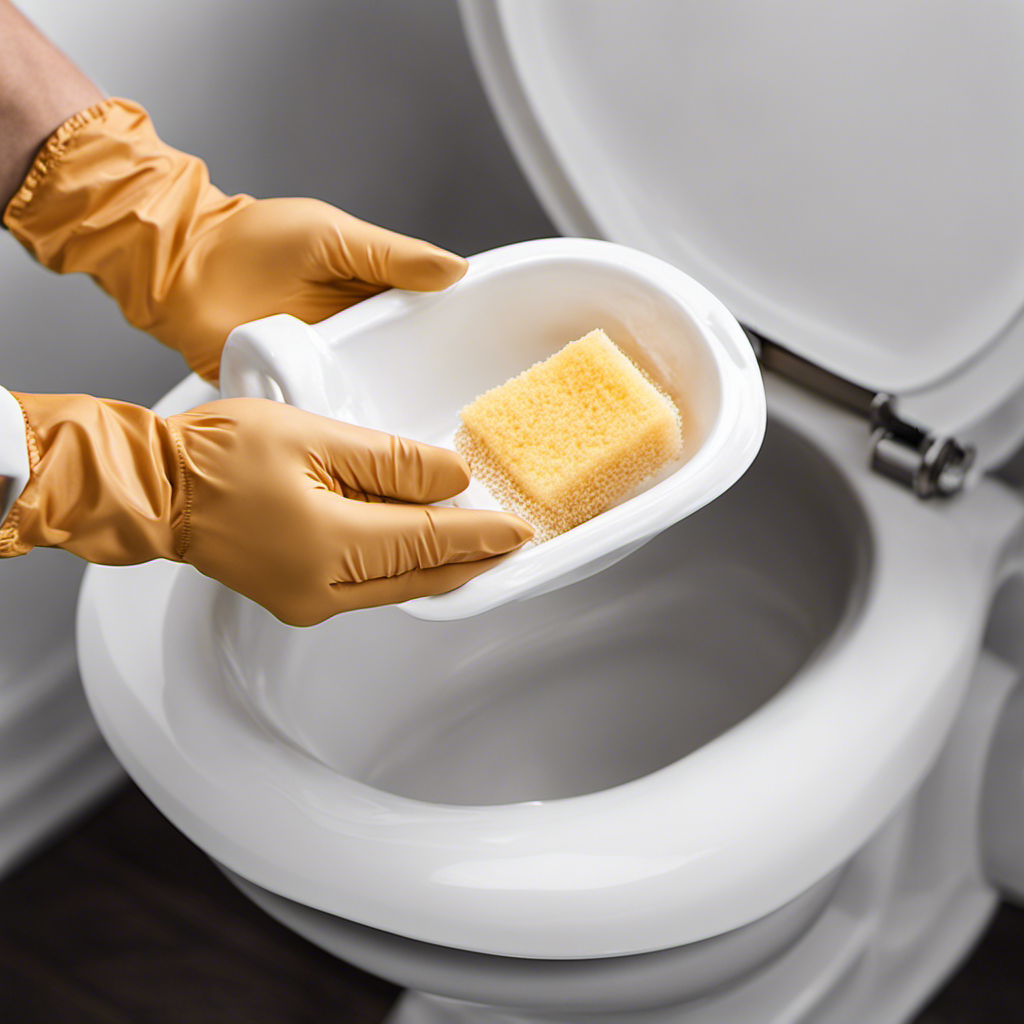
To properly clean and maintain a toilet seat with hidden fixings, start by gently wiping it with a mild cleaner and a soft cloth. Avoid using abrasive cleaners or scrubbing brushes, as they can cause scratches.
Regularly check the fixings for any looseness and tighten them if necessary. Additionally, consider applying a protective coating or wax to prolong the life of the seat and keep it looking new.
Tips and Tricks for Easy Removal of a Toilet Seat With Hidden Fixings
To make the removal process easier, it’s essential to gather the right tools. When it comes to removing a toilet seat with hidden fixings, precision is key.
First, measure the dimensions of your current toilet seat to ensure that you purchase the correct replacement. Most toilet seats come in standard sizes, but it’s important to double-check.
Once you have the proper measurements, follow these tips for easy removal. Start by locating the access points for the hidden fixings. These are usually small caps or plugs that cover the screws. Use a flathead screwdriver or a coin to gently pry off the caps.
Once exposed, use a screwdriver or wrench to loosen the screws in a counterclockwise direction. Once the screws are loose, you can easily lift and remove the old toilet seat.
Remember to keep the screws and fixings in a safe place as you will need them for the installation of the new seat.
Conclusion
In conclusion, removing a toilet seat with hidden fixings may seem like a daunting task. However, with the right tools and a step-by-step guide, it can be done easily.
Taking precautions such as turning off the water supply and wearing gloves is essential for a smooth removal process.
Avoiding common mistakes like using the wrong tools or applying excessive force will prevent any damage.
Remember, like untangling a delicate knot, removing a toilet seat with hidden fixings requires patience and precision.
With these tips and tricks, you’ll be able to tackle this task with confidence.