Have you ever wondered how to remove a toilet tank? Well, wonder no more! In this concise and informative article, I will guide you through the step-by-step process of removing a toilet tank.
With just a few tools and some basic know-how, you’ll be able to easily disconnect the water supply, remove the tank lid, and detach the tank from the bowl.
So, let’s get started on this DIY plumbing project and take control of your bathroom repairs!
Key Takeaways
- Shut off the water supply and drain the tank before removing the toilet tank.
- Use the appropriate tools such as a wrench, screwdriver, and pliers to disconnect the water supply line and remove the tank lid.
- Carefully detach the tank from the bowl by removing the tank bolts and clean both the tank and the toilet bowl.
- Take necessary precautions to avoid injury, use mild cleaners for cleaning, and consider replacing any worn or damaged tank parts.
Tools and Materials Needed
To remove the toilet tank, you’ll need a wrench, screwdriver, and a pair of pliers. Before starting the process, it’s important to have all the necessary tools organized and easily accessible. This will save you time and ensure a smooth removal process.
Start by gathering the wrench, screwdriver, and pliers, and place them within arm’s reach. This will prevent any unnecessary delays or fumbling around for tools during the task.
Additionally, it’s crucial to follow safety tips to avoid any accidents or injuries. Make sure to wear protective gloves and goggles to shield yourself from any potential harm. Always exercise caution when handling the tools and working around the toilet tank to ensure a safe and successful removal.
Shutting off the Water Supply
First, turn off the water supply to prevent any leaks or spills. To remove the toilet tank and replace the fill valve, it is crucial to start by shutting off the water supply.
Locate the shut-off valve, usually located on the wall behind the toilet. Turn the valve clockwise until it is fully closed. This will stop the flow of water into the tank.
Once the water supply is turned off, the next step is to drain the toilet tank. To do this, flush the toilet, holding down the handle until all the water has been emptied from the tank. This ensures that the tank is empty and ready for further disassembly.
With the water supply turned off and the tank drained, we can now move on to disconnecting the water supply line.
Disconnecting the Water Supply Line
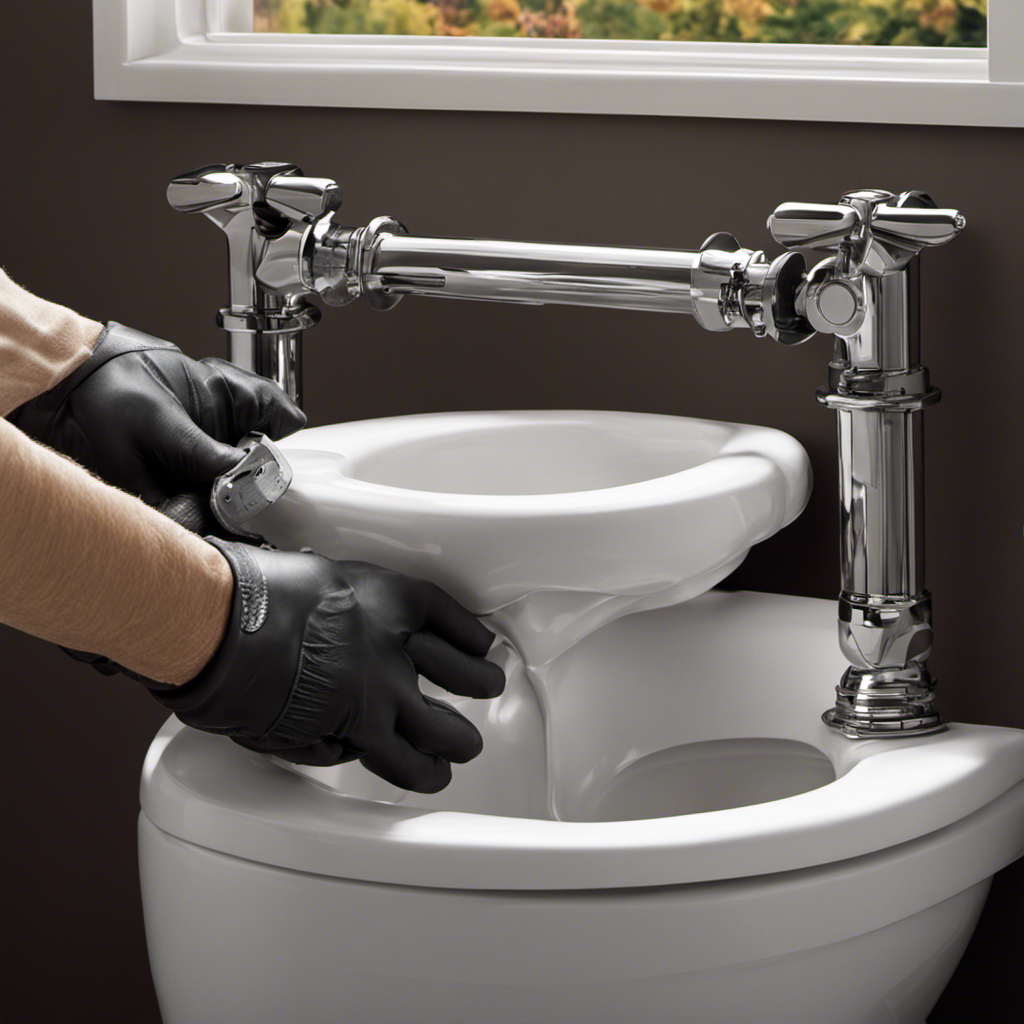
Before removing the water supply hose, it’s crucial to shut off the water supply to avoid any potential leaks or damage. To do this, I’ll locate the shut-off valve, usually near the toilet or in the basement, and turn it clockwise until it’s fully closed.
Once the water supply is shut off, I can proceed to remove the water supply hose. I’ll unscrew it from the toilet tank using pliers or an adjustable wrench.
Shutting off Water Supply
You’ll need to locate the shut-off valve to turn off the water supply to the toilet tank. It is crucial to properly shut off the water supply before removing the toilet tank to avoid any water damage or flooding. Many people make common mistakes when shutting off the water supply, such as not fully closing the valve or turning off the wrong valve. To avoid these mistakes, follow the steps below:
| Common Mistakes | Importance of Properly Shutting Off |
|---|---|
| Not fully closing the valve | Prevents water from continuing to flow into the tank |
| Turning off the wrong valve | Ensures the correct water source is shut off |
Removing Water Supply Hose
To disconnect the water supply hose, make sure you turn off the shut-off valve completely. This step is crucial in preventing water damage and ensuring the proper maintenance of water supply hoses.
Once the shut-off valve is closed, locate the connection between the hose and the toilet tank. Using pliers, gently loosen the nut connecting the hose to the tank. Be careful not to damage the threads or crack the nut.
Once the nut is loose, carefully pull the hose away from the tank, allowing any remaining water to drain into a bucket or towel.
With the water supply hose disconnected, you can now move on to removing the tank lid and continuing with the next steps of the toilet tank removal process.
Removing the Tank Lid
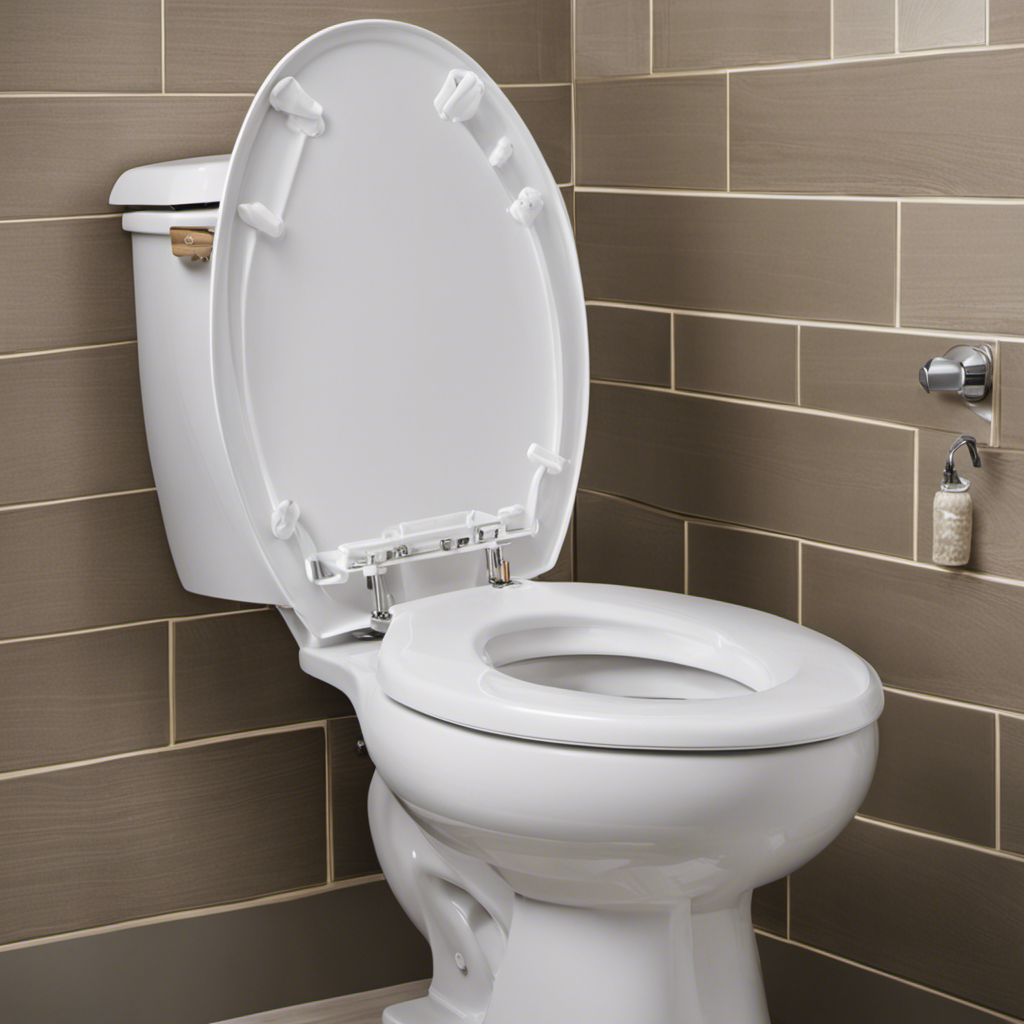
First, carefully lift the tank lid off using both hands.
To remove the tank lid, it is important to handle it with care to avoid any potential damage. Start by locating the two screws or bolts on the back of the tank that secure the lid in place. Use a screwdriver or a wrench to loosen and remove these screws.
Once the screws are removed, gently lift the lid straight up and off the tank.
When cleaning the tank lid, make sure to use a mild detergent and warm water to remove any dirt or debris. Rinse it thoroughly and dry it before reattaching it to the tank.
With the tank lid removed, we can now move on to the next step: detaching the tank from the bowl.
Detaching the Tank From the Bowl
Now that I’ve removed the tank lid, the next step is to detach the tank from the bowl. This is an important part of the process as it allows us to access the tank bolts and clean the toilet bowl thoroughly.
Here’s how to do it:
-
Turn off the water supply: Locate the shut-off valve near the base of the toilet and turn it clockwise to stop the water flow.
-
Empty the tank: Flush the toilet to empty the tank completely.
-
Remove the tank bolts: Use a wrench to unscrew the nuts holding the tank bolts in place. There are usually two bolts on either side of the tank.
-
Lift and detach the tank: Carefully lift the tank upwards, separating it from the bowl.
Once the tank is detached, you can proceed to clean the toilet bowl and perform any necessary maintenance or repairs.
Removing the Tank From the Toilet
Carefully lift and separate the tank from the bowl to access the tank bolts and clean thoroughly.
To remove the tank from the toilet, start by turning off the water supply valve located behind the toilet. Next, flush the toilet to drain the tank completely. Use a wrench to loosen and remove the tank bolts that secure the tank to the bowl.
Gently lift the tank off the bowl and set it aside. Take this opportunity to clean any dirt or debris from the tank and bowl surfaces.
When reinstalling the tank, make sure to place the tank bolts back into their respective holes on the bowl. Tighten the bolts securely and then reconnect the water supply line.
Conclusion
In conclusion, removing a toilet tank may seem daunting, but with the right tools and following the proper steps, it can be a straightforward process.
Just like peeling off a band-aid, disconnecting the water supply and detaching the tank from the bowl can be done smoothly and efficiently.
By following this guide, you’ll be able to remove your toilet tank with ease, like a surgeon removing a tumor.
So don’t be afraid to tackle this DIY project and save yourself some money in the process.


