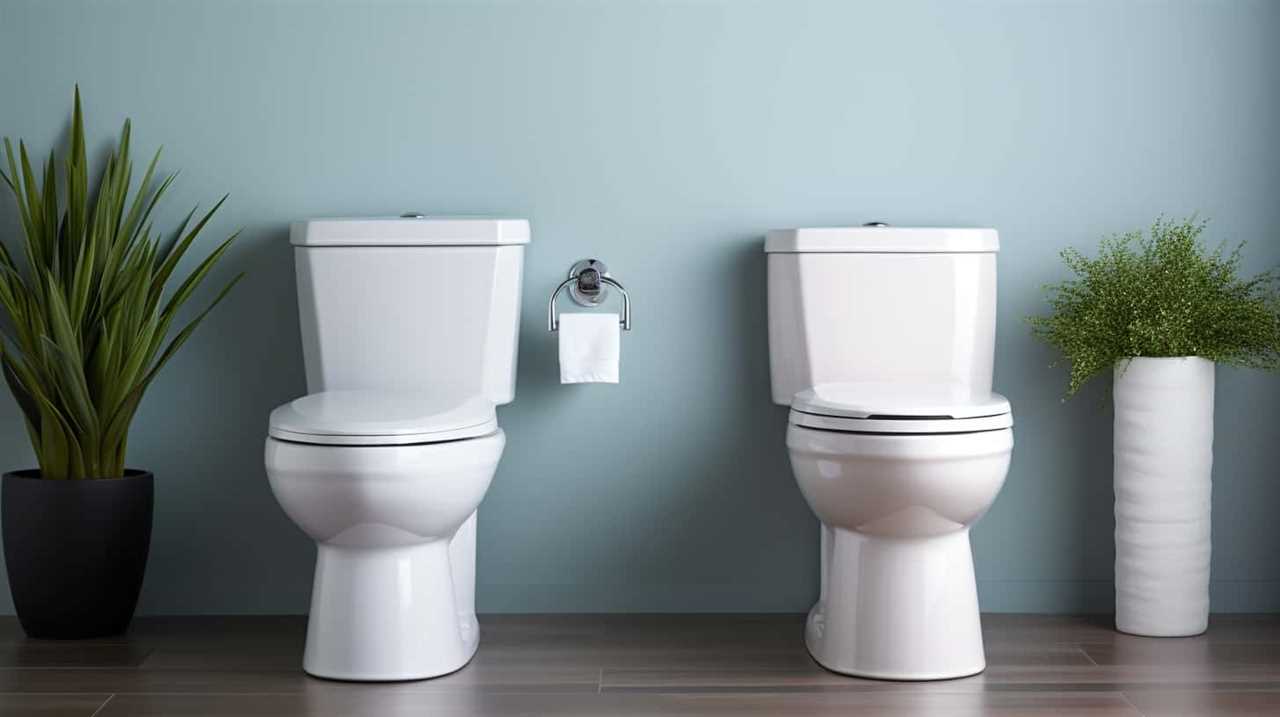
Have you ever been faced with a broken toilet flange and the daunting task of repairing it? Well, fear not, because I’ve got you covered! In this step-by-step guide, I’ll show you exactly how to tackle this common plumbing problem like a pro.
We’ll start by diving into understanding the toilet flange. It’s important to know what it is and how it functions before attempting any repairs.
Next, we’ll move on to assessing the damage. It’s crucial to determine the extent of the problem so that you can plan your repair accordingly.
Once you have a clear understanding of the situation, we’ll gather the necessary tools and materials. Having everything you need on hand will make the repair process much smoother.
So, let’s roll up our sleeves and get ready to fix that flange and restore your bathroom to its former glory!
Key Takeaways
- Proper installation of a toilet flange is crucial for a leak-free and sturdy toilet.
- Assess the condition of the toilet flange for cracks, rust, corrosion, or missing bolts.
- Choose the right replacement flange that matches the size and type of the old flange.
- Securely attach the new flange to the floor using screws or bolts to prevent leaks or damage.

One N Done Toilet Flange Repair Kit – Toilet Kit For Low or Broken Flange. Toilet Wax Ring Replacement Kit W/Toilet Flange Extender Kit, Easy Toilet Bolts, & Toilet Caps For Bottom of Toilet. (1 Ea.)
Save Time & Money | No wax ring for toilet required. The One N Done toilet flange repair…
As an affiliate, we earn on qualifying purchases.
As an affiliate, we earn on qualifying purchases.
Understanding the Toilet Flange
The toilet flange is a crucial component of the toilet that connects it to the floor and helps maintain its stability. Proper toilet flange installation is essential to ensure a leak-free and sturdy toilet.
To install a toilet flange, start by removing the old flange and cleaning the area thoroughly. Then, insert the new flange into the drain pipe and secure it with screws. Make sure the flange is level and flush with the floor.
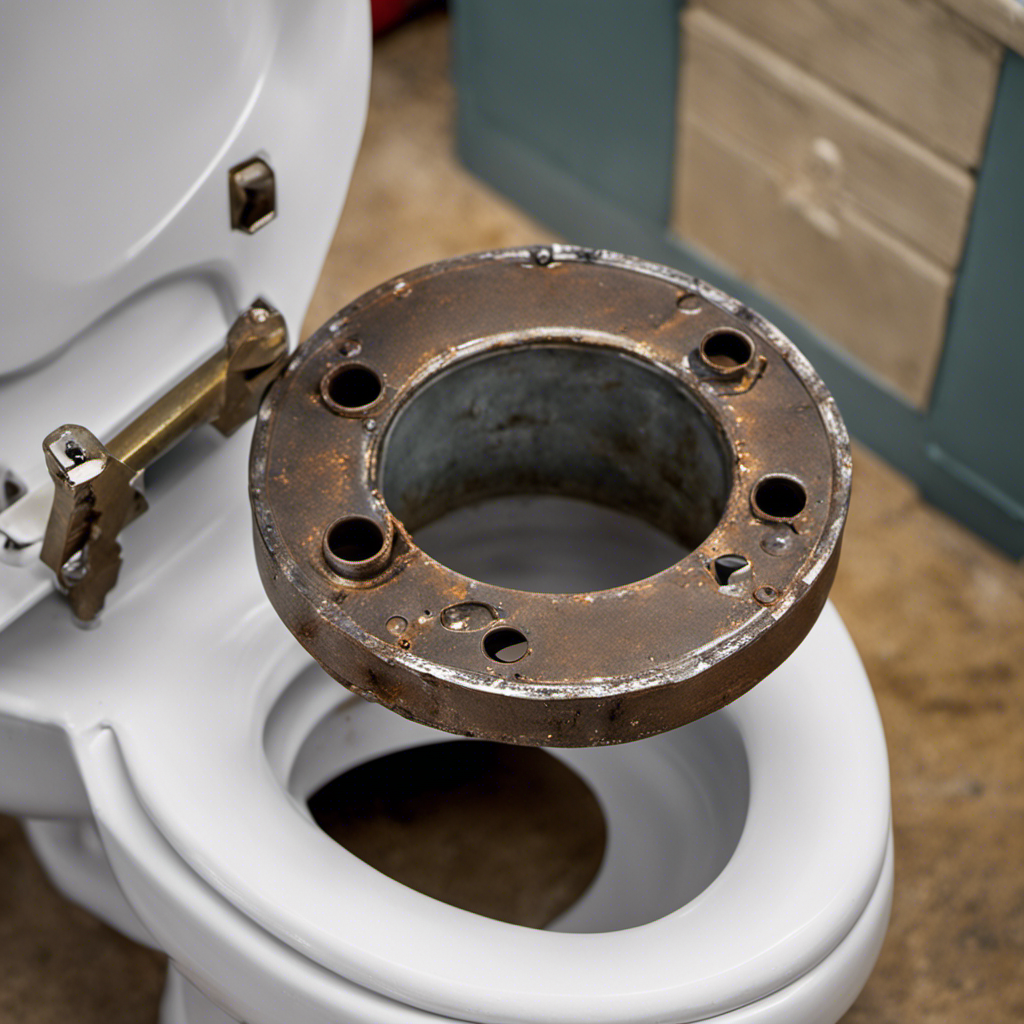
Common toilet flange problems include cracks, corrosion, and improper installation, which can lead to leaks and wobbling toilets. Assessing the damage is the next step to determine the necessary repairs or replacements needed for the toilet flange.
One N Done Toilet Flange Repair Kit – Toilet Kit For Low or Broken Flange. Toilet Wax Ring Replacement Kit W/Toilet Flange Extender Kit, Easy Toilet Bolts, & Toilet Caps For Bottom of Toilet. (1 Ea.)
Save Time & Money | No wax ring for toilet required. The One N Done toilet flange repair…
As an affiliate, we earn on qualifying purchases.
As an affiliate, we earn on qualifying purchases.
Assessing the Damage
First, you’ll want to check for any signs of damage on your toilet flange. Here are the steps to evaluate the extent of the damage and explore potential solutions:
-
Inspect the flange for cracks or breaks. Look for any signs of damage, such as rust, corrosion, or missing bolts.
-
Check the level of the flange. If it’s not sitting flush with the floor, there may be a problem with the seal.
-
Test the stability of the flange by gently rocking the toilet bowl. If it wobbles or moves, it could indicate a loose or damaged flange.
-
Assess the condition of the wax ring. If it’s worn or damaged, it may need to be replaced to ensure a proper seal.
By carefully evaluating the extent of the damage, you can determine the appropriate solution for repairing your toilet flange.
Now, let’s move on to gathering the necessary tools and materials.

Flange-Off Toilet Flange Removal Tool
For professional use only to safely remove a toilet flange
As an affiliate, we earn on qualifying purchases.
As an affiliate, we earn on qualifying purchases.
Gathering the Necessary Tools and Materials
Now, you’ll need to gather all the tools and materials required for the job. The first step is to choose the right replacement flange. It is important to ensure that the new flange matches the existing one in terms of size and type. You can find flanges made of PVC, brass, or stainless steel, so choose the one that is suitable for your toilet. Additionally, make sure you have a wrench, a screwdriver, a putty knife, a wax ring, and some bolts for installation. These tools will come in handy during the repair process.
When repairing a toilet flange, there are some common mistakes to avoid. One of them is using the wrong size or type of flange. This can lead to leaks or an unstable toilet. Another mistake is not properly securing the flange to the floor. It is important to ensure that the flange is securely attached to the subfloor using screws or bolts. Lastly, not replacing the wax ring can also cause issues. The wax ring creates a seal between the toilet and the flange, so if it is worn out or damaged, it can lead to leaks.
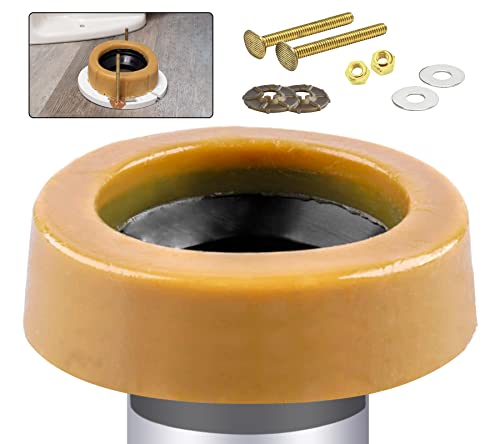
Extra Thick Toilet Wax Ring Kit with Flange and Bolts for Floor Outlet Toilets New Install or Re-seat, Fits 3-inch or 4-inch Waste Lines
Signs of a Bad Toilet Wax Ring?: If you can smell a sewer-like smell coming from your toilet,…
As an affiliate, we earn on qualifying purchases.
As an affiliate, we earn on qualifying purchases.
Removing the Old Toilet Flange
To remove the old toilet flange, you’ll need to start by loosening the bolts that are securing the toilet to the floor. Here’s a step-by-step guide to help you with the process:
-
Turn off the water supply: Locate the shut-off valve behind the toilet and turn it clockwise to stop the water flow.
-
Empty the tank and bowl: Flush the toilet to remove as much water as possible. Use a sponge or towel to soak up any remaining water.
-
Remove the nuts and bolts: Use a wrench or pliers to loosen and remove the nuts and bolts that hold the toilet to the flange. Be careful not to damage the toilet or the floor.
-
Lift and remove the toilet: Carefully lift the toilet off the flange and place it on a towel or old blanket. Set it aside in a safe location.
After removing the old toilet flange, you can now move on to installing the new one.
[Transition sentence: Now that the old toilet flange has been successfully removed, let’s move on to installing the new one.]Installing the New Toilet Flange
Once you have the new flange ready, it’s time to attach it securely to the floor. Start by positioning the new flange over the existing drain pipe. Make sure it aligns properly and sits flush against the floor.
If needed, you can use a wax ring to create a tight seal between the flange and the drain pipe. Once the flange is in the correct position, use screws or bolts to secure it to the floor. Make sure to tighten them evenly so that the flange remains stable and doesn’t wobble.
It’s important to ensure a secure attachment to prevent any leaks or damage. Once the new flange is securely attached, you can proceed with reinstalling the toilet onto the flange.
Conclusion
In conclusion, repairing a toilet flange may seem like a daunting task, but with the right tools and materials, it can be a manageable DIY project.
Remember the saying ‘where there’s a will, there’s a way’ as you tackle this repair. By understanding the flange, assessing the damage, and following the step-by-step instructions for removing and installing a new flange, you can restore your toilet to its proper functioning state.
Don’t be afraid to get your hands dirty and save some money in the process!