
I’m going to show you how to replace a toilet fill valve, step by step.
Picture this: you’re standing in your bathroom, water dripping from a worn-out fill valve. It’s time to take action.
With a few tools and materials, you’ll be on your way to a fully functioning toilet in no time.
We’ll shut off the water supply, remove the old fill valve, install the new one, and even troubleshoot common issues.
Let’s get started, shall we?
Key Takeaways
- Shutting off the water supply is important to prevent water leakage, flooding, and to protect electrical components.
- Safety precautions include shutting off the water supply, draining the tank, disconnecting the supply line, and removing the old fill valve.
- The signs of a malfunctioning fill valve include a continuously running toilet and insufficient water fill.
- The options for replacing a toilet fill valve include DIY or hiring a professional, with a comparison of the two options.

Fluidmaster 400H-002 Performax Universal Toilet Fill Valve High Performance Tank and Bowl Water Control, 1-Pack, Multicolor
Fix noisy, or slow filling fill valves with the quietest, most powerful toilet fill valve available
As an affiliate, we earn on qualifying purchases.
As an affiliate, we earn on qualifying purchases.
Gather the Necessary Tools and Materials
Before you can begin replacing the toilet fill valve, you’ll need to gather all the necessary tools and materials. Here are the tools you will need:
- Adjustable wrench
- Screwdriver (either flathead or Phillips, depending on your toilet)
- Bucket or towels to catch any water spills
Now, let’s go through the step by step instructions for gathering these tools and materials:
- Locate the shut-off valve for the toilet, usually located on the wall behind the toilet.
- Turn off the water supply by turning the shut-off valve clockwise.
- Flush the toilet to drain any remaining water from the tank.
- Use the adjustable wrench to disconnect the water supply line from the bottom of the toilet tank.
- Use the screwdriver to remove the old fill valve from the tank.

WORKPRO 6-Inch Stubby Adjustable Wrench, 1.5-Inch Extra Wide Jaw Opening Wrench, Metric/SAE Scales, Cr-V Steel, Ideal for Work in Confined Spaces
Premium Quality: Made from high-grade Cr-V steel with black oxide finish, this wrench delivers superior durability and corrosion…
As an affiliate, we earn on qualifying purchases.
As an affiliate, we earn on qualifying purchases.
Shut off the Water Supply to the Toilet
Before starting the process of replacing a toilet fill valve, it’s crucial to shut off the water supply to the toilet. This step is essential to prevent any water leakage or flooding while working on the valve.
To do this, locate the shut-off valve, usually located behind or near the toilet, and turn it clockwise until it is fully closed.
Remember to always shut off the water supply before attempting any repairs or replacements to ensure your safety and prevent any water damage.
Importance of Shutting off
To ensure your safety and prevent any potential water damage, it’s crucial that you shut off the water supply before replacing the toilet fill valve. Failing to do so can result in significant risks and complications. Here’s why turning off the water is of utmost importance:
-
Avoid water leakage: Shutting off the water supply prevents water from flowing into the toilet tank, minimizing the risk of leaks during the replacement process.
-
Prevent flooding: Without properly shutting off the water, you run the risk of a potential flood if the valve malfunctions or if the fill valve is not installed correctly.
-
Protect electrical components: Water and electricity don’t mix well. By turning off the water, you reduce the chance of damaging any nearby electrical components, such as the toilet’s control panel.
-
Minimize water pressure: Shutting off the water supply helps relieve any pressure build-up in the pipes, making it safer to work on the fill valve without the risk of high-pressure water spraying out unexpectedly.
-
Ensure an easier installation: By turning off the water, you create a controlled environment where you can focus on replacing the fill valve without any distractions or potential water-related accidents.
Safety Precautions While Replacing
While replacing the toilet fill valve, it’s important to take safety precautions to minimize the risk of accidents or injuries. Follow these steps to ensure a safe and proper installation.
-
Shut off the water supply: Locate the shut-off valve near the base of the toilet and turn it clockwise to stop the water flow. This will prevent any potential leaks or water damage.
-
Drain the tank: Flush the toilet to drain the water from the tank. Use a sponge or towel to soak up any remaining water.
-
Disconnect the supply line: Use an adjustable wrench to loosen the nut connecting the supply line to the fill valve. Remove the supply line and set it aside.
-
Remove the old fill valve: Unscrew the nut holding the fill valve in place. Lift the old fill valve out of the tank and dispose of it properly.
-
Install the new fill valve: Insert the new fill valve into the tank and secure it with the nut provided. Make sure it is snug but not overly tightened.
-
Reconnect the supply line: Attach the supply line to the fill valve and tighten the nut using an adjustable wrench.
-
Turn on the water supply: Slowly turn the shut-off valve counterclockwise to allow water to flow into the tank. Check for any leaks and adjust the connections if necessary.
-
Test the fill valve: Flush the toilet and observe the fill valve’s performance. Ensure that the tank fills up properly and stops at the appropriate water level.
Fluidmaster 400H-002 Performax Universal Toilet Fill Valve High Performance Tank and Bowl Water Control, 1-Pack, Multicolor
Fix noisy, or slow filling fill valves with the quietest, most powerful toilet fill valve available
As an affiliate, we earn on qualifying purchases.
As an affiliate, we earn on qualifying purchases.
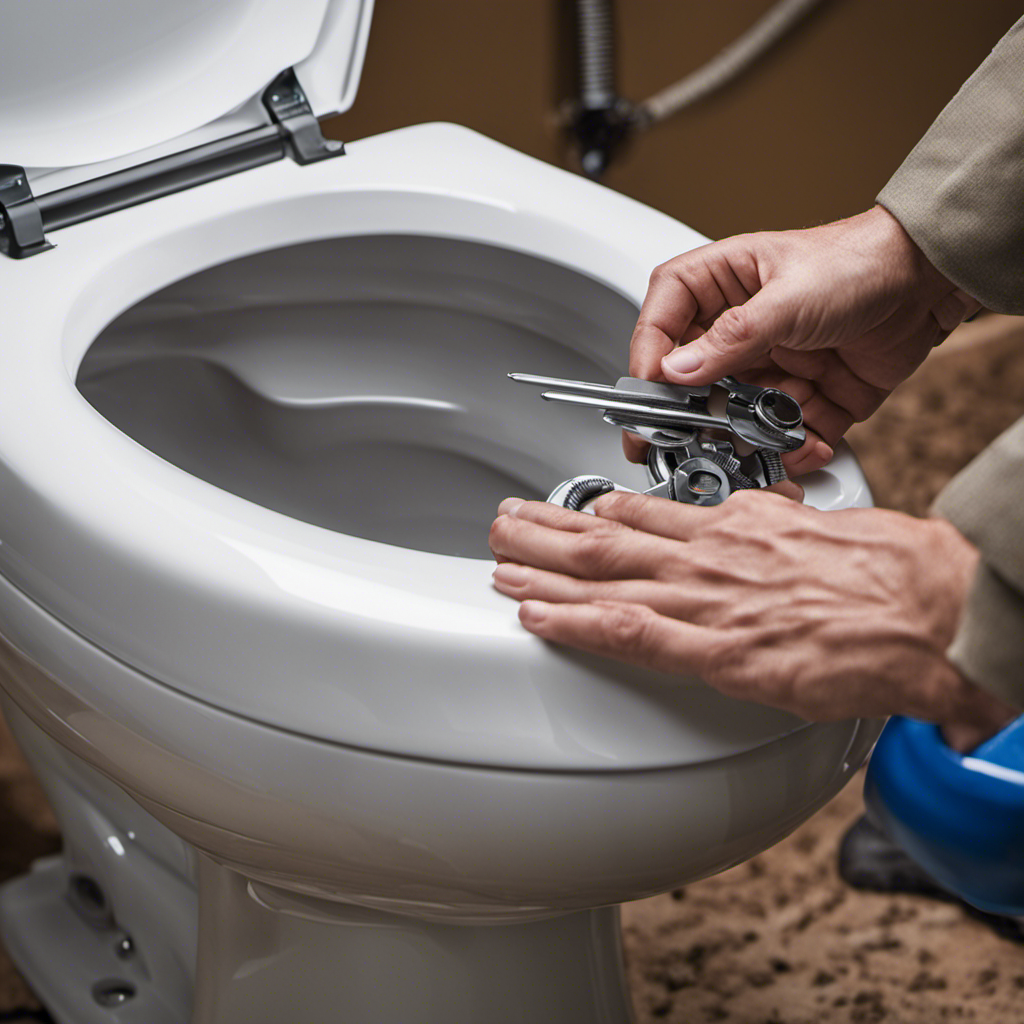
Remove the Old Fill Valve
Before proceeding with the removal of the old fill valve, it’s important to gather the necessary tools. These tools include an adjustable wrench, pliers, and a sponge or towel to clean up any water spills.
Additionally, it’s crucial to be aware of common signs of malfunction. These signs include a continuously running toilet or insufficient water fill.
Lastly, proper installation is of utmost importance to ensure the optimal functioning of the toilet. Any mistakes during this process can lead to leaks or other issues down the line.
Tools Needed for Removal
You’ll need a pair of pliers, an adjustable wrench, and a bucket to catch any water that may spill during the removal process. Here are the steps to replace a toilet fill valve:
- Turn off the water supply to the toilet by shutting off the valve located behind the toilet.
- Flush the toilet to empty the tank and remove any remaining water with a sponge or towel.
- Disconnect the water supply line from the fill valve using pliers.
- Loosen the nut holding the fill valve to the bottom of the tank with an adjustable wrench.
- Lift the old fill valve out of the tank and place it in the bucket.
With these tools and steps, troubleshooting a faulty toilet fill valve and replacing it will be a breeze. Remember to follow all safety precautions and consult a professional if you are unsure.
Common Signs of Malfunction
One of the most common signs of a malfunctioning toilet fill valve is when water continuously runs into the toilet bowl. This can be a frustrating and costly problem, as it not only wastes water but also increases your water bill. If you notice this issue, it is important to address it promptly to avoid further damage. When it comes to replacing a toilet fill valve, you have two main options: DIY or hiring a professional.
Let’s compare these options in the table below:
| DIY Replacement | Hiring a Professional |
|---|---|
| Cost-effective | Expert knowledge |
| Requires some plumbing skills | Saves time |
| Risk of making mistakes | Guarantees proper installation |
| May need to purchase tools | Experience in troubleshooting |
Ultimately, the decision between DIY and hiring a professional depends on your comfort level with plumbing tasks and the complexity of the issue. If you have some plumbing skills and are confident in your abilities, DIY can be a cost-effective solution. However, if you are unsure or the issue is more complex, it is wise to seek the expertise of a professional to ensure a proper installation and avoid any further complications.
Importance of Proper Installation
To ensure a properly functioning toilet, it’s important to have the valve installed correctly. Here are some proper installation techniques for toilet fill valves:
- Start by turning off the water supply to the toilet.
- Disconnect the water supply line from the old fill valve.
- Remove the old fill valve by unscrewing it from the bottom of the tank.
- Install the new fill valve by screwing it into the bottom of the tank.
- Reconnect the water supply line to the new fill valve.
It’s crucial to avoid these common mistakes during toilet fill valve installation:
- Over-tightening the fill valve, which can cause leaks.
- Not properly aligning the valve with the water supply line, resulting in poor water flow.
- Forgetting to turn the water supply back on after installation, leaving the toilet non-functional.

Fluidmaster K-400H-021-P8 PerforMAX 2-Inch Everything Toilet Repair Kit, Multicolor
The Everything Kit includes everything you need to fix your toilet in one trip and one purchase
As an affiliate, we earn on qualifying purchases.
As an affiliate, we earn on qualifying purchases.
Install the New Fill Valve
Once the old fill valve is removed, it’s time to install the new one. Follow these step-by-step instructions to ensure a successful replacement of your toilet flush valve.
-
Begin by reading the manufacturer’s instructions for your specific fill valve model. This will provide important information and any additional steps that may be required.
-
Gather the necessary tools and materials, including an adjustable wrench, a bucket, and the new fill valve.
-
Insert the new fill valve into the toilet tank, making sure it is positioned correctly and aligned with the overflow tube.
-
Secure the fill valve in place by tightening the retaining nut underneath the tank. Use the adjustable wrench to ensure a tight fit, but be careful not to overtighten and damage the valve or tank.
-
Attach the water supply line to the fill valve, ensuring a secure connection.
-
Turn on the water supply and check for any leaks. If there are no leaks, flush the toilet to test the new fill valve’s functionality.
Adjust the Water Level
Now that the new fill valve is installed in the toilet, it’s time to adjust the water level. This step is crucial in ensuring that the toilet functions properly and doesn’t waste water.
Here are some adjustment techniques to help you get the water level just right:
- Locate the water level adjustment screw on the fill valve.
- Use a screwdriver to turn the adjustment screw clockwise to raise the water level or counterclockwise to lower it.
- Adjust the water level gradually, testing after each adjustment to see if it’s at the desired level.
- Keep in mind that the water level should be around 1 inch below the top of the overflow tube.
- Be careful not to set the water level too high, as it can cause constant running or overflowing.
Once you have adjusted the water level, it’s time to turn on the water supply and test the new fill valve.
Turn on the Water Supply and Test the New Fill Valve
After adjusting the water level, you can go ahead and turn on the water supply to test the new fill valve. Start by slowly turning on the water supply valve, allowing the water to fill the tank. Keep an eye on the water level as it rises. If the water level reaches the desired level and stops, then the new fill valve is working properly.
Next, check the water pressure by flushing the toilet. The water should flow smoothly and with sufficient force. If the water pressure is low, you may need to adjust the water supply valve or check for any clogs in the water lines.
Troubleshooting Common Issues With Toilet Fill Valves
If you’re experiencing issues with your toilet’s fill valve, there are common troubleshooting steps you can take. Here are some troubleshooting tips and common solutions:
-
Check the water supply: Ensure that the water supply to the toilet is fully turned on. Sometimes, the valve may be partially closed, causing low water pressure.
-
Clean the fill valve: Sediment and debris can clog the fill valve, affecting its performance. Turn off the water supply, remove the fill valve cap, and clean any buildup using a brush or vinegar solution.
-
Adjust the fill valve height: If the water level in the toilet tank is too high or too low, you can adjust the fill valve height. Follow the manufacturer’s instructions to make the necessary adjustments.
-
Replace damaged parts: If the fill valve is leaking or not functioning properly, you may need to replace certain parts such as the diaphragm or float. Consult the manufacturer’s manual or seek professional help for the correct replacement parts.
-
Call a professional: If all else fails, it’s best to call a professional plumber who can diagnose and resolve any complex issues with your toilet’s fill valve.
Frequently Asked Questions
How Do I Know if My Toilet Fill Valve Needs to Be Replaced?
I can tell if my toilet fill valve needs replacement by troubleshooting common issues like a constantly running toilet or low water level. If DIY fixes don’t work, it might be time to replace the fill valve.
Can I Replace the Fill Valve Myself, or Should I Hire a Professional Plumber?
I can replace the fill valve myself, but it’s important to be cautious and follow the correct steps. Hiring a professional plumber is also an option to ensure the job is done correctly and prevent common mistakes.
What Are the Signs of a Faulty Fill Valve?
When a toilet fill valve is faulty, it can cause common problems like slow filling, constant running, or even a leaking toilet. Troubleshooting a faulty fill valve is essential to ensure proper functioning of the toilet.
How Long Does It Typically Take to Replace a Toilet Fill Valve?
Replacing a toilet fill valve typically takes around 30 minutes, but it can vary depending on your level of experience. Follow my step-by-step guide to troubleshoot any issues and replace the valve quickly and efficiently.
Are There Any Specific Safety Precautions I Should Take While Replacing the Fill Valve?
Safety measures must be taken when replacing a toilet fill valve. Wear protective gloves and eyewear. Turn off the water supply and flush the toilet to empty the tank. Have a wrench, pliers, and a new fill valve ready.
Conclusion
In conclusion, replacing a toilet fill valve is a straightforward process that can be easily accomplished with the right tools and materials.
By following the step-by-step instructions outlined in this article, you can ensure a smooth and efficient replacement.
Remember the old adage, ‘A stitch in time saves nine,’ and don’t delay fixing a faulty fill valve.
Taking care of this issue promptly will save you from potential water damage and costly repairs down the line.
So, don’t hesitate to tackle this DIY project and enjoy a fully functional toilet once again.