I’ve had my fair share of plumbing issues, and one problem that always seemed to creep up was a faulty toilet flapper. It’s like a gatekeeper for your toilet, ensuring that water flows smoothly and efficiently.
But when it starts to wear out or get stuck, it can lead to constant running water and wasted resources. That’s why I’m here to guide you through the process of replacing a toilet flapper, step by step.
With a few simple tools and a little know-how, you’ll be flushing trouble away in no time.
Key Takeaways
- Inspect the flapper for visible signs of damage or wear such as cracks, tears, or warping.
- Shut off the water supply and remove the old flapper.
- Install the new flapper and adjust the chain length for proper function.
- Test and troubleshoot the flapper to ensure it is working correctly and resolve any issues such as constantly running water.
Assessing the Problem
First, you’ll want to check if the toilet flapper is the source of the problem. Troubleshooting tips for common issues with the toilet flapper include inspecting the flapper for any visible signs of damage or wear. Look for cracks, tears, or warping that could prevent a proper seal.
Next, ensure that the flapper chain is properly attached and has enough slack to allow the flapper to fully close. If the flapper is intact and the chain is in good condition, you may need to adjust the water level in the tank. If the water level is too high, it can cause the flapper to not seal properly.
Gathering the Necessary Tools
Before you begin, make sure you have all the necessary tools for the job. Here is a list of the items you will need:
- Adjustable wrench: This will help you loosen and tighten the bolts on the toilet tank.
- Screwdriver: You will need this to remove any screws holding the flapper in place.
- Replacement flapper: There are several alternatives to the traditional rubber flapper, such as silicone or foam. Make sure to choose a flapper that is compatible with your toilet model.
- Chain or lift wire: This connects the flapper to the flush handle and allows it to be lifted when you flush the toilet.
When it comes to flapper replacement materials, it is important to consider durability and compatibility with your toilet. Some alternative materials offer longer lifespan and a better seal, reducing the risk of leaks and water wastage.
Take your time to select the right replacement flapper for your toilet to ensure optimal performance and water efficiency.
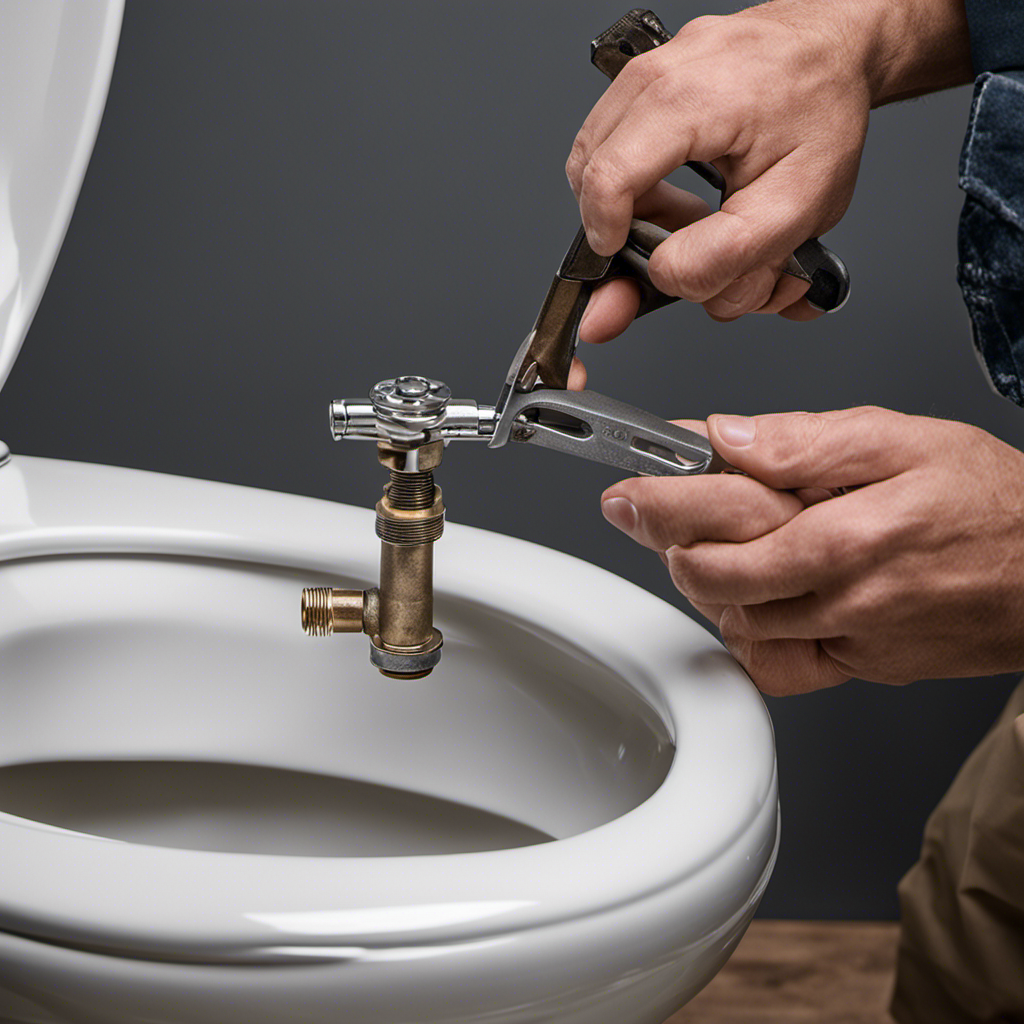
Shutting Off the Water Supply
To stop the water supply, you’ll need to locate the shut-off valve near the base of the toilet and turn it clockwise. This valve is responsible for controlling the flow of water to the toilet, and shutting it off is crucial for performing any water supply maintenance. To help you visualize the process, here is a table showing the steps to safely shut off the water supply:
| Step | Action | Description |
|---|---|---|
| 1 | Locate shut-off valve | Look for a small valve near the toilet’s base |
| 2 | Turn the valve clockwise | Use your hand or a wrench to rotate the valve |
| 3 | Confirm water flow has stopped | Check if the toilet tank is no longer refilling |
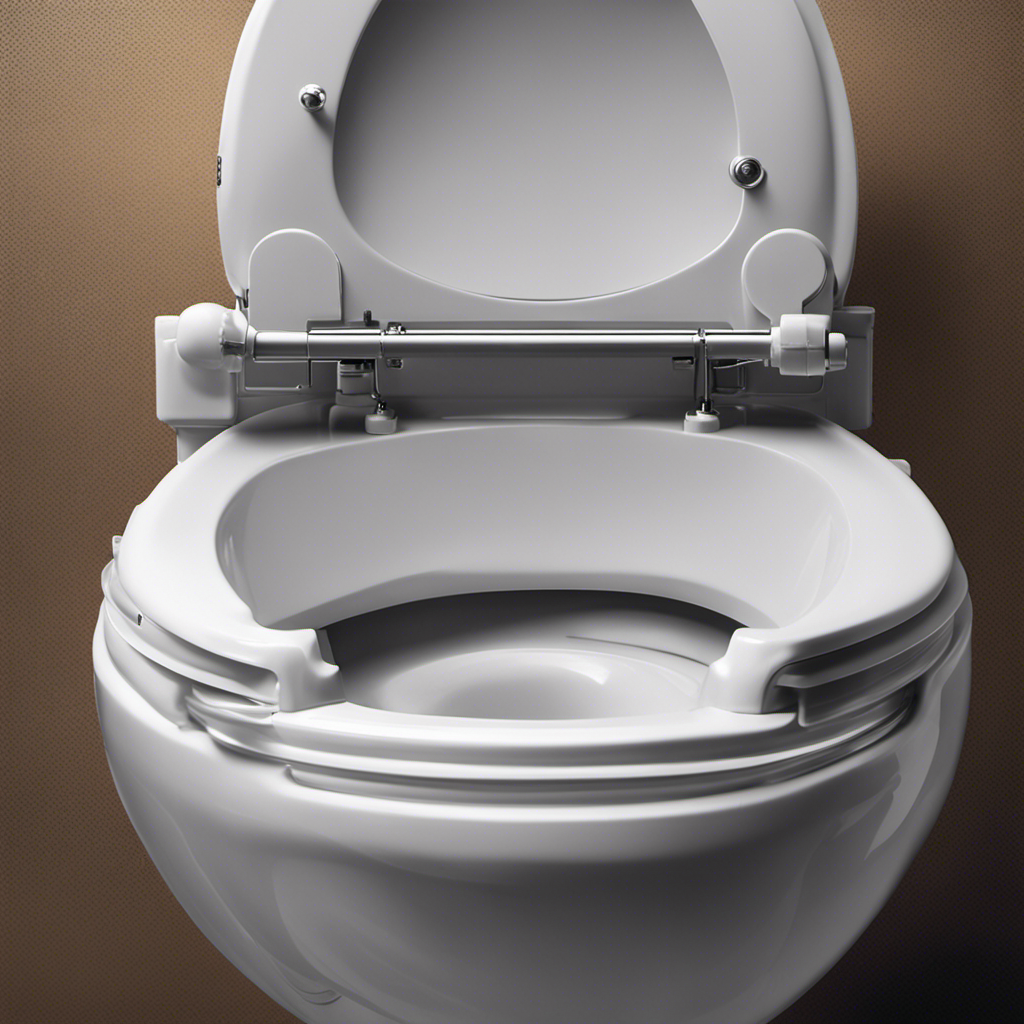
Removing the Old Flapper
Once you’ve shut off the water supply, you can easily remove the old flapper by disconnecting it from the chain. Here are the steps to follow:
-
Locate the flapper chain: Look inside the toilet tank and find the chain connected to the flapper. It should be attached to a lever or flush valve.
-
Disconnect the chain: Use your fingers or pliers to unhook the chain from the lever or flush valve. Be gentle to avoid damaging the chain or other components.
-
Remove the flapper: Once the chain is disconnected, you can lift the old flapper out of the tank. Take note of its orientation for easier installation of the new one.
-
Inspect for damage or wear: While you have the flapper removed, check for any cracks, tears, or signs of deterioration. If you notice any issues, it’s best to replace the flapper altogether.
Remember, troubleshooting tips and common mistakes include ensuring the chain is properly connected and inspecting the flapper for any damage.
Installing the New Flapper
Start by aligning the new flapper with the opening in the toilet tank. Ensure that the flapper is positioned correctly and securely.
Next, attach the flapper chain to the flush lever arm. Adjust the chain length so that there is a slight amount of slack when the flapper is closed. This will prevent the chain from being too tight or too loose, which could affect the flushing mechanism.
Once the chain is properly adjusted, attach the other end of the chain to the flapper. Make sure it is securely connected to prevent any issues during flushing.
After installing the new flapper, it is important to check and adjust the float level if necessary. The float should be set at a level that allows for proper water fill and prevents any overflows.
Adjusting the Chain Length
When it comes to adjusting the chain length on a toilet flapper, there are a few key tips to keep in mind.
First, it’s important to ensure that the chain is not too tight or too loose, as this can affect the proper functioning of the flapper.
Secondly, adjusting the chain length properly is crucial in order to prevent any water leakage or constant running of the toilet.
Lastly, taking the time to properly adjust the chain length will help maintain the overall efficiency of the toilet and prevent any potential issues down the line.
Chain Length Adjustment Tips
To adjust the chain length on your toilet flapper, make sure it is not too tight or too loose to ensure proper flushing. Here are some chain length adjustment techniques to help you get it just right:
-
Start by turning off the water supply to the toilet and removing the tank lid.
-
Locate the chain attached to the flapper and determine the desired length.
-
Use pliers to remove any excess links from the chain, ensuring it is not too tight or too loose.
-
Test the flush by pushing down on the toilet handle and observing the flapper’s movement.
Common chain length mistakes include having the chain too tight, which can prevent the flapper from fully closing and cause constant running water, or having it too loose, which can result in a weak or incomplete flush.
Importance of Proper Adjustment
Having the chain at the correct length is essential for the flapper to function properly and prevent issues such as constant running water or weak flushes. Proper maintenance of the chain length is often overlooked, leading to common mistakes that can cause problems with your toilet. To ensure the flapper operates smoothly, it is crucial to adjust the chain length correctly. Here are some common mistakes and their solutions:
| Common Mistake | Solution |
|---|---|
| Chain too loose | Shorten the chain by removing a link or two. |
| Chain too tight | Lengthen the chain by adding a link or two. |
| Chain tangled or caught | Untangle the chain and make sure it moves freely. |
| Chain rubbing against other parts | Adjust the chain to avoid contact with other components. |
| Chain not aligned with flapper | Align the chain with the flapper for proper operation. |
Testing and Troubleshooting
So you’ve replaced the toilet flapper, but now you’re facing a new issue – the flapper is not sealing properly and water is constantly running.
Don’t worry, I’ve got you covered. In this discussion, I’ll guide you through troubleshooting the problem and teach you how to test the flapper to ensure it’s functioning correctly.
Flapper Not Sealing
The flapper isn’t sealing properly, which can cause water to constantly leak from the toilet tank. This is a common problem that can be easily fixed by replacing the flapper.
Here are some tips to help you with the flapper replacement process:
-
Turn off the water supply: Locate the shut-off valve near the base of the toilet and turn it clockwise to stop the water flow.
-
Remove the old flapper: Lift the toilet tank lid and locate the flapper. Disconnect the chain and remove the flapper from the overflow tube.
-
Select the right replacement flapper: Measure the old flapper’s dimensions and choose a new one that matches in size and shape.
-
Install the new flapper: Attach the new flapper to the overflow tube and connect the chain. Adjust the chain length if necessary.
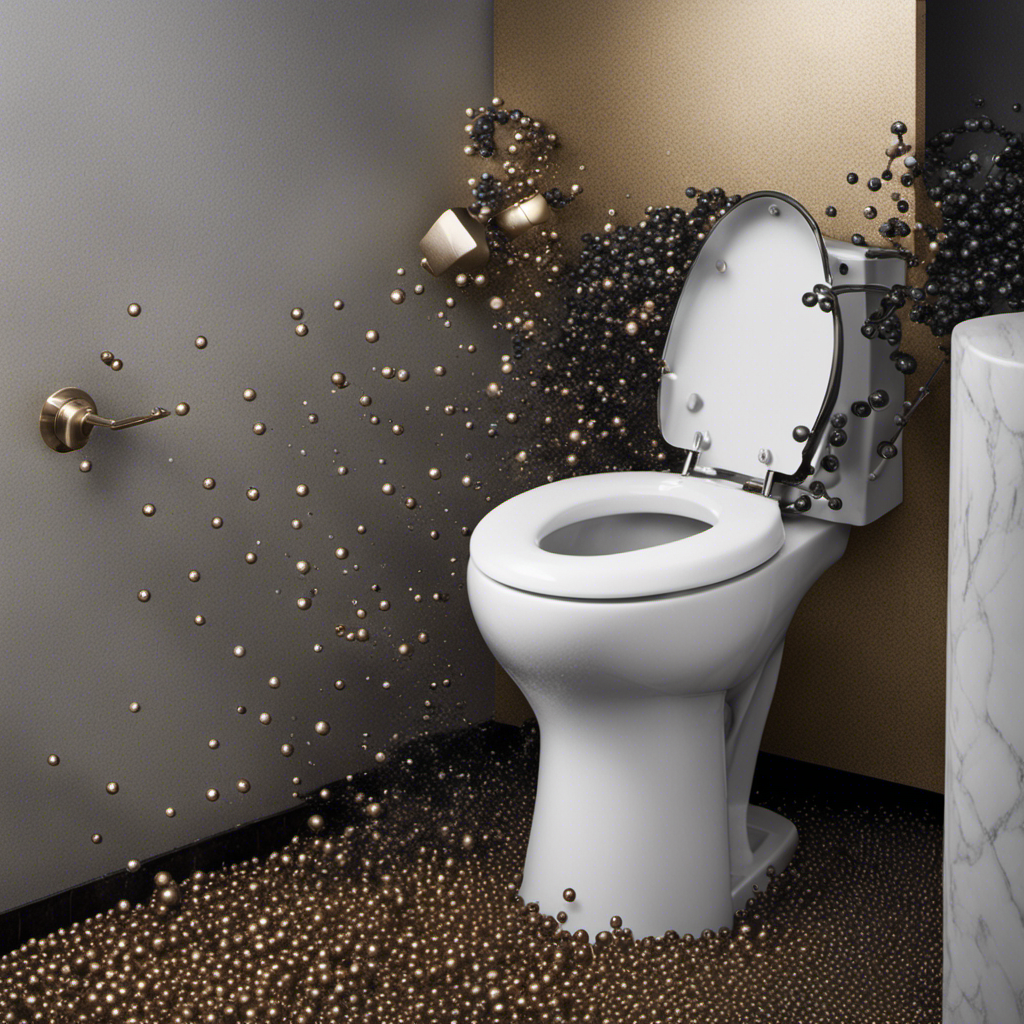
Water Constantly Running
If the water is constantly running in your toilet tank, you may need to check the flapper for any issues. Troubleshooting tips can help you identify and fix the problem.
One common cause of water constantly running is a worn-out flapper. Over time, the flapper can deteriorate or become misaligned, preventing it from sealing properly. This allows water to continuously flow into the toilet bowl. To troubleshoot this issue, start by inspecting the flapper for any signs of wear or damage. If you notice any cracks or tears, it’s time to replace the flapper.
Another common cause of a constantly running toilet is a chain that is too short or tangled. Adjusting the chain length or untangling it can often solve the problem.
How to Test?
When troubleshooting a toilet flapper, it is important to test its functionality to determine if a replacement is necessary. Here’s how you can test your toilet flapper:
-
Visual Inspection: Start by examining the flapper for any visible signs of damage or wear. Look for cracks, tears, or warping that may be causing the flapper to malfunction.
-
Water Dye Test: Add a few drops of food coloring to the toilet tank water and wait for a few minutes. If the colored water seeps into the toilet bowl, it indicates a faulty flapper that needs repair or replacement.
-
Flush Test: Flush the toilet and observe the flapper’s movement. It should lift up when the toilet is flushed and close tightly afterward to prevent water from continuously flowing into the bowl.
-
Listen for Leaks: Listen for any hissing or running water sounds after flushing. If you hear water running, it suggests that the flapper is not sealing properly and needs attention.
Frequently Asked Questions
How Often Should a Toilet Flapper Be Replaced?
I replace my toilet flapper every 3-5 years. It’s important to choose the right flapper for your toilet to ensure proper function. Look out for signs like constant running or leaking water.
Can I Use Any Type of Flapper for My Toilet?
Sure, you can use any type of flapper for your toilet. However, it’s important to consider the pros and cons of different types. Some may be more durable, while others may provide better water efficiency.
Is It Necessary to Shut off the Water Supply Before Replacing the Flapper?
Yes, it is possible to replace the flapper without shutting off the water supply, but it is not recommended. It is also important to have some prior plumbing knowledge to ensure a successful replacement.
What Should I Do if the Chain Is Too Short After Installing the New Flapper?
If the chain is too short after installing the new flapper, I would adjust the chain length by adding or removing links until it is the proper length. This is a common troubleshooting step for flapper issues.
Why Is the Toilet Still Running Even After Replacing the Flapper?
Even after replacing the flapper, the toilet may still run if the water level is too high or if the flapper is not properly aligned or seated. Troubleshooting common mistakes when replacing a toilet flapper can help resolve this issue.
Conclusion
In conclusion, replacing a toilet flapper is like giving your toilet a new lease on life. Just as a butterfly emerges from a cocoon, your toilet will be transformed into a well-functioning and efficient fixture.
By following the steps outlined in this article, you can easily troubleshoot and fix any issues with your toilet’s flapper. Remember, like a skilled surgeon, you have the power to restore balance and harmony to your bathroom kingdom.
So go forth, my friends, and conquer the toilet flapper!

With an impeccable eye for detail and a passion for bathroom-related, Ava leads our editorial team gracefully and precisely.
Under her guidance, Best Modern Toilet has flourished as the go-to resource for modern bathroom enthusiasts. In her free time, you might find Ava exploring antique shops and looking for vintage bathroom fixtures to add to her collection.