As a seasoned DIY enthusiast, I’ve encountered my fair share of plumbing mishaps. One common issue that often arises is a faulty toilet handle. But fear not, because I’m here to guide you through the simple yet essential process of replacing it.
In just a few easy steps, you’ll have a fully functional toilet handle that will make flushing a breeze. So grab your tools, shut off the water supply, and let’s tackle this toilet handle replacement together!
Key Takeaways
- Regular maintenance is important to prevent toilet handle issues.
- Shut off the water supply before troubleshooting to prevent leaks or water damage.
- Remove the old toilet handle by loosening the mounting nut and pulling it out of the tank.
- Install the new toilet handle by inserting it through the tank hole, securing it with the provided nut, and attaching the chain or rod to the flush valve.

Hibbent Universal Metal Front Mount Toilet Handle Replacement Kit, Brass Toilet Flush Tank Lever with Stainless Steel Flapper Chains for Most Toilets, Chrome
Universal Front Mount Brass Toilet Tank Lever: This Front Mount Trip toilet tank lever handle is designed to…
As an affiliate, we earn on qualifying purchases.
As an affiliate, we earn on qualifying purchases.
Tools and Materials Needed
You’ll need a screwdriver, an adjustable wrench, and a new toilet handle to complete this task.
When it comes to common toilet handle problems, troubleshooting toilet handle issues can save you time and money. A malfunctioning toilet handle can lead to difficulties in flushing or even a constantly running toilet.
To fix these issues, having the right tools is crucial. The screwdriver is needed to remove the screws that hold the old handle in place. The adjustable wrench is necessary for loosening and tightening the nuts that secure the handle inside the toilet tank. Lastly, a new toilet handle is required to replace the old, faulty one.
With these tools in hand, you can proceed to the first step: shutting off the water supply.
Hibbent Universal Metal Front Mount Toilet Handle Replacement Kit, Brass Toilet Flush Tank Lever with Stainless Steel Flapper Chains for Most Toilets, Chrome
Universal Front Mount Brass Toilet Tank Lever: This Front Mount Trip toilet tank lever handle is designed to…
As an affiliate, we earn on qualifying purchases.
As an affiliate, we earn on qualifying purchases.
Step 1: Shut off the Water Supply
Before starting, make sure to shut off the water supply to prevent any leaks or water damage. Regular maintenance for toilet handles is crucial to ensure their proper functioning.
Over time, mineral deposits and debris can build up, causing the handle to become stiff or loose. By performing routine maintenance, you can prevent these issues and extend the lifespan of your toilet handle. Regularly cleaning the handle with a mild detergent and warm water can help remove any grime or buildup. Additionally, lubricating the moving parts of the handle with silicone-based lubricant can keep it operating smoothly.
When troubleshooting common problems with toilet handles, it’s important to first identify the issue. If the handle is loose, tightening the mounting nut underneath the tank should solve the problem. If the handle is not flushing properly, adjusting the chain length or replacing the flapper valve may be necessary. Sometimes, the handle itself may need to be replaced if it is broken or worn out.

WORKPRO 2-Piece Adjustable Wrench Set, 6-Inch & 10-Inch Wide Jaw Black Oxide Wrench, Cr-V Steel, Metric & SAE Scales, Max Jaw Opening 15/16" & 1-5/16", for Home Repairs, Plumbing, Garage Work
DUAL-SIZE SET FOR VERSATILE USE: This 2-piece set includes 6-inch and 10-inch adjustable wrenches, designed for everyday household…
As an affiliate, we earn on qualifying purchases.
As an affiliate, we earn on qualifying purchases.
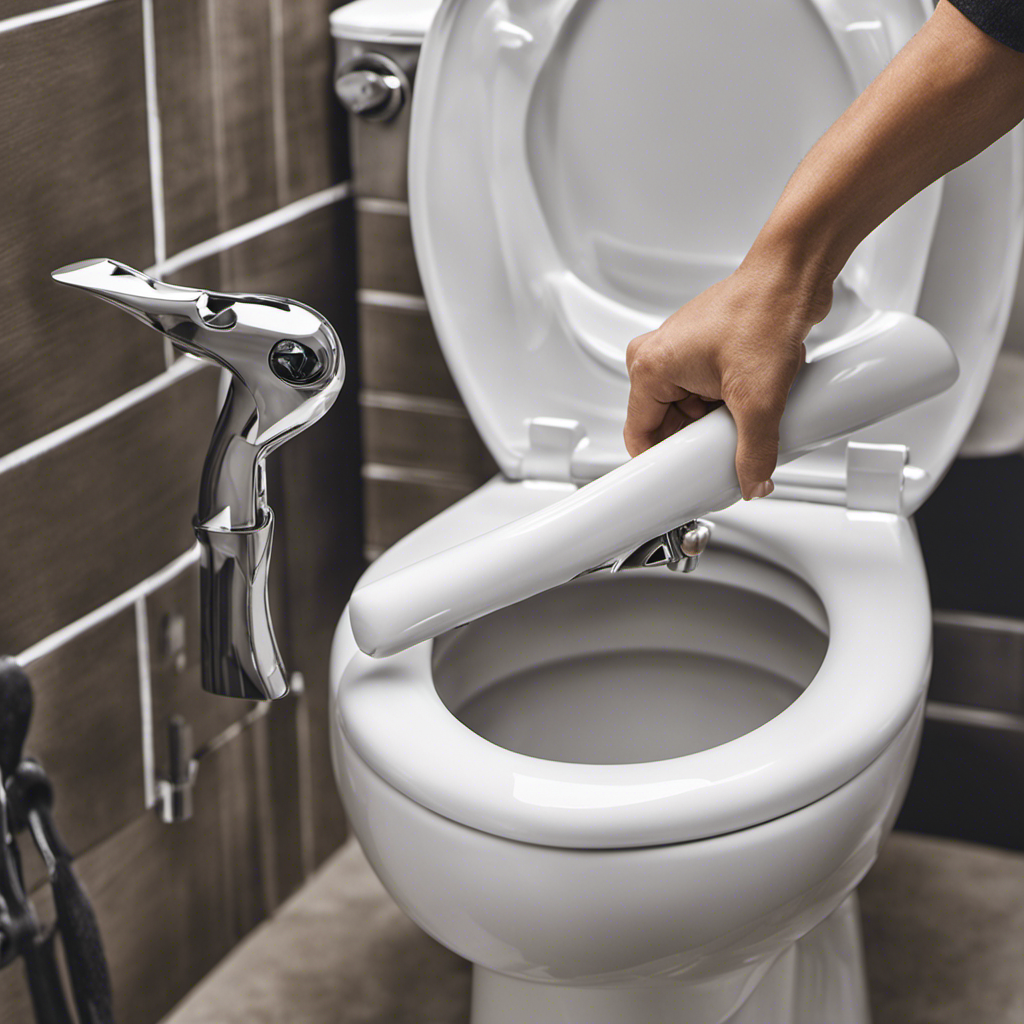
Step 2: Remove the Old Toilet Handle
To remove the old toilet handle, start by loosening the mounting nut underneath the tank. This is the nut that holds the handle in place. Use a wrench or pliers to turn the nut counterclockwise until it is loose enough to remove by hand.
Once the nut is removed, you can simply pull the old handle out of the tank. If the handle is stuck or difficult to remove, you may need to wiggle it back and forth or apply some lubricant to loosen it.
Toilet handle replacement is a common troubleshooting step when dealing with a broken or malfunctioning handle. Now that the old handle is removed, we can move on to step 3: installing the new toilet handle.

Fluidmaster K-400H-021-P8 PerforMAX 2-Inch Everything Toilet Repair Kit, Multicolor
The Everything Kit includes everything you need to fix your toilet in one trip and one purchase
As an affiliate, we earn on qualifying purchases.
As an affiliate, we earn on qualifying purchases.
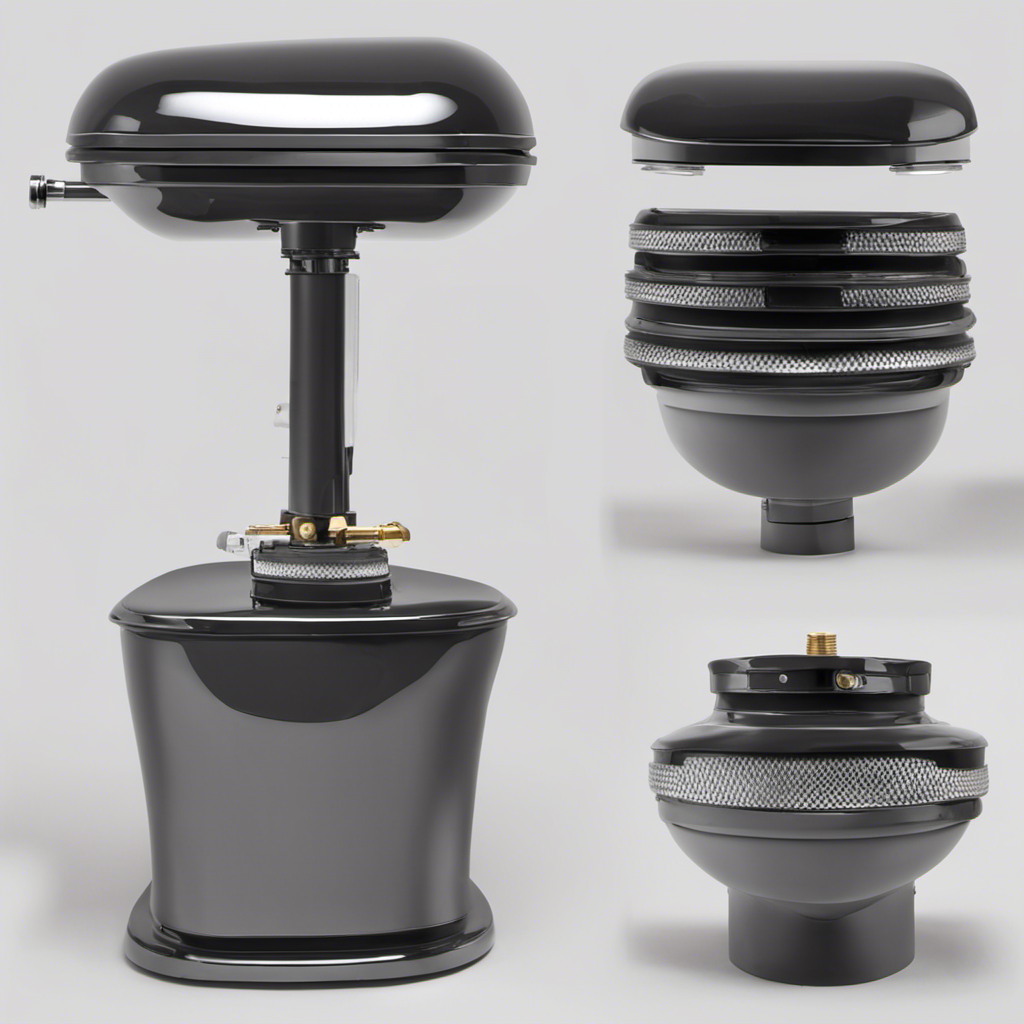
Step 3: Install the New Toilet Handle
Now that you have successfully removed the old toilet handle, it’s time to install the new one.
Installing toilet parts can seem daunting, but with the right knowledge and tools, it can be a simple task.
To begin, make sure you have the new handle and any accompanying hardware. Start by inserting the handle through the hole in the tank. Secure it in place with the provided nut on the inside of the tank. Make sure it is tight enough to prevent any movement.
Next, attach the chain or rod to the flush valve. Adjust the chain length if necessary to ensure smooth operation.
Step 4: Test and Adjust the Toilet Handle
Once you have finished installing the new toilet handle, make sure to test its functionality and adjust it if necessary.
Testing the toilet handle is crucial to ensure that it properly flushes and engages with the internal mechanisms of the toilet.
Here are three important things to consider when testing and adjusting the toilet handle:
-
Troubleshooting common toilet handle problems: During the testing phase, pay attention to any issues such as a loose handle, a handle that sticks when flushed, or a handle that doesn’t return to its original position. These problems can usually be resolved by adjusting the handle’s position or tightening any loose screws.
-
Different types of toilet handles and their pros and cons: There are various types of toilet handles available, including traditional handles, lever handles, push-button handles, and touchless handles. Each type has its own advantages and disadvantages, such as ease of use, durability, and aesthetic appeal. Consider these factors when choosing and adjusting your toilet handle.
-
Adjusting the toilet handle: If you notice any problems during testing, you may need to make adjustments. This could involve tightening or loosening screws, repositioning the handle arm, or lubricating any moving parts. Follow the manufacturer’s instructions and consult a professional if needed.
Frequently Asked Questions
How Often Should I Replace My Toilet Handle?
I replace my toilet handle whenever it starts showing signs of wear and tear. Regular toilet handle maintenance is important to prevent any issues. Look out for loose or sticky handles as indicators of a worn-out handle.
Can I Use Any Type of Toilet Handle to Replace My Old One?
Yes, you can use any type of toilet handle to replace the old one. However, it’s important to make sure it is compatible with your toilet model to avoid any installation issues or common problems with toilet handles.
Can I Replace the Toilet Handle Without Shutting off the Water Supply?
No, you can’t replace the toilet handle without shutting off the water supply. It’s like trying to change a car tire while it’s still moving. It’s important to ensure the water is turned off to avoid any mishaps.
What Should I Do if the New Toilet Handle Doesn’t Fit Properly?
If the new toilet handle doesn’t fit properly, there are a few troubleshooting tips you can try. Check if the handle is aligned correctly, adjust the linkage arm, or consider alternative solutions like purchasing a different handle.
Are There Any Safety Precautions I Should Take While Replacing the Toilet Handle?
When replacing a toilet handle, it’s important to take safety precautions. Ensure the water valve is turned off to prevent leaks, and wear gloves to protect your hands from any sharp edges.
Conclusion
In conclusion, replacing a toilet handle is a relatively simple task that can be done by anyone with basic DIY skills. By following the steps outlined in this article, you can easily install a new handle and restore your toilet’s functionality.
Just remember to shut off the water supply, remove the old handle, install the new one, and test it out. With a handle as smooth as silk, your toilet will be functioning like a well-oiled machine in no time.