As I stood in my bathroom, an unpleasant smell lingered in the air and I knew it was time to replace the toilet seal.
In this step-by-step guide, I’ll show you how to tackle this task with ease.
- Gather your tools and materials.
- Remove the toilet tank.
- Detach the old seal.
- With precision, replace the seal.
- Reinstall the toilet.
- Connect the water supply.
- Finally, ensure a proper seal by testing for leaks.
Let’s get started!
Key Takeaways
- Prepare the necessary tools and materials, such as gloves and a putty knife, as well as the appropriate seal for your toilet and flange.
- Take care when removing the toilet tank, turning off the water supply valve, flushing the toilet, and loosening the nuts and bolts that hold the tank in place.
- Detach and replace the old toilet seal by lifting the toilet bowl gently, removing the old wax ring, thoroughly cleaning the flange and toilet bowl, and inspecting for any damage or cracks.
- When reinstalling the toilet and connecting the water supply, lower the toilet bowl carefully onto the flange, align the bolt holes properly, hand-tighten and gradually tighten the bolts, and adjust the water level in the tank to ensure proper flushing and prevent water overflow.
Gathering the Necessary Tools and Materials
You’ll need a pair of gloves and a putty knife to gather the necessary tools and materials for replacing the toilet seal.
When replacing a toilet seal, it’s important to avoid common mistakes that could lead to leaks or improper sealing. One common mistake is not properly cleaning the area before installing the new seal. Make sure to remove any old wax or debris from the flange and toilet base.
Another mistake is using the wrong size or type of seal. To choose the right seal for your bathroom, consider the type of toilet you have and the size of the flange. There are different types of seals, such as wax rings and rubber gaskets, so be sure to choose the one that fits your toilet and flange properly.
Removing the Toilet Tank
To start, it’s important to disconnect the water supply line from the toilet tank. This step is crucial in ensuring a safe and effective removal of the toilet tank. Once the water supply line is disconnected, you can proceed with removing the tank from the toilet bowl. Here is a step-by-step guide on how to remove the toilet tank:
| Step | Procedure |
|---|---|
| 1 | Turn off the water supply valve to the toilet. |
| 2 | Flush the toilet to drain the water from the tank. |
| 3 | Use a wrench to loosen the nuts on the water supply line and remove it from the bottom of the tank. |
| 4 | Remove the bolts that hold the tank to the toilet bowl. |
Detaching and Replacing the Old Toilet Seal
First, it’s important to detach the old seal from the bottom of the toilet bowl. This step is crucial in replacing the wax ring and troubleshooting common toilet seal issues.
To ensure a successful replacement, follow these steps:
-
Gently lift the toilet bowl: This requires caution and precision to avoid any damage or spills. Make sure to disconnect the water supply and remove any remaining water from the bowl before proceeding.
-
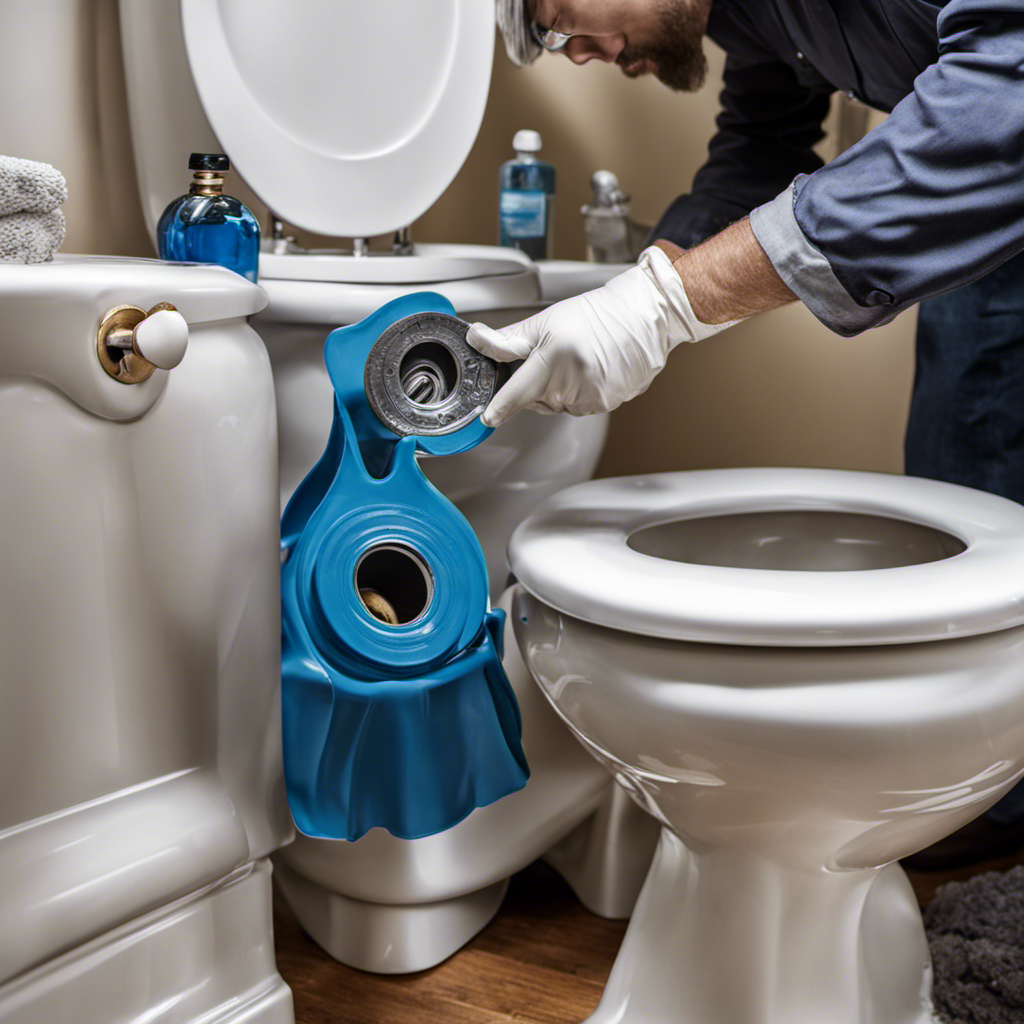
Remove the old wax ring: Use a putty knife or scraper to carefully scrape off the old wax ring from the flange and the bottom of the toilet bowl. Be thorough in removing any residue or debris.
-
Clean and inspect: Once the old seal is detached, thoroughly clean the flange and the toilet bowl. Inspect for any cracks or damage that may require repair or replacement.
Reinstalling the Toilet and Connecting the Water Supply
Once the old wax ring has been removed and the flange and toilet bowl have been cleaned and inspected, it’s time to reinstall the toilet and connect the water supply.
First, carefully lower the toilet bowl onto the flange, making sure the bolt holes align properly. Next, insert the bolts into the holes and hand-tighten them. Using a wrench, gradually tighten the bolts, alternating between sides to ensure even pressure. Be careful not to overtighten and crack the toilet bowl.
Once the toilet is securely in place, it’s important to adjust the water level in the toilet tank. Locate the water level adjustment screw or float arm and adjust it to the recommended level indicated by the manufacturer. This will ensure proper flushing and prevent water overflow.
Testing for Leaks and Ensuring a Proper Seal
Now that you’ve finished the installation, it’s time to check for leaks and make sure there is a proper seal. Here are three important steps to follow to ensure everything is in proper working order:
-
Check the toilet flange for damage:
Carefully inspect the flange, which is the circular piece that connects the toilet to the floor. Look for any cracks or breaks that could compromise the seal. If you notice any damage, it’s crucial to repair or replace the flange before proceeding. -
Adjust the toilet bowl for a proper fit:
Ensure that the toilet bowl is aligned properly with the flange. Check that it sits evenly on the floor and doesn’t wobble. If needed, use shims to level the bowl and ensure a stable fit. This step is essential to prevent leaks and maintain a tight seal. -
Test for leaks:
Once the toilet is securely in place, turn on the water supply and let the tank fill. Flush the toilet and carefully observe for any signs of leakage. Inspect around the base of the toilet, the supply line, and the tank connections for any water seepage. If you notice any leaks, tighten the connections or replace faulty parts as necessary.
Frequently Asked Questions
How Long Does a Toilet Seal Typically Last Before Needing to Be Replaced?
A toilet seal typically lasts 5-10 years before needing replacement. Signs of a deteriorating toilet seal include water leakage around the base, foul odors, and a rocking toilet. Regular maintenance can extend its lifespan.
Can I Use Any Type of Sealant or Adhesive to Secure the Toilet Seal?
I wouldn’t recommend using any alternative sealant or adhesive for securing a toilet seal. It’s best to stick to the recommended type for your specific toilet model, as using the wrong sealant can lead to leaks and other issues.
Is It Necessary to Replace the Toilet Seal if There Are No Visible Leaks?
No, it’s not necessary to replace the toilet seal if there are no visible leaks. However, regular toilet seal maintenance is important to prevent future issues. Signs of a faulty toilet seal include water stains or odors around the base of the toilet.
Can I Reuse the Same Bolts and Nuts When Reinstalling the Toilet After Replacing the Seal?
Yes, you can reuse the same bolts and nuts when reinstalling the toilet after replacing the seal. However, it’s important to check their condition and tighten them properly to ensure a secure fit. Alternatively, you can consider using alternative seal materials for a better seal.
What Should I Do if the Toilet Still Leaks After Replacing the Seal?
If the toilet still leaks after replacing the seal, there might be a few troubleshooting steps to take. Check if the seal is properly installed, ensure the bolts are tightened, and inspect for any cracks or damage.
Conclusion
In conclusion, replacing a toilet seal is a straightforward task that can prevent costly water leaks and potential damage. By following the steps outlined in this guide, you can easily replace the seal and ensure a proper seal for your toilet.
Did you know that a leaking toilet can waste up to 200 gallons of water per day? This staggering statistic highlights the importance of promptly fixing any seal issues to conserve water and save money on your water bill.
