As a seasoned DIY enthusiast, I’ve encountered my fair share of plumbing challenges. One such task that can seem daunting at first is replacing a toilet valve.
However, fear not! In this step-by-step guide, I will walk you through the process of swapping out that old, leaky valve for a brand new one.
So grab your wrench and put on your handyman hat, because we’re about to dive into the world of toilet valve replacement.
Key Takeaways
- Regular inspection and maintenance of toilet valves is crucial to prevent water wastage and damage.
- Signs of a faulty valve include continuous running water, weak flushes, and a leaking tank.
- Gather the necessary tools and materials such as a wrench, screwdriver, replacement valve, plumbers tape, bucket, and towels.
- When removing the old valve, shut off the water supply, flush the toilet to drain remaining water, disconnect the supply line, and gently remove the old valve without damaging the pipes.
Understanding the Different Types of Toilet Valves
Now, let’s take a look at the different types of toilet valves you might come across.
Proper maintenance for toilet valves is essential to ensure their smooth functioning and prevent any potential issues.
There are primarily two types of toilet valves commonly found: the fill valve and the flush valve.
The fill valve is responsible for regulating the water level in the toilet tank, while the flush valve controls the release of water into the toilet bowl during flushing.
Common signs of a faulty toilet valve include continuous running water, weak flushes, or a leaking toilet tank.
It is crucial to identify and address these issues promptly to avoid water wastage and potential damage.
Regular inspection and maintenance of your toilet valves will help keep your bathroom running smoothly.
Gathering the Necessary Tools and Materials
First, you’ll need to gather the necessary tools and materials for the task at hand. Here are the tools and materials you’ll need:
- Wrench
- Screwdriver
- Replacement valve
- Plumbers tape
- Bucket
- Towels
Choosing the right toilet valve is crucial for a successful replacement. Consider factors such as the size and type of the valve, as well as the water pressure in your home. It is also important to avoid common mistakes that can lead to leaks or faulty installation. Some mistakes to avoid include overtightening the connections, not using plumbers tape, and not properly aligning the valve.
Step-by-Step Guide to Removing the Old Valve
To begin removing the old valve, you’ll need to shut off the water supply to the toilet. Locate the shut-off valve, usually located near the base of the toilet or on the wall behind it. Turn the valve clockwise until it is fully closed. This will prevent any water from flowing into the toilet as you work.
Next, flush the toilet to drain any remaining water from the tank and bowl. Use a towel or sponge to soak up any excess water.
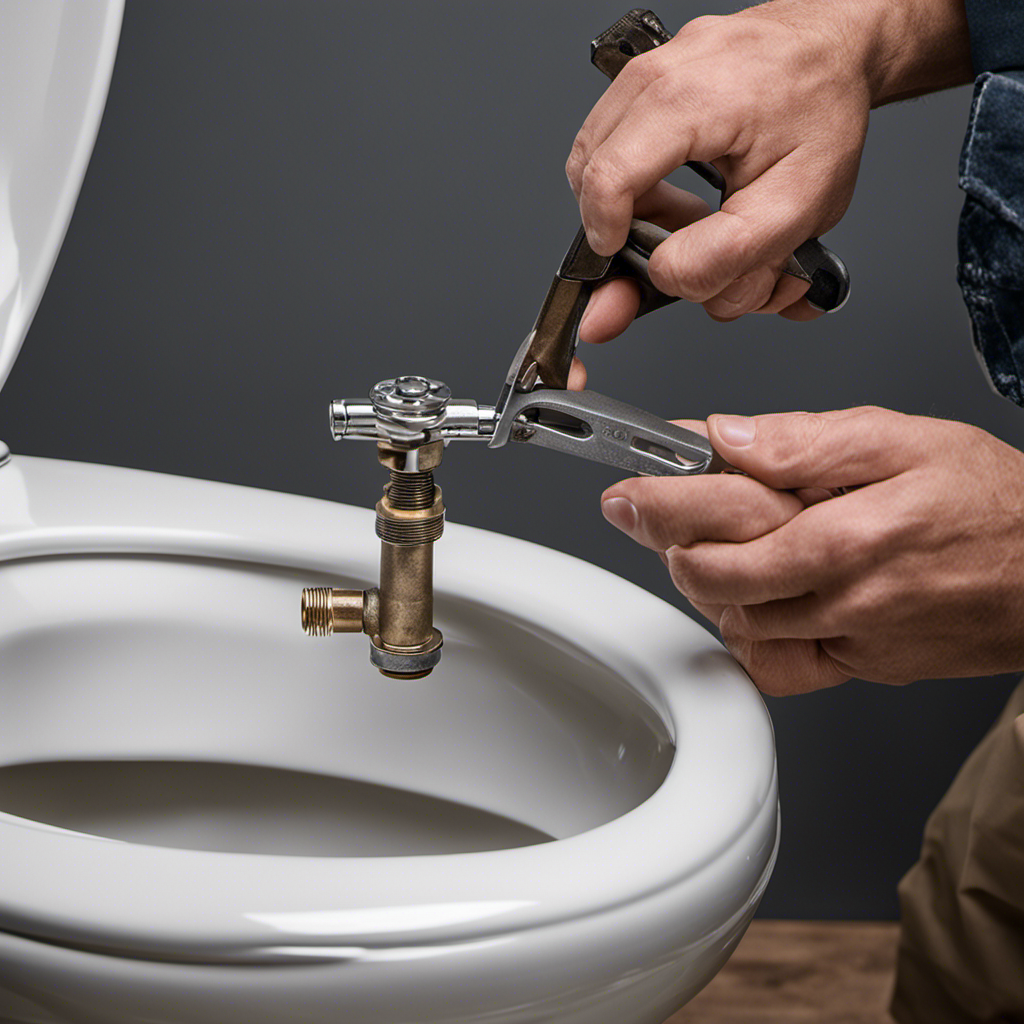
Now, you can start removing the old valve. Begin by disconnecting the supply line from the bottom of the valve. Use an adjustable wrench to loosen the nut and then unscrew it by hand.
Once the supply line is disconnected, use pliers to loosen and remove the nut holding the valve in place. Gently pull the valve out of the toilet, being careful not to damage the surrounding pipes or fittings.
Congratulations, you’ve successfully removed the old valve and are one step closer to replacing it!
Installing the New Toilet Valve
Once you’ve removed the old valve, it’s time to install the new one. To ensure a successful and leak-free toilet valve installation, follow these tips:
-
Troubleshooting common issues during toilet valve installation:
-
Check the valve size: Ensure that the new valve matches the size of the old one to avoid any compatibility issues.
-
Use Teflon tape: Apply Teflon tape to the threads of the valve to create a watertight seal and prevent leaks.
-
Tips for ensuring a leak-free toilet valve installation:
-
Tighten the connections: Use a wrench to securely tighten the nuts and connections, but be careful not to over-tighten, as it can damage the valve or the pipes.
-
Test for leaks: After installing the new valve, turn on the water supply and check for any leaks around the connections. If you notice any leaks, tighten the connections or replace any faulty parts.
Testing and Troubleshooting the Replaced Valve
After installing the new valve, it’s important to test for leaks by turning on the water supply and checking the connections. This step is crucial to ensure that the replacement was successful and that there are no issues with the valve. If you notice any leaks, it’s essential to troubleshoot and address the problem promptly.
Here are some troubleshooting tips for common valve problems:
-
Leaking connections: Check if the connections are tight and secure. If there are any loose fittings, tighten them using a wrench.
-
Water hammer: If you hear loud banging noises when you turn on the water supply, it could be due to water hammer. Install a water hammer arrestor to alleviate this issue.
-
Running toilet: If the toilet continues to run even after replacing the valve, check the flapper. It may be worn out or not sealing properly, causing water to continuously flow.
-
Inconsistent water pressure: If you experience inconsistent water pressure after replacing the valve, there may be a blockage in the pipes. Flush the pipes by turning on multiple faucets simultaneously to clear any debris.
Conclusion
In conclusion, replacing a toilet valve may seem like a daunting task at first, but with the right tools and a step-by-step guide, it can be easily accomplished.
By understanding the different types of valves and following the necessary steps, you can ensure a smooth installation process.
Remember, a faulty valve can cause leaks and water damage, so it’s important to take care of it promptly.
So don’t be afraid to tackle this DIY project and flush away your worries!


