
Did you know that a leaking toilet can waste up to 200 gallons of water per day? That’s a staggering amount, but fortunately, replacing a toilet wax ring is a relatively simple fix.
In this article, I’ll guide you through the step-by-step process of replacing a toilet wax ring. With just a few tools and materials, you can ensure a watertight seal and put an end to that annoying leak.
Let’s get started!
Key Takeaways
- Properly gathering tools and materials is essential for a successful wax ring replacement
- Shutting off the water supply and draining the toilet tank is necessary before replacing the wax ring
- Removing the old wax ring and cleaning the toilet base ensures a proper seal with the new wax ring
- Testing for leaks, checking water pressure, and properly aligning and securing the toilet are important steps to ensure a successful replacement of the wax ring

Hibbent Extra Thick Toilet Wax Ring Replacement Kit, Universal Toilet Seal Ring with Brass Toilet Floor Bolts and Retainer Washers, PE Flange Fits 3 Inch and 4 Inch Drain Pipes
- Universal Compatibility: Fits 3-inch and 4-inch waste lines
- Premium Material Construction: Polyurethane core with brass bolts
- Reliable Sealing Performance: Triple-seal and anti-wobble design
As an affiliate, we earn on qualifying purchases.
As an affiliate, we earn on qualifying purchases.
Gathering the Necessary Tools and Materials
You’ll need to gather a few tools and materials before you can replace the toilet wax ring.
First, it’s important to prepare the toilet area by turning off the water supply valve and flushing the toilet to remove any remaining water. This will make the replacement process much easier and cleaner.
Next, you’ll need to buy the right wax ring. Make sure to measure the size of your toilet’s drain opening before purchasing a new wax ring to ensure a proper fit.
Additionally, it’s a good idea to have a putty knife, adjustable wrench, and a bucket or towels on hand to catch any water that may leak during the process.
Shutting off the Water Supply and Draining the Toilet Tank
First, make sure to shut off the water supply and drain the tank before proceeding with any further steps. This is a crucial step in replacing a toilet wax ring to avoid any water leakage or flooding.
To successfully shut off the water supply and drain the tank, you can follow these draining techniques:
- Locate the water shut-off valve near the base of the toilet and turn it clockwise to shut off the water supply.
- Flush the toilet to drain as much water as possible from the tank.
- Use a small bucket or towel to remove any remaining water in the tank.
- Disconnect the water supply line from the bottom of the tank using an adjustable wrench.
- Place a bucket or towel below the tank to catch any remaining water that may drip during the process.
Removing the Old Wax Ring and Cleaning the Toilet Base
When it comes to replacing a toilet wax ring, proper removal of the old wax ring is crucial.
To ensure a clean and effective installation, it is important to thoroughly clean the toilet base before installing the new wax ring.
This step not only helps to maintain hygiene but also ensures a proper seal and prevents any leaks in the future.
Proper Wax Ring Removal
To remove the wax ring properly, make sure to wear gloves for protection. When it comes to replacing a toilet wax ring, it’s important to do it right to prevent any leaks or unpleasant odors. Here are some key steps to follow for proper wax ring removal:
-
Inspect the wax ring: Check the condition of the old wax ring before removing it. Look for any signs of damage or wear.
-
Disconnect the water supply: Turn off the water supply to the toilet and flush it to empty the tank.
-
Remove the toilet: Unscrew the bolts securing the toilet to the floor and carefully lift it off the wax ring.
-
Remove the old wax ring: Use a putty knife or scraper to gently scrape off the old wax ring from the toilet base.
-
Clean the toilet flange: Thoroughly clean the toilet flange to ensure a proper seal with the new wax ring.
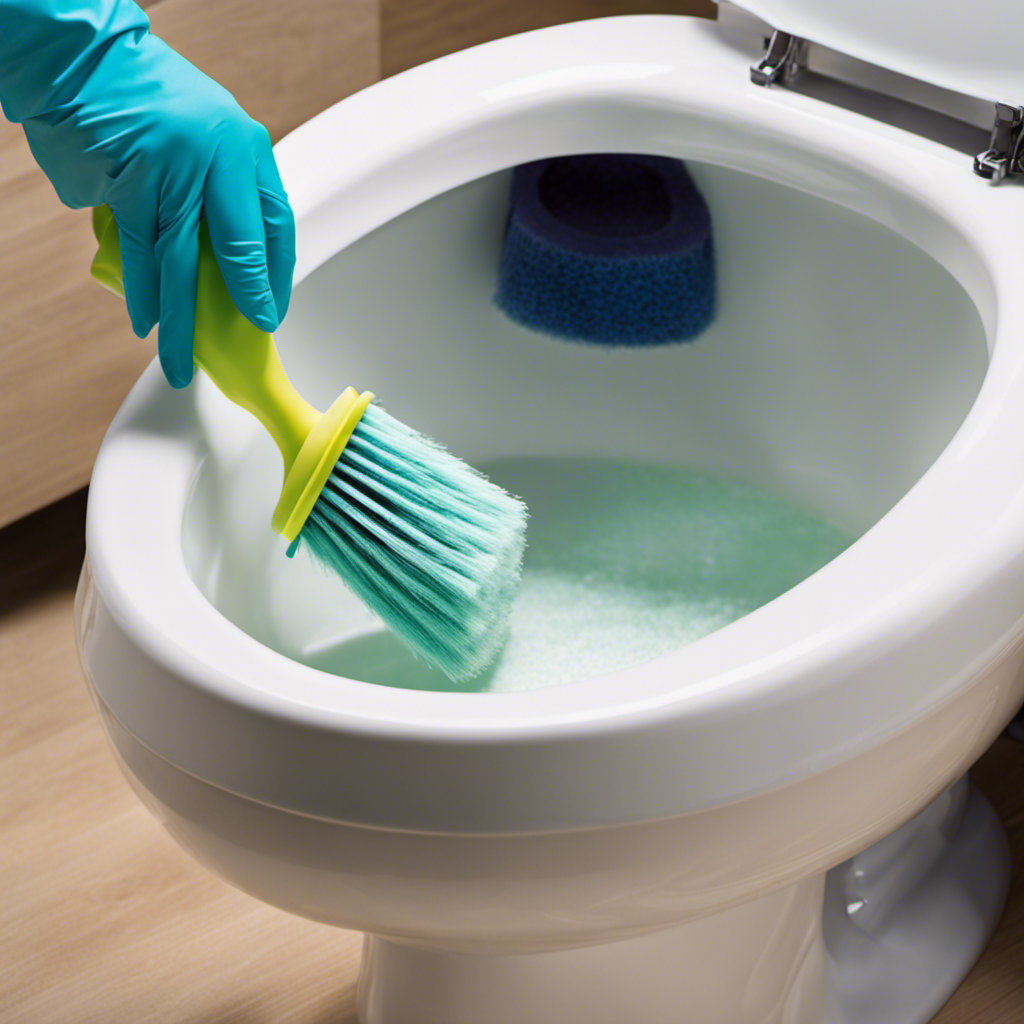
Toilet Base Cleaning Techniques
Make sure you thoroughly scrub the base of the toilet to remove any dirt or grime buildup. Maintaining the cleanliness of the toilet base is crucial for preventing wax ring leaks.
When dirt and grime accumulate around the base, it can compromise the seal between the toilet and the floor, leading to leaks and potential water damage.
To clean the toilet base, start by using a toilet brush to remove any visible debris. Then, mix a solution of warm water and mild detergent. Dip a sponge or cloth into the solution and gently scrub the base, paying close attention to the areas around the bolts and wax ring.
Rinse with clean water and dry thoroughly. Regular toilet base maintenance will help ensure a tight seal and prevent any future leaks.
Importance of Thorough Cleaning
It’s essential to thoroughly clean the base of your toilet to prevent dirt and grime buildup, which can lead to leaks and potential water damage. Here are some reasons why thorough cleaning is important in replacing a toilet wax ring:
-
Removing old wax residue: Cleaning the base ensures that any leftover wax from the previous wax ring is completely removed, allowing for a proper seal with the new wax ring.
-
Preventing mold and mildew growth: Regular cleaning prevents the growth of mold and mildew in the hard-to-reach areas around the toilet base, keeping your bathroom sanitary and fresh.
-
Eliminating foul odors: Cleaning the base eliminates any lingering odors caused by bacteria and waste, providing a clean and odor-free environment.
-
Maintaining the longevity of the new wax ring: A clean base ensures that the new wax ring can adhere properly, preventing leaks and potential water damage.
-
Enhancing the overall appearance of the toilet: Cleaning the base gives your toilet a polished and well-maintained look.
Now that you understand the importance of thorough cleaning, let’s move on to the next step of replacing the toilet wax ring: installing the new wax ring and aligning the toilet bowl.
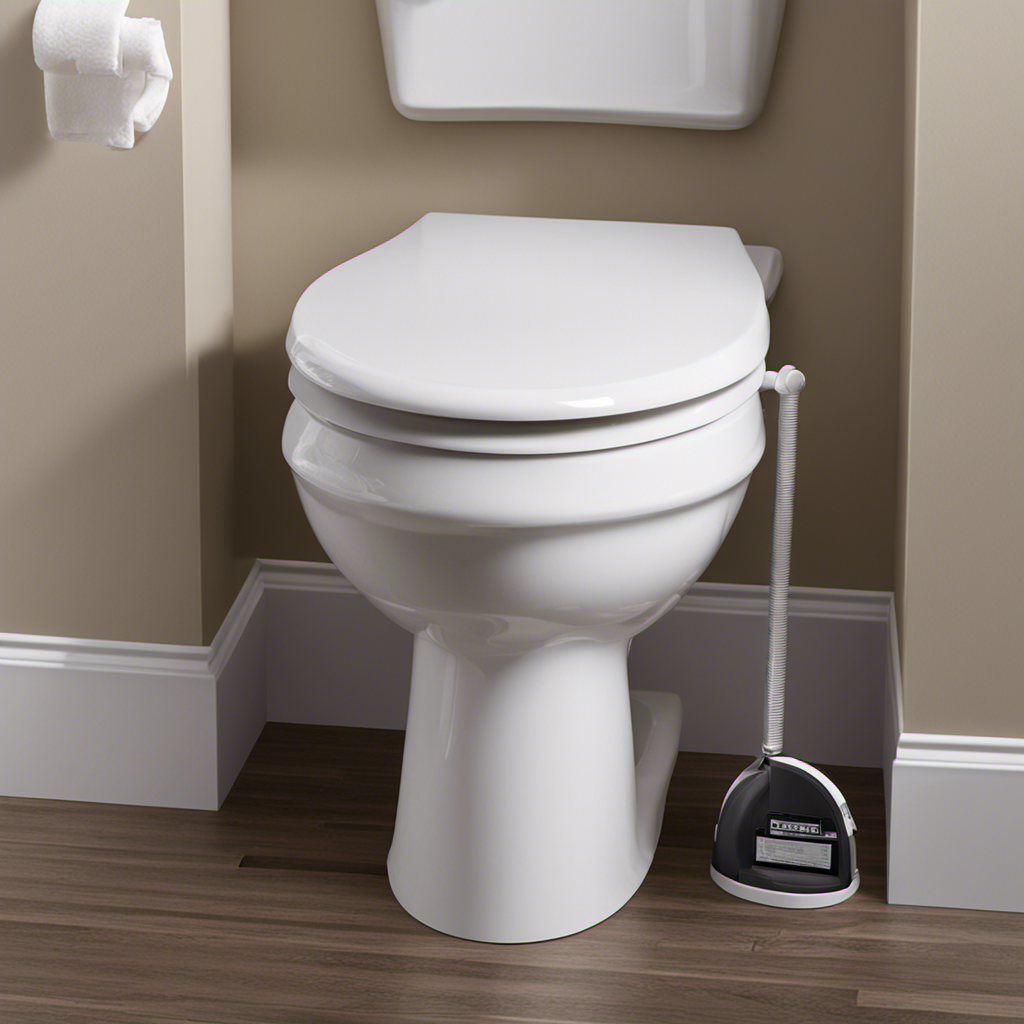
Installing the New Wax Ring and Aligning the Toilet Bowl
Once the toilet bowl is aligned, carefully lower it onto the new wax ring. Aligning the toilet bowl is a crucial step in the toilet installation process. It ensures a proper seal and prevents leaks.
To align the bowl, start by placing it over the mounting bolts on the floor flange. Make sure the bowl is centered and level. If the bowl doesn’t align properly, you may encounter some common issues during installation.
One common issue is uneven or wobbly positioning. In this case, you can use shims to level the bowl. Another issue is the bowl not sitting flush against the floor. This can be caused by an uneven floor or a misaligned flange. Adjustments may be needed to ensure a proper fit.
Taking the time to align the toilet bowl correctly can save you from future headaches and plumbing problems.
Reconnecting the Water Supply and Testing for Leaks
After aligning the toilet bowl, reconnect the water supply and test for leaks. This is an important step to ensure that the toilet is functioning properly and there are no water leaks that can cause damage to your bathroom. Here are some key things to keep in mind when testing for water leaks and checking water pressure:
-
Turn on the water supply slowly and observe if there are any visible leaks around the connections.
-
Check the water pressure by flushing the toilet and noting if the water flows smoothly and fills the bowl adequately.
-
Inspect the base of the toilet for any water puddles or wet spots, as this may indicate a leak.
-
Listen for any unusual sounds coming from the toilet tank or water supply line.
-
Use a dye tablet or food coloring in the tank to check for any leaks in the toilet bowl by observing if the colored water seeps into the bowl without flushing.
Finishing Touches and Maintenance Tips
Now that the toilet wax ring has been replaced and the water supply reconnected, it’s time to focus on the finishing touches and maintenance techniques to prevent future leaks.
First, double-check that the toilet is properly aligned and securely fastened to the floor. Ensure that the bolts are tight but be careful not to overtighten them, as this can crack the toilet base.
Next, carefully trim any excess wax from the base of the toilet using a putty knife or a utility knife. This will help create a clean and tidy appearance.
Once the finishing touches are complete, it’s important to establish a regular maintenance routine to prevent future leaks. Regularly inspect the toilet for any signs of water pooling or leakage. Additionally, check the water supply line and the fill valve for any wear or damage.
Conclusion
Replacing a toilet wax ring is not rocket science, but it’s not a walk in the park either. Gathering the necessary tools and materials, shutting off the water supply, and draining the toilet tank are the first steps. Removing the old wax ring and cleaning the toilet base may sound easy, but installing the new wax ring and aligning the toilet bowl can be challenging. Just when you think you’re done, reconnecting the water supply and testing for leaks can make you question your handyman skills. But don’t worry! With patience and handy tips, you can conquer this task and have a perfectly functioning toilet in no time. Happy wax ring replacing!