Did you know that a faulty fill valve can waste up to 200 gallons of water per day?
As a plumbing expert, I understand the importance of maintaining a properly functioning toilet.
In this article, I will guide you through the process of replacing a fill valve in your toilet.
With the right tools and materials, as well as step-by-step instructions, you’ll be able to tackle this task with confidence.
Let’s get started and ensure your toilet is working efficiently once again.
Key Takeaways
- Shut off the water supply before starting any repairs or replacements.
- Use pliers and an adjustable wrench to remove the old fill valve.
- Disconnect the water supply line from the fill valve using a wrench.
- Install the new fill valve securely and test for any leaks after reconnecting the water supply line.
Tools and Materials Needed
To replace the fill valve in your toilet, you’ll need a pair of pliers and an adjustable wrench. You’ll also need a new fill valve and some Teflon tape. These tools and materials are essential for a successful replacement.
Fixing leaks and adjusting the float are common issues that can be resolved by replacing the fill valve.
Here’s how you can do it:
-
Start by turning off the water supply to the toilet and flushing to drain the tank.
-
Use the pliers to disconnect the water supply line from the fill valve.
-
Then, use the adjustable wrench to remove the old fill valve from the tank.
-
Install the new fill valve, ensuring it is securely tightened.
-
Use Teflon tape to create a watertight seal on the connections.
-
Finally, reconnect the water supply line and turn on the water to test for any leaks.
Remember to follow these steps carefully to ensure a successful replacement of the fill valve.
Shutting Off the Water Supply
First, you’ll want to locate the water shut-off valve near the base of your toilet. This valve is typically located on the wall or floor behind the toilet. Once you’ve found it, follow these steps to turn off the water supply:
- Turn the valve clockwise to shut off the water flow to the toilet.
- Flush the toilet to drain any remaining water in the tank.
- If the valve is difficult to turn or is stuck, you may need to use a pair of pliers or a wrench to loosen it.
- Once the water is shut off, you can proceed with replacing the fill valve in your toilet.
Remember to exercise caution when working with plumbing systems and always turn off the water supply before attempting any repairs.
Removing the Old Fill Valve
Before removing the old fill valve, it’s important to gather the necessary tools for the job. This includes an adjustable wrench, pliers, and a bucket to catch any water that may spill during the process.
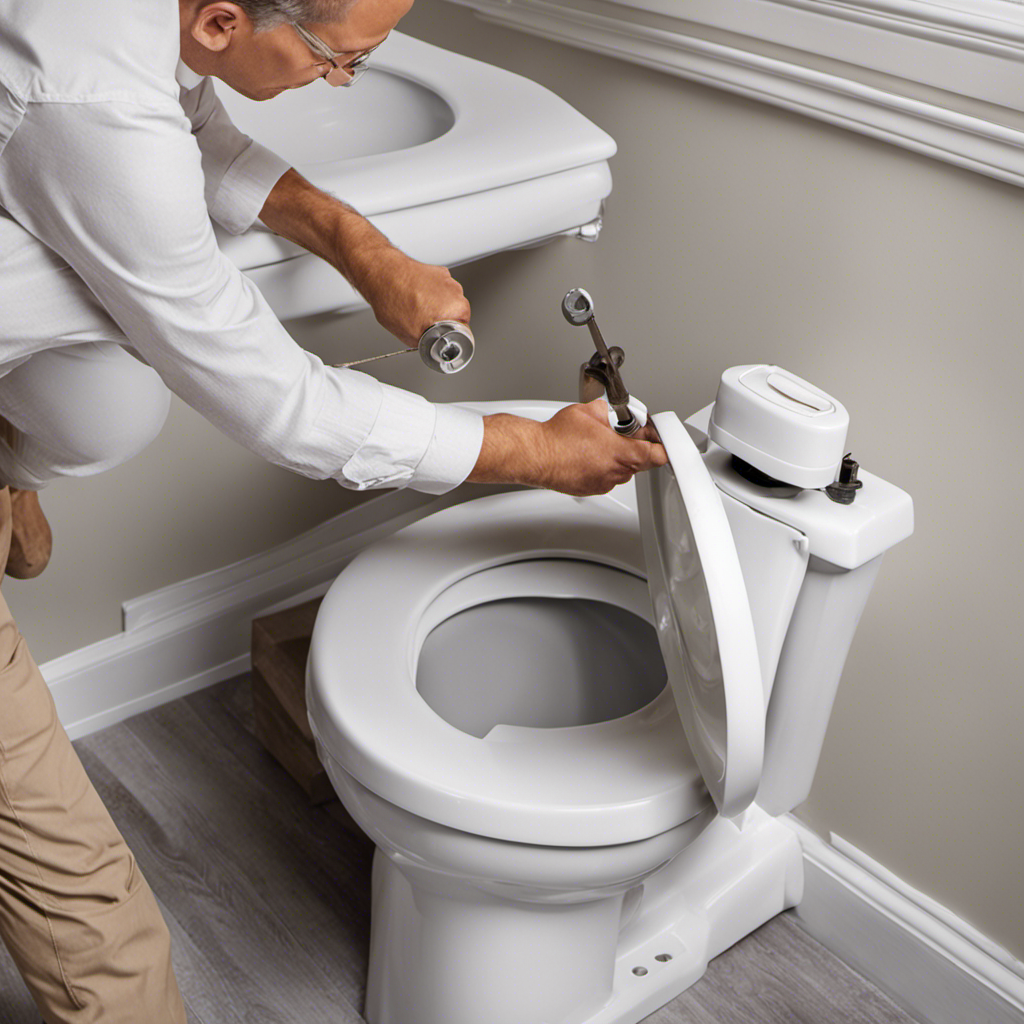
To disconnect the valve, start by turning off the water supply to the toilet and flushing it to drain the tank. Then, use the wrench and pliers to loosen and remove the water supply line and the nut holding the fill valve in place.
Common issues that may arise during this step include stuck or corroded nuts. These can be addressed by applying penetrating oil or using a pipe wrench for extra leverage.
Troubleshooting tips may include checking for leaks, ensuring proper alignment of the valve, and testing the water flow after installation.
Tools Needed for Removal
You’ll need a few tools to remove the fill valve in your toilet. Here are the essential tools you’ll need:
-
Adjustable wrench: This tool will help you loosen and tighten nuts and bolts during the removal process. Make sure to select the right size for your specific fill valve.
-
Screwdriver: A flathead or Phillips screwdriver will be needed to remove any screws or fasteners holding the fill valve in place.
-
Pliers: Pliers will come in handy for gripping and holding small parts or components as you work.
-
Bucket: It’s always a good idea to have a bucket nearby to catch any water that may spill during the removal process.
Alternative options for the tools mentioned above include using a basin wrench instead of an adjustable wrench, or using a multitool that includes screwdriver and pliers functionalities.
Remember to always use caution when working with plumbing systems and follow the manufacturer’s instructions.
Steps for Disconnecting Valve
To disconnect the valve, start by turning off the water supply to the toilet. This is an important safety precaution to prevent any water leakage during the replacement process.
Once the water supply is off, flush the toilet to empty the tank.
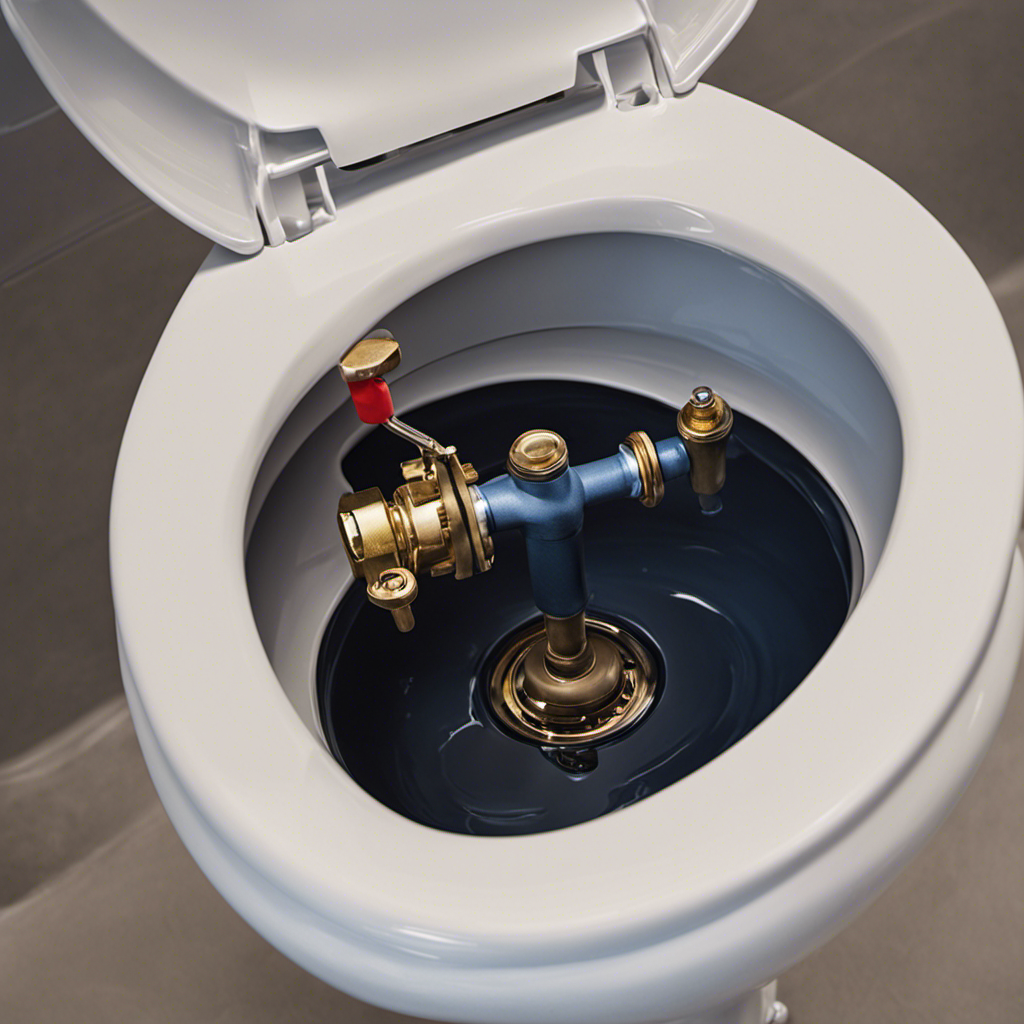
Next, locate the fill valve, which is usually located on the left side of the toilet tank. Use a wrench to loosen the nut connecting the water supply line to the fill valve. Be careful not to force it or overtighten it to avoid damaging the valve or the water supply line.
Once the nut is loosened, gently pull the water supply line away from the fill valve. This will disconnect the valve from the water supply. Remember to keep a bucket or towel handy to catch any water that may spill during this step.
Following these troubleshooting tips and safety precautions will help you successfully disconnect the fill valve in your toilet.
Common Issues and Troubleshooting
If you’re experiencing any issues with your toilet, there are a few common problems you can troubleshoot before calling a plumber.
Here are four steps to help you troubleshoot and fix common toilet issues:
-
Adjust the float level: Sometimes, the water level in the tank may be too high or too low, causing problems with flushing. Locate the float arm or ballcock and adjust it accordingly to achieve the desired water level.
-
Check for leaks: Leaks can cause water wastage and toilet malfunctions. Inspect the base of the toilet for any signs of water pooling or dampness. Also, check the connections between the tank and bowl for any leaks or drips.
-
Clean the fill valve: A clogged or malfunctioning fill valve can cause inconsistent water flow. Turn off the water supply, remove the fill valve cap, and clean any debris or sediment that may be affecting its performance.
-
Replace the fill valve: If troubleshooting and cleaning the fill valve doesn’t resolve the issue, it may be necessary to replace it. Consult a plumber or follow manufacturer instructions to replace the fill valve with a new one.
Remember to always exercise caution when working with plumbing fixtures and consider contacting a professional if you’re unsure about any steps or encounter complex issues.
Installing the New Fill Valve
Once you’ve removed the old fill valve, it’s time to install the new one. To ensure a successful installation, gather the necessary tools and materials: a new fill valve, an adjustable wrench, a bucket, and plumber’s tape. Here is a step-by-step guide to help you through the process:
- Start by placing the rubber gasket provided with the new fill valve onto the bottom of the valve.
- Insert the valve into the hole at the bottom of the tank, making sure it fits securely.
- From underneath the tank, thread the locking nut onto the valve and hand tighten.
- Use the adjustable wrench to give the nut an additional quarter turn to ensure a snug fit.
- Connect the water supply line to the fill valve, using plumber’s tape to prevent leaks.
- Turn on the water supply and check for any signs of leaks.
With the new fill valve installed, you can now move on to adjusting the water level to your desired setting.
Transition: Now that the new fill valve is securely installed, it’s time to focus on adjusting the water level in the toilet tank.
Adjusting the Water Level
Now that the new fill valve is installed, it’s important to adjust the water level in the toilet to ensure proper functionality. Here are some tips for maintaining the proper water level:
-
Turn on the water supply: Make sure the water supply valve is fully open to allow water to fill the tank.
-
Adjust the float: Locate the float on the fill valve and adjust it to the desired water level. Most fill valves have a float adjustment screw that can be turned clockwise or counterclockwise.
-
Test the water level: Flush the toilet and observe if the water reaches the desired level. If it’s too high or too low, adjust the float accordingly.
-
Avoid common mistakes: Some common mistakes when adjusting the water level include setting it too high, which can cause water waste, or too low, which can result in weak flushes. It’s important to find the right balance.
Testing the New Fill Valve
To test the new fill valve, flush the toilet and observe the water level to ensure it reaches the desired height. This step is crucial in ensuring that the fill valve is functioning properly.
If the water level is too low, it may indicate that the fill valve is not filling the tank adequately. On the other hand, if the water level is too high, it could lead to constant running or even overflow. Adjustments may be necessary to achieve the correct water level.
It is important to follow manufacturer’s instructions and use the appropriate tools for adjusting the water level. Proper water level is essential for the efficient functioning of the toilet and to prevent any potential water damage.
Troubleshooting Common Issues
If your water level is consistently too low or too high, it may indicate a common issue with the toilet’s function. Troubleshooting these issues can help identify the underlying problem and guide you in resolving it.
Here are four steps to troubleshoot common issues with a toilet’s fill valve:
-
Check for leaks: Inspect the area around the fill valve and the water supply line for any signs of leakage. Tighten any loose connections or replace damaged parts to fix the leaks.
-
Adjust float height: If the water level is consistently too high, adjust the float height by turning the adjustment screw on the fill valve. Lowering the float will decrease the water level, while raising it will increase it.
-
Clean or replace the fill valve: Sediment or debris can cause the fill valve to malfunction. Clean the valve thoroughly or replace it if necessary.
-
Test the water pressure: In some cases, high water pressure can cause the water level to rise. Use a pressure gauge to check the water pressure and consider installing a pressure regulator if it’s too high.
Conclusion
In conclusion, replacing a fill valve in a toilet is a straightforward process that can be done with a few simple steps.
By shutting off the water supply and removing the old fill valve, you can make room for the new one.
Installing the new fill valve and adjusting the water level ensures proper functioning.
Don’t forget to test the new fill valve to ensure it’s working correctly.
If you encounter any issues, refer to the troubleshooting section for solutions.
With the right tools and materials, you can successfully replace the fill valve and have your toilet working like new.

With an impeccable eye for detail and a passion for bathroom-related, Ava leads our editorial team gracefully and precisely.
Under her guidance, Best Modern Toilet has flourished as the go-to resource for modern bathroom enthusiasts. In her free time, you might find Ava exploring antique shops and looking for vintage bathroom fixtures to add to her collection.