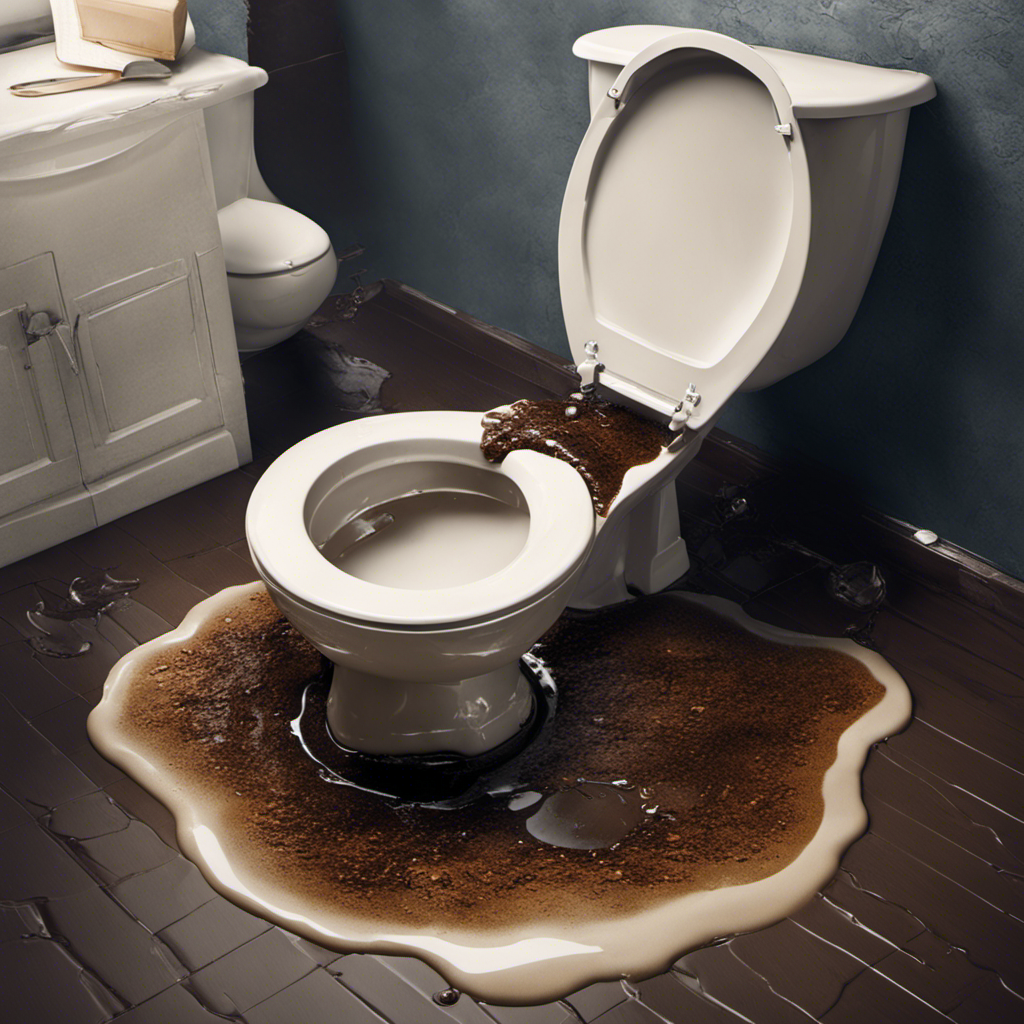
I’ve had my fair share of plumbing mishaps, but nothing compares to the dreaded wax ring failure on a toilet. You know the one – that unpleasant surprise when you notice water pooling around the base.
Don’t panic, though. In this step-by-step guide, I’ll show you how to replace the wax ring on your toilet like a pro. With the right tools and a little know-how, you’ll have your toilet back in working order in no time.
Let’s get started!
Key Takeaways
- Gather all necessary tools and materials before beginning the process
- Take safety precautions, such as wearing gloves and ensuring good ventilation in the area
- Turn off the water supply and flush the toilet before removing it from the floor
- When reinstalling the toilet, ensure it sits evenly and firmly on the flange and use a level to check for perfect balance
Tools and Materials Needed
You’ll need a few tools and materials to replace the wax ring on a toilet. First, make sure you have a wrench to loosen and remove the nuts securing the toilet to the floor.
You’ll also need a scraper or putty knife to remove the old wax ring from the toilet flange.
A pair of gloves is essential to protect your hands from any debris or bacteria.
Additionally, have a new wax gasket ready to replace the old one. It’s important to choose a wax gasket that fits the size of your toilet flange perfectly to ensure a proper seal.
Lastly, have some rags or paper towels handy to clean up any mess or spills during the process.
Now that you have all the necessary tools and materials, let’s move on to the preparation and safety measures.
Preparation and Safety Measures
Before starting, make sure to gather all the necessary materials and take necessary safety precautions. To begin, you will need a new wax ring, a putty knife, a wrench, and gloves.
It is important to turn off the water supply to the toilet and flush it to empty the tank and bowl. Next, remove the bolts securing the toilet to the floor using a wrench, and carefully lift the toilet off the flange. Use the putty knife to scrape off any remaining wax from the flange and the bottom of the toilet.
Make sure to wear gloves to protect your hands from any germs or bacteria. Additionally, ensure the area around the toilet is well ventilated, as the process may produce unpleasant odors.
Removing the Toilet
To start the process, carefully lift the toilet off the flange using a wrench to remove the bolts securing it to the floor.
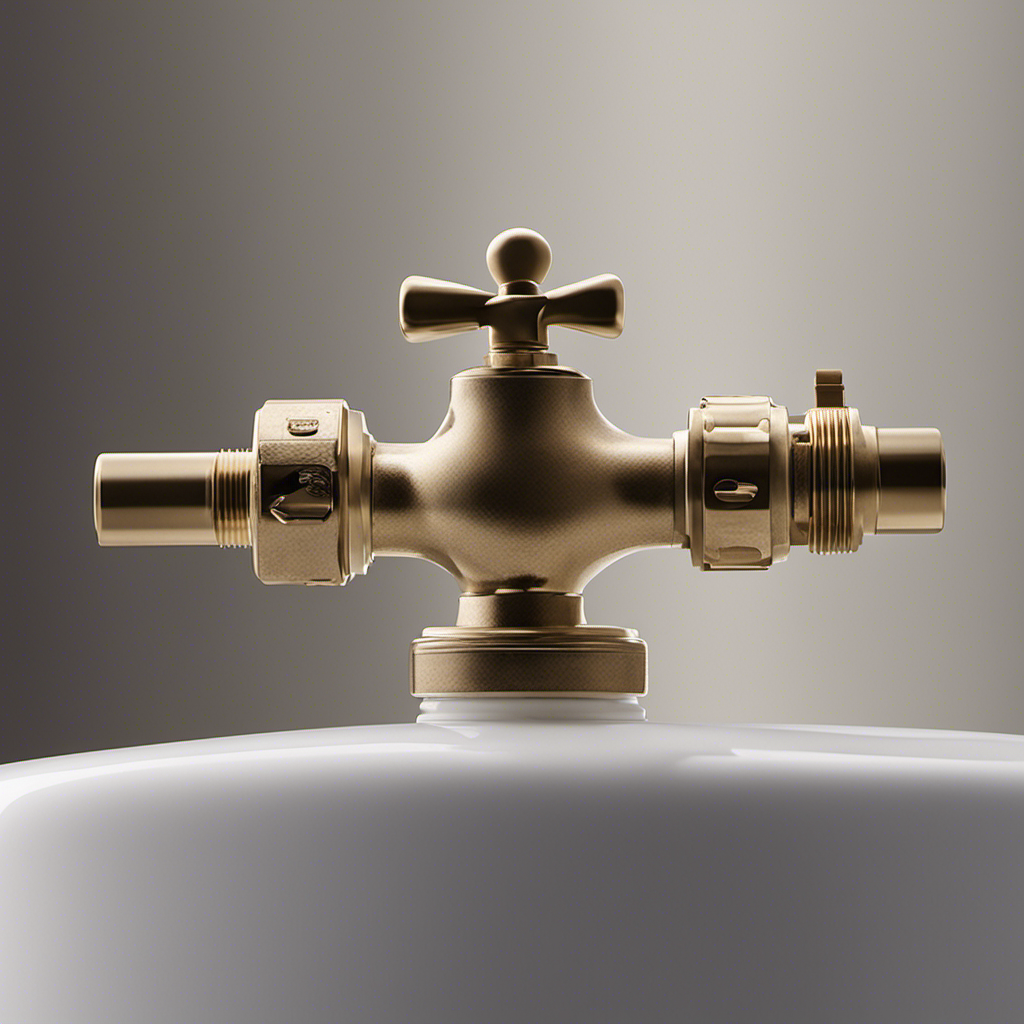
Before attempting any toilet removal, it is crucial to turn off the water supply to prevent any potential leaks.
Once the bolts are loosened, gently lift the toilet straight up, ensuring that it doesn’t tip over or damage the surrounding area.
It is advisable to have another person assist in this step to avoid any accidents.
Once the toilet is removed, place it on a towel or a drop cloth to prevent any scratches or damage.
Removing the toilet is an essential step in toilet repair, allowing access to the wax ring and ensuring a proper replacement.
Replacing the Wax Ring
When replacing the wax ring, it’s important to carefully scrape off any remnants of the old wax to ensure a proper seal.
To begin, turn off the water supply and flush the toilet to empty the tank and bowl. Disconnect the water supply line and remove the mounting bolts securing the toilet to the floor.
Gently lift the toilet off the flange and place it on a towel or old newspaper. Use a putty knife or scraper to scrape away any remaining wax from the flange and the bottom of the toilet. Make sure to remove all traces of wax to prevent leaks.
Once the area is clean, position the new wax ring onto the flange, ensuring it is centered and level. Lower the toilet onto the ring, aligning the mounting bolts with the holes in the flange. Gently press down on the toilet to compress the wax ring and create a tight seal.
Reinstalling the Toilet
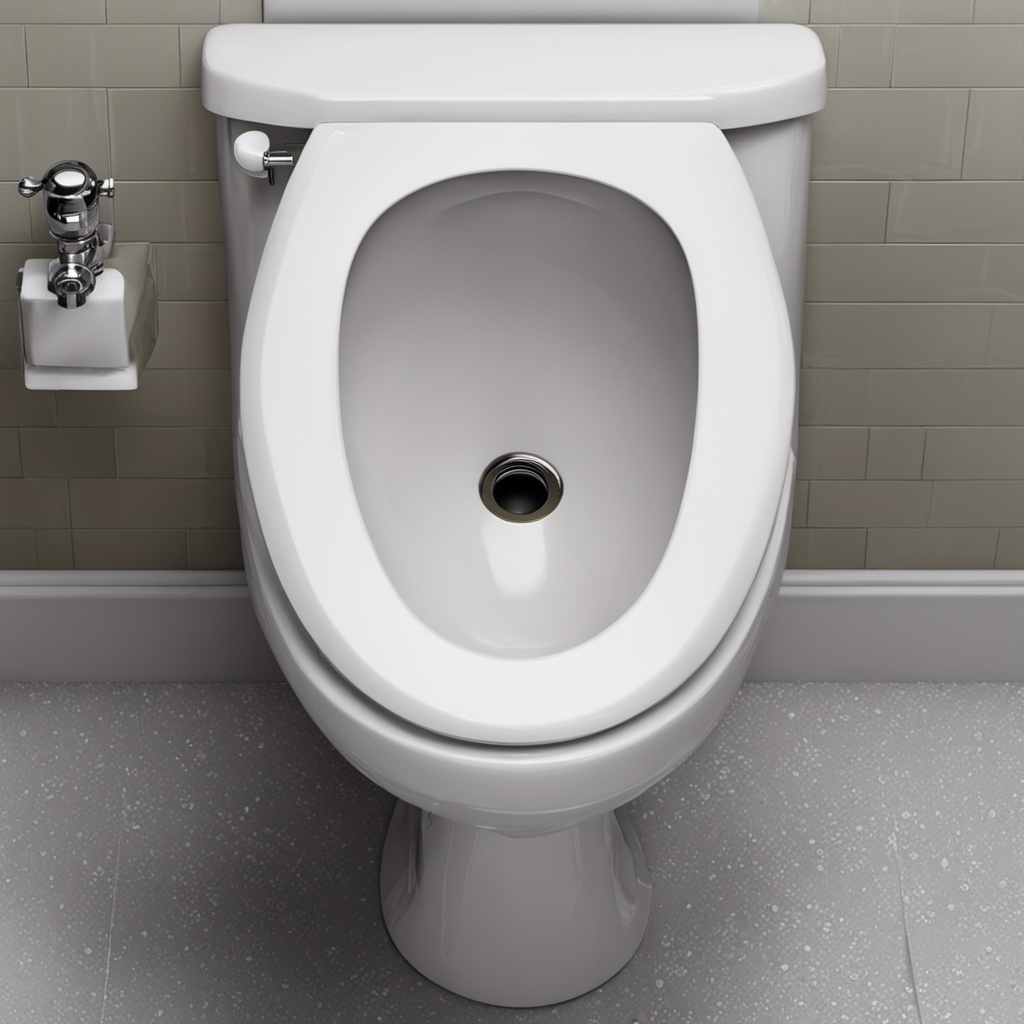
After scraping away any remaining wax, I gently lower the toilet onto the flange to reinstall it. The toilet flange is a crucial component that connects the toilet to the sewer pipe.
To ensure a secure and leak-free installation, I make sure to follow these steps:
-
Preparing the Toilet:
-
Align the holes in the base of the toilet with the toilet bolts on the flange.
-
Carefully lower the toilet onto the flange, ensuring it sits evenly and firmly.
-
Securing the Toilet:
-
Tighten the nuts onto the toilet bolts, but not too tight to avoid cracking the toilet.
-
Use a level to ensure the toilet is perfectly balanced.
-
Alternate tightening the nuts until the toilet is securely fastened.
Conclusion
In conclusion, replacing the wax ring on a toilet is a necessary maintenance task that can be easily done with the right tools and materials. By following the proper steps and taking necessary safety measures, you can ensure a successful replacement.
Did you know that a leaking toilet can waste up to 200 gallons of water per day? It’s important to address any issues with your toilet promptly to avoid water waste and potential damage to your bathroom.

With an impeccable eye for detail and a passion for bathroom-related, Ava leads our editorial team gracefully and precisely.
Under her guidance, Best Modern Toilet has flourished as the go-to resource for modern bathroom enthusiasts. In her free time, you might find Ava exploring antique shops and looking for vintage bathroom fixtures to add to her collection.