So, you’ve found yourself in the unfortunate predicament of needing to replace your toilet. Don’t worry, I’ve been there too. It’s a messy, smelly job, but with a little know-how and some elbow grease, you’ll have a shiny new throne in no time.
In this step-by-step guide, I’m going to walk you through the process of replacing your toilet, from gathering the necessary tools to making sure everything is connected properly.
Let’s get started, shall we?
Key Takeaways
- Gather the necessary tools and supplies before starting the replacement
- Shut off the water supply and disconnect the old toilet properly
- Use the appropriate tools for the job and consider the pros and cons of different wrench types
- Dispose of the old toilet responsibly and clean the area before installing the new one
Tools and Supplies Needed
To replace your toilet, you’ll need a few tools and supplies. Here’s a step-by-step guide on what you’ll need for a successful toilet replacement or installation.
First, you’ll need a wrench to disconnect the water supply line from the shut-off valve.
Next, grab a bucket or old towel to catch any water that may spill when you remove the toilet.
A putty knife will come in handy to remove the old wax ring and any caulk around the base of the toilet.
You’ll also need a new wax ring, bolts, and nuts for securing the toilet to the floor.
Lastly, don’t forget a level to ensure the toilet is properly aligned.
With these tools and supplies, you’re ready to prepare for the replacement by shutting off the water supply and removing the old toilet.
Preparing for the Replacement
Before diving into the replacement process, it’s important to gather all the necessary tools and materials. You’ll need a wrench, a bucket, towels, a putty knife, and a new wax ring.
Once you have everything ready, the first step is to shut off the water supply to the toilet by turning the valve clockwise.
After that, it’s time to remove the old toilet by disconnecting the water supply line and unscrewing the bolts securing it to the floor.
Required Tools and Materials
You’ll need a few tools and materials to replace the toilet. Here’s a list of what you’ll need:
- Adjustable wrench
- Screwdriver
- Putty knife
- Wax ring
- Toilet bolts
- Toilet tank bolts
- Toilet bowl gasket
- Teflon tape
- Bucket
- Gloves
- Safety goggles
Before you start the replacement process, it’s important to take some safety precautions. Make sure to turn off the water supply to the toilet by shutting off the valve located behind the toilet. This will prevent any water leakage during the replacement. Additionally, wear gloves to protect your hands and safety goggles to shield your eyes from any debris.
With the necessary tools and safety precautions in place, you’re ready to move on to the next step.
Shutting off Water
Once you’ve gathered the necessary tools and materials, it’s time to shut off the water supply to the toilet. This step is crucial to prevent any water leakage during the replacement process.
To shut off the water, locate the shut-off valve, usually located behind or near the toilet. Turn the valve clockwise until it is fully closed. You may need to use a wrench to ensure a tight seal.
Once the water supply is shut off, flush the toilet to remove any remaining water in the tank and bowl. This will make the removal process easier and cleaner.
With the water supply turned off and the toilet flushed, you are now ready to move on to the next step of removing the old toilet.
Removing Old Toilet
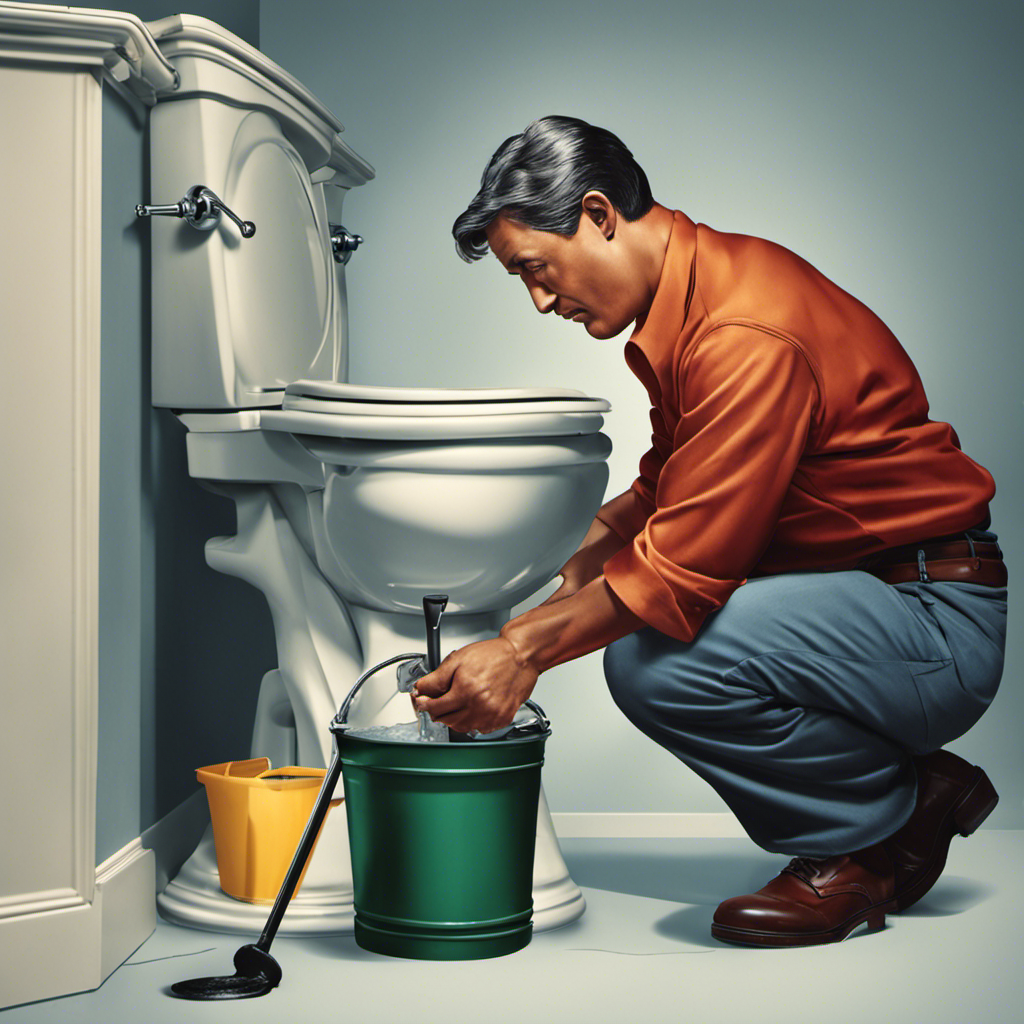
To start removing the old toilet, it’s important to disconnect the water supply line that is connected to the bottom of the tank. This can be done by turning off the water valve located near the base of the toilet. Once the water is turned off, follow these steps for proper technique and safety precautions:
- Place towels or a bucket near the toilet to catch any water that may spill during the removal process.
- Use an adjustable wrench to loosen the nuts that secure the water supply line to the bottom of the tank.
- Gently twist and pull the water supply line away from the tank, ensuring that any remaining water is drained into the bucket or towels.
- Once the water supply line is disconnected, carefully remove the nuts securing the toilet to the floor.
- Lift the toilet straight up, taking care not to twist or tilt it to avoid any damage or spills.
With the water supply line disconnected and the toilet removed, we can now move on to the next step of removing the old toilet.
Removing the Old Toilet
To successfully remove the old toilet, there are a few key steps to follow.
First, proper tool selection is essential. You’ll need a pair of adjustable pliers, a wrench, and a putty knife.
Next, you’ll want to disconnect the water supply by turning off the water valve located behind the toilet.
Proper Tool Selection
When replacing a toilet, it’s important to choose the right tools for the job. Here are some best practices to consider when selecting the necessary tools:
-
Pros and Cons of Different Types of Wrenches:
-
Adjustable wrench: Pros – versatile, can be used for various tasks; Cons – may slip if not properly adjusted
-
Basin wrench: Pros – specifically designed for working in tight spaces; Cons – limited reach and may not fit all types of bolts
-
Closet auger: Pros – effective in clearing clogs within the toilet drain; Cons – may require some skill to use correctly
-
Other Essential Tools:
-
Screwdriver: Used to remove the tank and seat bolts
-
Putty knife: Helps to scrape away old wax ring residue
-
Bucket and towels: Used to catch any water spills during the process
By carefully considering the pros and cons of different tools, you can ensure that you have everything you need for a successful toilet replacement.
Now, let’s move on to the next step of disconnecting the water supply.
Disconnecting Water Supply
First, make sure to shut off the water supply by turning the valve clockwise. This is an essential step to prevent any water leakage during the replacement process.
Once the water supply is turned off, you can proceed with disconnecting the water supply line from the toilet tank. Use a wrench to loosen the nut connecting the supply line to the fill valve. Place a bucket or a towel beneath the connection to catch any water that may still be in the line. Gently pull the supply line away from the fill valve.
Now, you can start troubleshooting common issues you may encounter during this process. One common issue is a stuck or corroded nut, which can be resolved by using penetrating oil and a wrench to loosen it.
Another issue is a leaking supply line, in which case you would need to replace the supply line with a new one.
Additionally, if you notice any cracks or damage to the fill valve or the supply line, you will need to select the appropriate replacement parts to ensure a proper installation.
Lifting and Disposing Toilet
Next, grab the toilet bowl securely and lift it off the floor, taking care not to spill any remaining water. To properly dispose of the toilet, you have several options. Here are three disposal options to consider:
-
Donate: If your toilet is still in good condition, you can donate it to a local charity or nonprofit organization that accepts home improvement materials. They may be able to use it for a renovation project or sell it to raise funds.
-
Recycle: Some recycling centers accept toilets for recycling. Check with your local recycling facility to see if they have specific guidelines for accepting toilets. This is a great option to reduce waste and give your toilet a second life.
-
Dispose in a landfill: If you can’t donate or recycle your toilet, the last option is to dispose of it in a landfill. Contact your local waste management facility to learn about their procedures for disposing of large items like toilets.
Remember to use proper lifting techniques when handling the toilet. Keep your back straight, bend your knees, and use your leg muscles to lift the toilet rather than straining your back.
Installing the New Toilet
Before you begin installing the new toilet, make sure you have all the necessary tools and materials. You will need a wrench, screwdriver, wax ring, bolts, and a new toilet.
Start by placing the wax ring on the flange, making sure it is centered.
Carefully lower the toilet onto the wax ring, lining up the bolts with the holes on the base. Press down firmly to create a good seal.
Next, tighten the nuts onto the bolts, but be careful not to overtighten as it may crack the toilet.
Once the toilet is securely in place, connect the water supply line and turn on the water to check for any leaks.
If you notice any leaks, try tightening the connections or replacing the wax ring.
Connecting the Water Supply
To connect the water supply, you’ll need to attach one end of the water supply line to the bottom of the toilet tank. Follow these steps for proper installation and water connection:
-
Turn off the water supply: Locate the shut-off valve near the toilet and turn it clockwise to shut off the water flow.
-
Remove the old supply line: Unscrew the nut connecting the supply line to the toilet tank using a wrench and disconnect it.
-
Prepare the new supply line: Ensure the new supply line is the correct length and has a flexible design for easy installation.
-
Attach the supply line: Screw the nut of the supply line onto the threaded outlet on the bottom of the toilet tank. Hand-tighten it first, then use a wrench to give it a final snug.
-
Turn on the water supply: Turn the shut-off valve counterclockwise to restore the water flow.
-
Check for leaks: Inspect the connection for any water leaks. If there are any, tighten the nuts further or consider using plumber’s tape.
Testing and Finishing Touches
After you have completed the water connection, you can now proceed to test the toilet for any leaks. This step is crucial to ensure that your installation is done correctly and that there are no hidden problems.
To test for leaks, follow these simple techniques:
-
Turn on the water supply: Slowly turn on the water supply valve to allow water to fill the tank. Keep an eye on the water level and listen for any unusual sounds.
-
Check for visible leaks: Inspect the base of the toilet and the connections for any signs of water leakage. Look for water pooling or dampness around the base.
-
Use food coloring: Add a few drops of food coloring into the tank. Wait for a few minutes and then check the toilet bowl. If you see colored water, it indicates a leak.
-
Tighten connections: If you notice any leaks, try tightening the connections. Be careful not to overtighten as it may damage the fittings.
Common mistakes to avoid during the testing process include not turning on the water supply slowly, overlooking the base for leaks, and forgetting to check the toilet bowl for colored water.
Frequently Asked Questions
How Do I Know if I Need to Replace My Toilet?
If you’re wondering if it’s time to replace your toilet, look out for signs like frequent clogs, cracks, or leaks. You can also use a toilet replacement checklist to assess its overall condition.
Can I Install a New Toilet Without Professional Help?
Yes, you can absolutely install a new toilet without professional help. With some toilet installation tips and a little DIY toilet replacement know-how, you can successfully replace your toilet on your own.
What Are the Common Mistakes to Avoid During Toilet Replacement?
Toilet replacement tips are crucial to avoid common installation errors. One must be careful not to overtighten bolts, forget to use a wax ring, or improperly align the toilet. These mistakes can lead to leaks and other issues.
How Much Does It Cost to Replace a Toilet?
Toilet replacement costs can vary depending on factors such as the type of toilet and any additional plumbing work needed. Researching different toilet replacement options and considering the best toilet brands can help determine the overall cost.
Are There Any Specific Safety Precautions to Take During the Replacement Process?
When replacing a toilet, it’s important to prioritize safety. Before starting, gather necessary safety equipment like gloves and goggles. Clear the work area of any obstacles or debris to minimize the risk of accidents.
Conclusion
So there you have it, folks! Replacing a toilet may seem daunting, but with the right tools and know-how, it can be done in no time.
From preparing for the replacement to connecting the water supply, I’ve walked you through each step in this detailed guide.
Now, it’s time to put your newfound knowledge to the test and give your bathroom a fresh new look.
So, why wait? Are you ready to take on this DIY project and transform your bathroom into a modern oasis?


