I’ve been there – the frustrating moment when you discover a damaged toilet flange. It’s a common problem, but don’t worry, I’m here to help you through the process of replacing it.
In this article, I’ll guide you step-by-step on how to assess the condition of your toilet flange, gather the necessary tools and materials, remove the old flange, install the new one, and finally, reinstall your toilet.
Let’s get started and make your toilet as good as new!
Key Takeaways
- Inspect the condition of the toilet flange for cracks, chips, or corrosion
- Gather all the necessary tools and materials before starting the replacement
- Regularly inspect the flange for damage or signs of wear
- Properly align and secure the new flange during installation
Assessing the Condition of the Toilet Flange
Now, you’ll want to take a close look at the condition of your toilet flange. Evaluating flange stability is crucial before proceeding with a replacement.
Begin by inspecting for signs of flange deterioration. Look for any cracks, chips, or corrosion on the flange surface. These can indicate structural weakness and compromise the stability of your toilet.
Additionally, check if the flange is securely attached to the floor. Any signs of looseness or movement could lead to leaks and further damage. Pay attention to the condition of the bolts and screws that hold the flange in place as well. If they are rusted or worn out, they may need to be replaced.
Taking the time to thoroughly assess the condition of your toilet flange will ensure a successful replacement and prevent future issues.
Gathering the Necessary Tools and Materials
Before embarking on the task of replacing a toilet flange, it’s crucial to gather the essential tools needed for the job. These tools typically include a wrench, screwdriver, pliers, and a putty knife.
Additionally, it’s important to have the required materials on hand. These materials include a new flange, wax ring, and closet bolts.
Essential Tools Needed
To replace a toilet flange, you’ll need a few essential tools. Here are the tools you’ll need for a successful toilet flange repair or installation:
- Adjustable wrench: This tool is essential for loosening and tightening nuts and bolts.
- Hacksaw: You may need to cut through old bolts or pipes during the removal process.
- Screwdriver: A screwdriver will be handy for removing screws that hold the toilet in place.
- Wax ring: This ring creates a watertight seal between the toilet and the flange.
- Putty knife: Use a putty knife to clean off old wax residue and other debris from the flange.
- Plunger: A plunger can be used to remove any excess water from the toilet bowl before beginning the repair.
- Pipe wrench: This wrench will help you loosen and tighten the pipe connections.
With these tools, you’ll be well-equipped to tackle any toilet flange repair or installation with confidence.
Required Materials for Replacement
Make sure you have an adjustable wrench, hacksaw, screwdriver, wax ring, putty knife, plunger, and pipe wrench ready for the toilet flange replacement.
To begin the process of replacing the toilet flange, there are a few essential materials you will need. Firstly, you will require an adjustable wrench to loosen and tighten the bolts.
A hacksaw will be necessary to cut any excess pipe or bolts. A screwdriver will be needed to remove the bolts holding the old flange in place.
A wax ring is essential for creating a watertight seal between the toilet and the flange. A putty knife will come in handy for removing any old wax or debris.
Lastly, a plunger will be useful for clearing any clogs or blockages. With these materials in hand, you will be well-prepared for the step-by-step process of replacing your toilet flange.
Removing the Toilet From the Flange
When it comes to removing a toilet flange, it’s crucial to use the right techniques to avoid causing any damage.
There are several methods that can be employed, such as using a flange remover tool or applying heat to loosen the flange.
It’s important to be careful throughout the process to prevent any cracks or breaks in the flange. This can lead to leaks and further complications down the line.
Flange Removal Techniques
Removing the toilet flange can be challenging, but there are techniques available to simplify the process. Here are some flange repair techniques and troubleshooting tips to help you with your flange removal:
-
Inspect the flange: Before removing the flange, carefully examine it for any signs of damage or wear. Look for cracks, rust, or loose screws. This will help you determine the best approach for removal.
-
Use a flange puller: A flange puller is a handy tool designed specifically for removing stubborn flanges. It works by gripping onto the flange and providing leverage to pull it out. This can be particularly useful if the flange is stuck or glued in place.
-
Apply heat: If the flange is stuck due to old wax or adhesive, applying heat can help soften the material and make removal easier. You can use a heat gun or a hairdryer to gently warm the area around the flange.
Preventing Flange Damage
Inspecting the area surrounding the flange regularly is crucial in preventing flange damage and maintaining flange longevity. By doing so, you can identify any signs of potential damage or wear before they become major issues. Start by checking for any cracks, chips, or corrosion on the flange itself.
Additionally, examine the surrounding flooring and walls for any signs of water damage or leaks, as this could indicate a problem with the flange. Look for any loose or wobbly toilets, as this could be a sign that the flange is damaged or deteriorating.
By being proactive and addressing any potential issues early on, you can prevent further damage and ensure the longevity of your flange.
Now, let’s move on to the next step: removing the old flange.
Removing the Old Flange
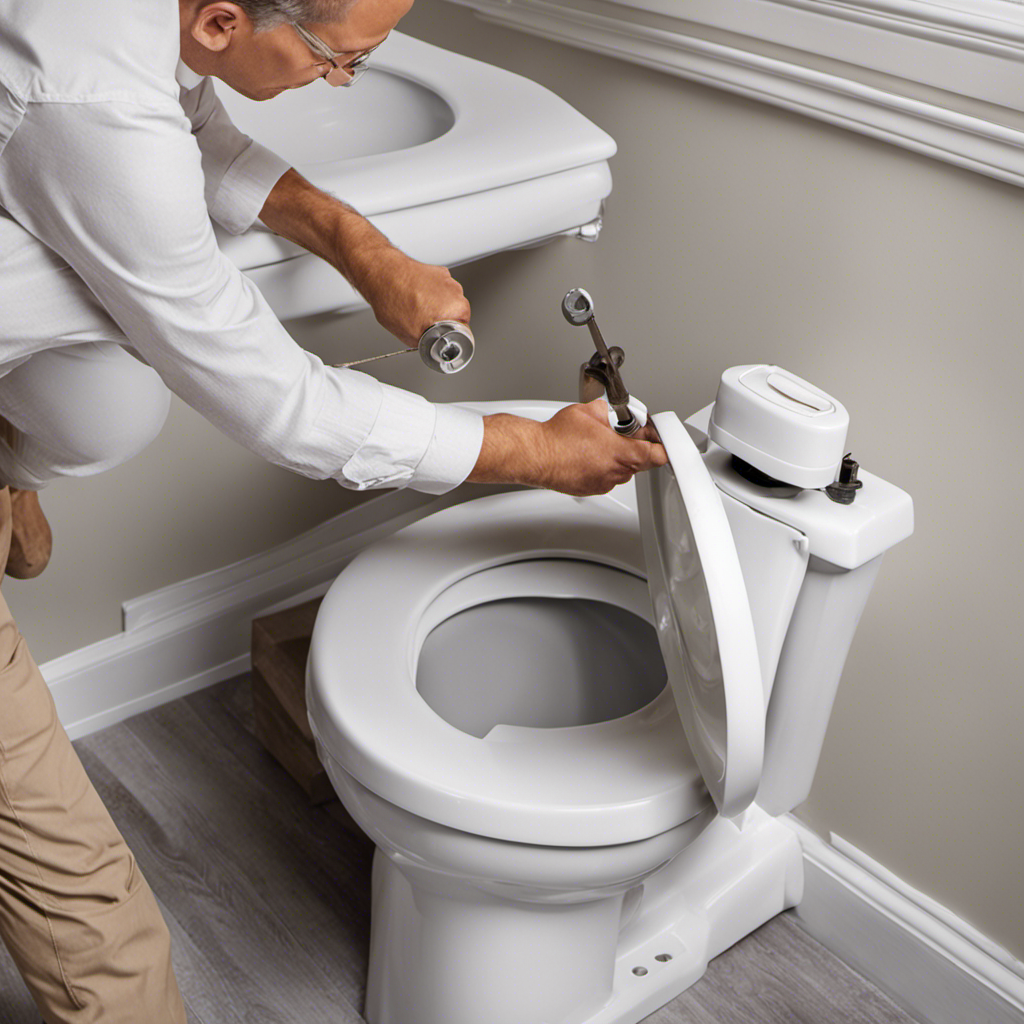
To start, you’ll want to loosen the bolts securing the old flange in place. This is an important step in the process of replacing toilet hardware and ensuring a proper toilet flange installation.
Here are the detailed steps to follow:
- Turn off the water supply to the toilet by shutting off the valve.
- Remove the nuts and washers from the bolts holding the toilet to the flange.
- Carefully lift the toilet off the old flange and set it aside.
- Use a wrench to loosen and remove the bolts securing the old flange to the floor.
- Inspect the old flange for any signs of damage or wear.
- Clean the area around the old flange to ensure a clean surface for the new installation.
Once the old flange is removed, you can proceed with installing the new flange and reattaching the toilet.
Installing the New Toilet Flange
Once you’ve successfully removed the old flange, it’s time to install the new one. Installing a new toilet flange is a straightforward process that requires careful attention to detail.
Start by positioning the new flange over the drain pipe, ensuring it aligns perfectly. Make sure to secure it firmly using screws or bolts, depending on the type of flange you have. It’s crucial to tighten them adequately to prevent any leaks.
Next, attach the wax ring to the bottom of the flange, ensuring it sits securely. Carefully lower the toilet bowl onto the flange, making sure it sits flush and level.
Finally, tighten the bolts that secure the toilet bowl to the flange, but be cautious not to overtighten them, as this could crack the porcelain.
If you encounter any installation problems, such as a misaligned flange or difficulty tightening the bolts, consider troubleshooting the issue by double-checking the alignment, adjusting the wax ring, or seeking professional help if needed.
Reinstalling the Toilet and Testing for Leaks
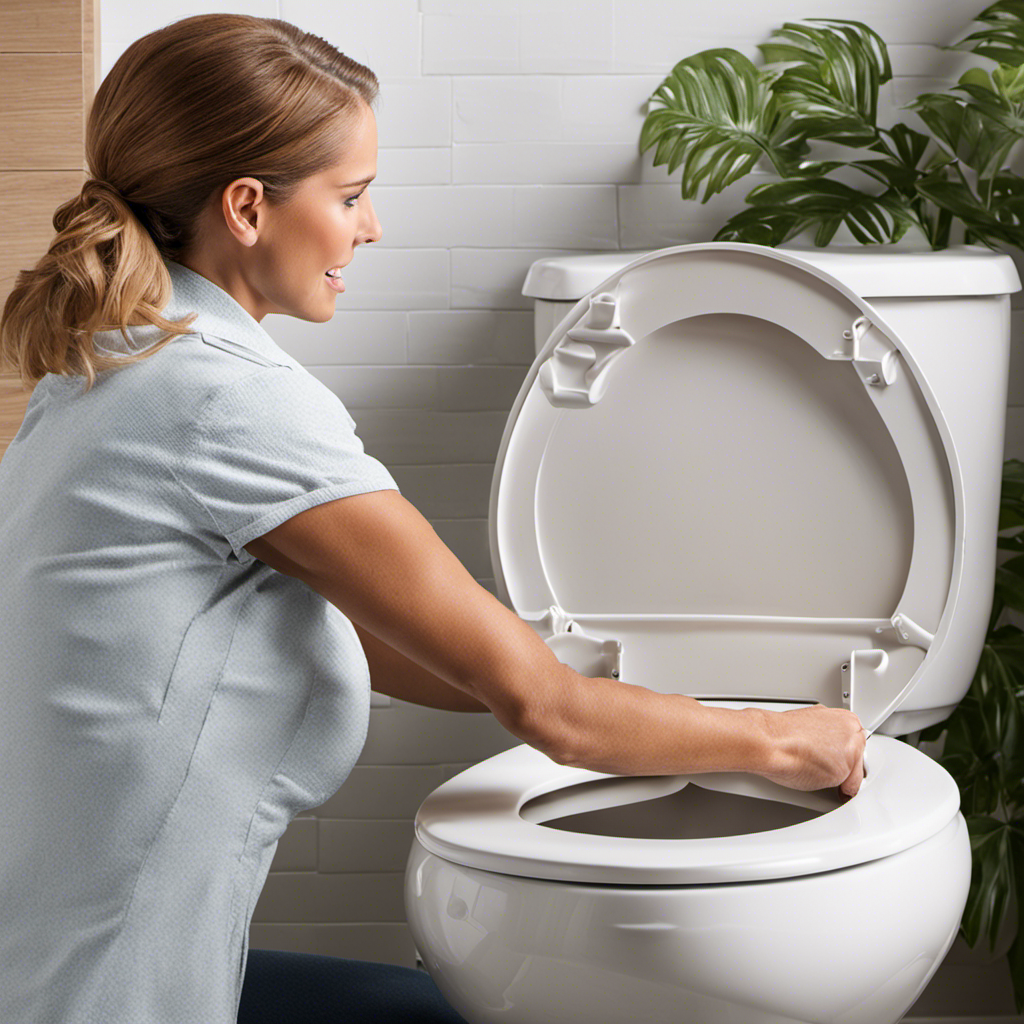
After tightening the bolts, it’s important to carefully lower the toilet bowl onto the new flange. This ensures a secure and watertight connection.
Here are some techniques for reinstalling the toilet and troubleshooting leaks:
-
Align the toilet bowl: Make sure the bolt holes on the toilet base align with the bolts on the flange. Gently lower the toilet bowl onto the flange, ensuring it rests evenly.
-
Tighten the bolts: Use a wrench to tighten the nuts on the bolts, alternating from side to side. Be careful not to overtighten, as it can crack the toilet bowl.
-
Test for leaks: Once the toilet is securely in place, turn on the water supply and watch for any signs of leaks. Check around the base of the toilet and the connection between the flange and the toilet bowl.
Frequently Asked Questions
How Long Does It Typically Take to Replace a Toilet Flange?
Typically, replacing a toilet flange takes around 1-2 hours. You’ll need a few tools like a wrench, screwdriver, and plunger. It’s important to follow proper steps to ensure a successful replacement.
Can a Toilet Flange Be Repaired Instead of Replaced?
Yes, a toilet flange can be repaired instead of replaced. Some repair options include using a repair plate or a flange extender. Signs of a damaged toilet flange may include wobbling or leaking.
Are There Any Specific Safety Precautions That Need to Be Taken When Replacing a Toilet Flange?
When replacing a toilet flange, it’s important to prioritize safety measures. Wear protective gloves and goggles, and ensure the area is well-ventilated. The tools needed include a wrench, plunger, and putty knife.
How Often Should a Toilet Flange Be Replaced?
Toilet flanges should be replaced every 20-30 years or when signs of damage, such as leaking or wobbling, are noticed. Regular inspection and maintenance can prevent the need for premature replacement.
Can a Toilet Flange Be Replaced Without Removing the Toilet From the Floor?
Yes, a toilet flange can be replaced without removing the toilet from the floor. It involves disconnecting the toilet, removing the old flange, installing a new flange, and reconnecting the toilet.
Conclusion
In conclusion, replacing a toilet flange may seem daunting, but it can be done easily with the right tools and patience.
First, assess the condition of the flange. Determine if it is cracked, corroded, or damaged in any way. This will help you determine if a replacement is necessary.
Next, gather the necessary tools and materials. You will need a wrench, a new flange, wax ring, and possibly some plumber’s putty or silicone sealant.
Carefully remove the old flange by loosening the bolts and lifting it out. Be cautious not to damage the surrounding pipes or flooring.
Install the new flange by placing it over the drain pipe and aligning it with the bolt holes. Secure it in place by tightening the bolts.
Finally, ensure a leak-free and properly functioning toilet by placing a wax ring or using plumber’s putty or silicone sealant to create a watertight seal between the toilet and the flange.
Don’t fret, you’ve got this! With a little elbow grease, you’ll be a toilet flange replacement expert in no time!


