Replacing a toilet flapper may seem like a daunting task, but fear not! I’m here to guide you through the process step by step. Trust me, it’s easier than you think.
In this article, I’ll show you exactly how to replace your toilet flapper like a pro. With just a few tools and materials, you’ll be able to fix that annoying running toilet and save yourself some money on water bills.
So, let’s get started and put an end to that constant flushing!
Key Takeaways
- The toilet flapper regulates water flow in the toilet tank.
- Regular maintenance includes checking for cracks or leaks, cleaning the flapper, and adjusting the chain.
- The necessary tools and materials for replacing a toilet flapper include an adjustable wrench, a replacement flapper, and rubber gloves.
- Before replacing the flapper, it is important to shut off the water supply either using the shut-off valve behind the toilet or the main water supply valve for the house.
Understanding the Toilet Flapper
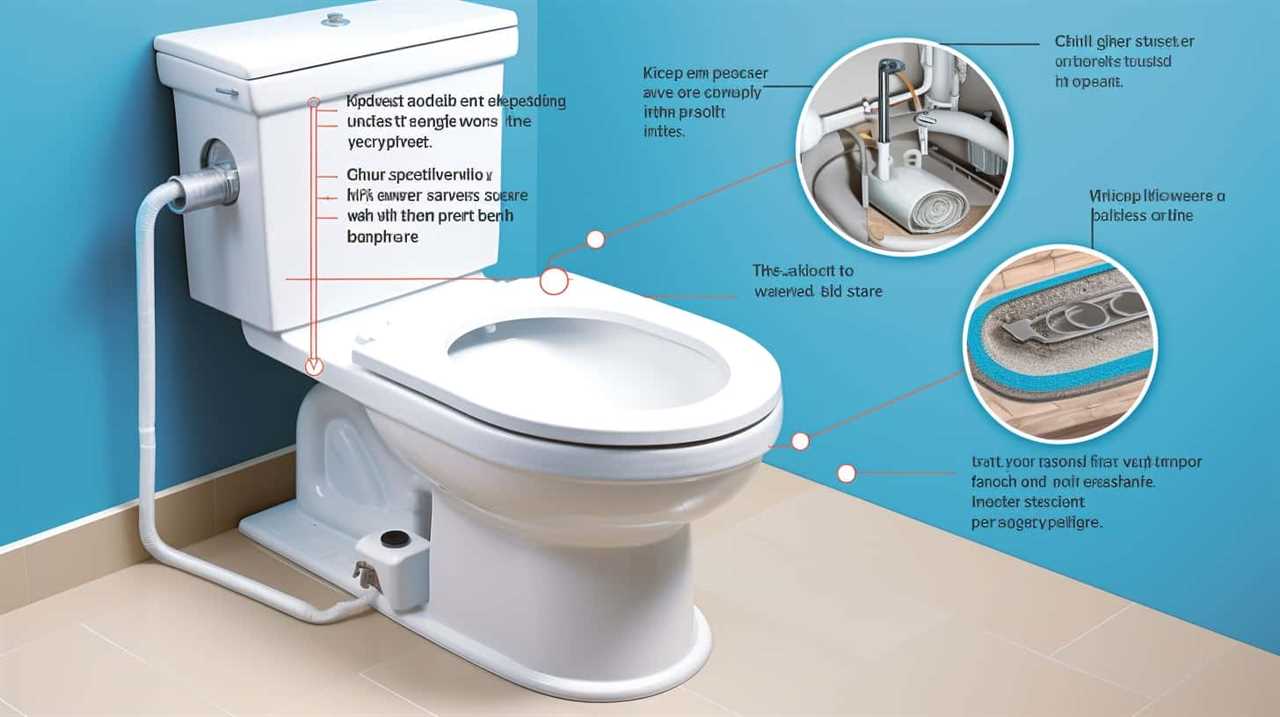
To understand how the toilet flapper works, you should know that it is responsible for regulating the water flow in your toilet tank. The flapper is a rubber valve that sits at the bottom of the tank and is connected to the flush handle by a chain.
When you press the flush handle, the chain lifts the flapper, allowing water to rush into the toilet bowl and flush waste away. After the flush, the flapper falls back into place, sealing the tank and stopping the water flow.
To ensure proper functioning, regular toilet flapper maintenance is crucial. This includes checking for any cracks or leaks, cleaning the flapper, and making sure the chain is properly adjusted.
Troubleshooting flapper problems can involve adjusting the chain length, replacing a worn-out flapper, or addressing any issues with the flush handle.
Gathering the Necessary Tools and Materials
First, you’ll need a few tools and materials to get started on the replacement. Here are the essentials:
- Adjustable wrench: This will help you loosen and tighten the nuts that hold the flapper in place.
- Replacement flapper: Look for one that matches the model and size of your current flapper.
- Rubber gloves: It’s always a good idea to protect your hands while working on your toilet.
Toilet flapper maintenance is an important aspect of toilet troubleshooting. If your toilet is constantly running or not flushing properly, a faulty flapper could be the culprit.
To replace it, gather these tools and materials and prepare yourself for a hands-on repair. With the right equipment and a little know-how, you’ll have your toilet back in working order in no time.
Shutting Off the Water Supply
Before beginning the repair, ensure that you’ve shut off the water supply to the toilet. Turning off the water is an essential step to avoid any potential flooding or water damage.
To shut down the water supply, locate the shut-off valve, which is usually located on the wall behind the toilet or near the floor. Turn the valve clockwise until it is completely closed. This will stop the flow of water to the toilet.
It is important to note that some toilets may have a separate shut-off valve specifically for the toilet, while others may require you to shut off the main water supply to the entire house.
Once the water supply is successfully shut off, you can proceed with confidence to replace the toilet flapper.
Removing the Old Flapper
Once you’ve shut off the water supply, you can easily remove the old flapper. Follow these steps to properly remove the flapper and ensure a smooth replacement process:
- Lift the toilet tank lid and set it aside.
- Locate the flapper chain connected to the flush handle and remove it from the lever arm.
- Gently lift the old flapper off the flush valve, which is the opening at the bottom of the tank.
Proper flapper maintenance is essential for a well-functioning toilet. Regularly inspecting and cleaning the flapper can prevent leaks and water waste. When choosing the right flapper, consider the size and shape of your flush valve, as well as the material and durability of the flapper. It’s important to find a flapper that fits snugly and creates a tight seal to prevent water from continuously running.
Installing the New Flapper
When installing a new flapper, it is crucial to ensure proper alignment for optimal performance. This involves aligning the flapper with the flush valve opening, making sure there is a tight seal to prevent any water leakage.
Additionally, adjusting the chain length is essential to ensure the flapper opens and closes smoothly. Too much slack can cause the flapper to not close properly, while too little slack can prevent it from fully opening.
Lastly, it is important to thoroughly test for leaks after installation by flushing the toilet and checking for any water seepage around the flapper.
Proper Flapper Alignment
To properly align the toilet flapper, make sure it is centered over the flush valve opening. This is crucial for the flapper to function effectively and prevent any leaks or malfunctions.
Here are three simple steps to ensure proper alignment:
- Lift the toilet tank lid and locate the flush valve opening in the center of the tank.
- Position the flapper in a way that it completely covers the flush valve opening, ensuring a tight seal.
- Gently press down on the flapper to secure it in place and make sure it sits evenly over the valve.
Adjusting Chain Length
Check if the chain length is appropriate by ensuring there is enough slack for the flapper to close completely but not so much that it gets tangled or caught.
To adjust the chain length, start by removing the toilet tank lid and locating the flapper chain. If the chain is too tight, it may not allow the flapper to close properly, causing leaks. To lengthen the chain, simply loosen the clip or hook that attaches it to the flush lever and move it to a longer notch or link.
On the other hand, if the chain is too loose, it can get tangled or caught under the flapper, preventing it from sealing tightly. In this case, shorten the chain by moving the clip or hook to a shorter notch or link.
Once you have adjusted the chain length, replace the toilet tank lid and proceed to the next step: testing for leaks.
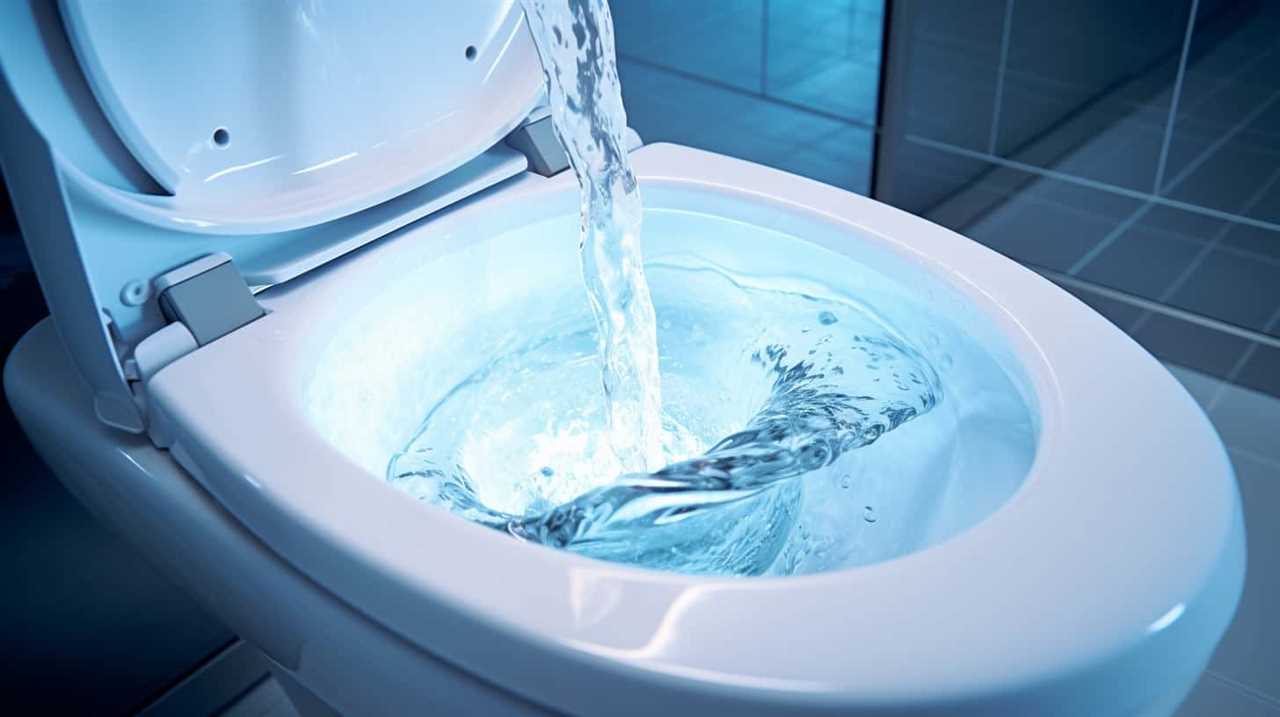
Testing for Leaks
Now that you’ve adjusted the chain length, it’s time to move on to the next step: testing for leaks.
This is an important part of the process as it ensures that your newly replaced flapper is working properly. Here’s what you need to do:
-
Fill the tank: Start by turning on the water supply and allowing the tank to fill up completely. Make sure the water reaches the fill line.
-
Observe for leaks: Once the tank is filled, keep a close eye on the toilet bowl. If you notice any water trickling into the bowl, it means there is a leak. This could be a sign of a faulty flapper or other issues.
-
Repeat the process: If you do detect a leak, it’s important to repeat the flapper replacement. This highlights the importance of regular flapper maintenance and replacement to prevent future leaks.
Now that you’ve tested for leaks, let’s move on to the next section: testing the flapper replacement.
Testing the Flapper Replacement
After replacing the toilet flapper, you should give it a flush to test for any leaks. Testing the flapper replacement is crucial to ensure its proper functioning and to prevent any water wastage.
There are a few testing techniques that can help you determine if the flapper is working correctly. First, visually inspect the flapper and surrounding area for any signs of water leakage.
Next, listen for any unusual sounds during the flush, such as water running continuously. Additionally, you can perform a dye test by adding a few drops of food coloring into the tank and observing if the water in the bowl changes color.
Regular flapper maintenance, including testing for leaks, is essential to maintain the efficiency of your toilet and conserve water.
Troubleshooting Common Issues
When it comes to troubleshooting common flushing problems, two issues that often arise are a leaking toilet tank and weak flushing power.
A leaking toilet tank can be caused by a faulty flapper or a cracked tank, both of which can lead to water wastage and potential damage to your bathroom floor.
On the other hand, weak flushing power can be the result of a clogged drain or a problem with the flush valve.
In this discussion, I will provide detailed information on how to identify and fix these common issues, ensuring that your toilet functions efficiently and effectively.
Common Flushing Problems
If you’re experiencing common flushing problems, one possible cause could be a faulty toilet flapper. The toilet flapper is a crucial component of your toilet’s flushing mechanism, and if it’s not functioning properly, it can lead to issues like weak flushes or continuous running of water.
To troubleshoot and maintain your toilet flapper, follow these steps:
- Check for wear and tear: Inspect the flapper for any signs of deterioration, such as cracks, warping, or discoloration.
- Clean the flapper: Remove any debris or mineral deposits that may be preventing a proper seal.
- Adjust the chain: Ensure that the chain connecting the flapper to the flush handle is properly adjusted, allowing for a full and smooth flush.
Leaking Toilet Tank
To fix a leaking toilet tank, start by checking the water supply valve to ensure it’s fully closed. If the valve is open, it could be causing the leak.
Next, locate the toilet flapper, which is a rubber seal that sits at the bottom of the tank. Inspect the flapper for any signs of damage or wear. If you notice any cracks or deterioration, it’s time for a toilet flapper replacement.
Turn off the water supply to the toilet, flush the tank to empty the water, and remove the old flapper by disconnecting it from the chain and lifting it out. Install the new flapper by attaching it to the chain and placing it back in the tank.
Weak Flushing Power
You can improve the flushing power of your toilet by checking the water level in the tank. Here are three steps to troubleshoot a weak flush and ensure your toilet is operating at its best:
-
Check the water level: Lift the toilet tank lid and inspect the water level. It should be about an inch below the top of the overflow tube. If it’s too low, adjust the float to increase the water level.
-
Clean the toilet flapper: Over time, the toilet flapper can accumulate mineral deposits or wear out, causing a weak flush. Remove the flapper and clean it thoroughly with a scrub brush or replace it if necessary.
-
Ensure proper chain length: The chain connecting the flush handle to the flapper should have a little slack. Adjust the chain length if it’s too tight or too loose.
Frequently Asked Questions
How Do I Know if My Toilet Flapper Needs to Be Replaced?
To determine if your toilet flapper needs replacing, look for signs of a faulty flapper such as constant running water or a leaky toilet bowl. You can also test the flapper for leaks by adding food coloring to the tank and checking for color in the bowl.
Can I Use Any Type of Flapper for My Toilet?
Certainly! When it comes to toilet flapper compatibility, it’s important to consider the pros and cons of different types. While some may be more affordable, others offer better durability.
Is It Necessary to Shut off the Water Supply Before Replacing the Flapper?
Yes, it is necessary to shut off the water supply before replacing the flapper. This precaution ensures that water does not flow into the toilet while you troubleshoot and replace the flapper.
What Should I Do if the New Flapper Doesn’t Fit My Toilet?
If the new flapper doesn’t fit my toilet, it can be frustrating. However, there are alternative solutions and troubleshooting steps to try. Let’s explore these options to get your toilet working properly again.
Are There Any Alternative Methods for Fixing a Faulty Toilet Flapper Without Replacing It?
To fix a faulty toilet flapper without replacing it, you can try adjusting the chain length or cleaning the flapper and flush valve. These alternative methods may help resolve the issue and avoid the need for replacement.
Conclusion
In conclusion, replacing a toilet flapper is a straightforward task that can be easily accomplished with a few simple steps.
By understanding how the toilet flapper works and gathering the necessary tools and materials, you can confidently shut off the water supply and remove the old flapper.
Installing the new flapper is a breeze, and don’t forget to test it afterwards to ensure it’s working properly.
Remember, practice makes perfect, so don’t be afraid to troubleshoot any common issues that may arise.
With a little know-how, you’ll have your toilet flushing like a champ in no time! Happy plumbing!

Mateo’s flair for writing is matched only by his keen eye for design. As an interior designer turned writer, Mateo brings a unique perspective. He blends aesthetics with functionality in every piece he pens, providing readers with beautifully crafted content that’s also supremely useful.
Mateo loves exploring the latest bathroom tech trends and is our expert on smart toilets. When he’s not writing or designing, Mateo can be found sketching ideas for his next big project at local coffee shops.