Hey there! Ever had your toilet flush valve go kaput? Trust me, it’s not a pretty sight. But fret not, because I’ve got you covered.
In this article, I’ll walk you through the step-by-step process of replacing that faulty flush valve. From assessing the problem to gathering the necessary tools and materials, shutting off the water supply, and finally installing the new flush valve – I’ve got all the detailed instructions you need.
So, let’s dive in and get that toilet back to its flushing glory!
Key Takeaways
- Perform a simple test to check if the flush valve is the source of the problem.
- Gather the necessary tools and materials, including an adjustable wrench, screwdriver, replacement flush valve, plumbers tape, and gloves.
- Shut off the water supply by locating the shut-off valve and turning it clockwise until fully closed.
- Remove the old flush valve using the proper tools, disconnecting the water supply line, and assessing any existing problems.
- Install the new flush valve by using an adjustable wrench to secure it in place, connecting the water supply line, and checking for any leaks.
- Test the flush valve by flushing the toilet and ensuring proper operation.

Fluidmaster 400H-002 Performax Universal Toilet Fill Valve High Performance Tank and Bowl Water Control, 1-Pack, Multicolor
Fix noisy, or slow filling fill valves with the quietest, most powerful toilet fill valve available
As an affiliate, we earn on qualifying purchases.
As an affiliate, we earn on qualifying purchases.
Assessing the Flush Valve Problem
First, you’ll want to check if the flush valve is the source of the problem by performing a simple test.
To assess the flush valve problem, start by removing the toilet tank lid and flushing the toilet. Observe if water is leaking from the flush valve or if it fails to close properly. If you notice any issues, it’s likely that the flush valve needs to be replaced.
Before buying a new flush valve, it’s important to troubleshoot the problem thoroughly. Check if there are any loose or worn out parts that can be easily fixed or replaced. If you can’t find replacement parts or if the problem persists, replacing the flush valve might be the best solution.
However, consider alternative solutions such as adjusting the water level or cleaning the valve seat before resorting to replacement.
Fluidmaster 400H-002 Performax Universal Toilet Fill Valve High Performance Tank and Bowl Water Control, 1-Pack, Multicolor
Fix noisy, or slow filling fill valves with the quietest, most powerful toilet fill valve available
As an affiliate, we earn on qualifying purchases.
As an affiliate, we earn on qualifying purchases.
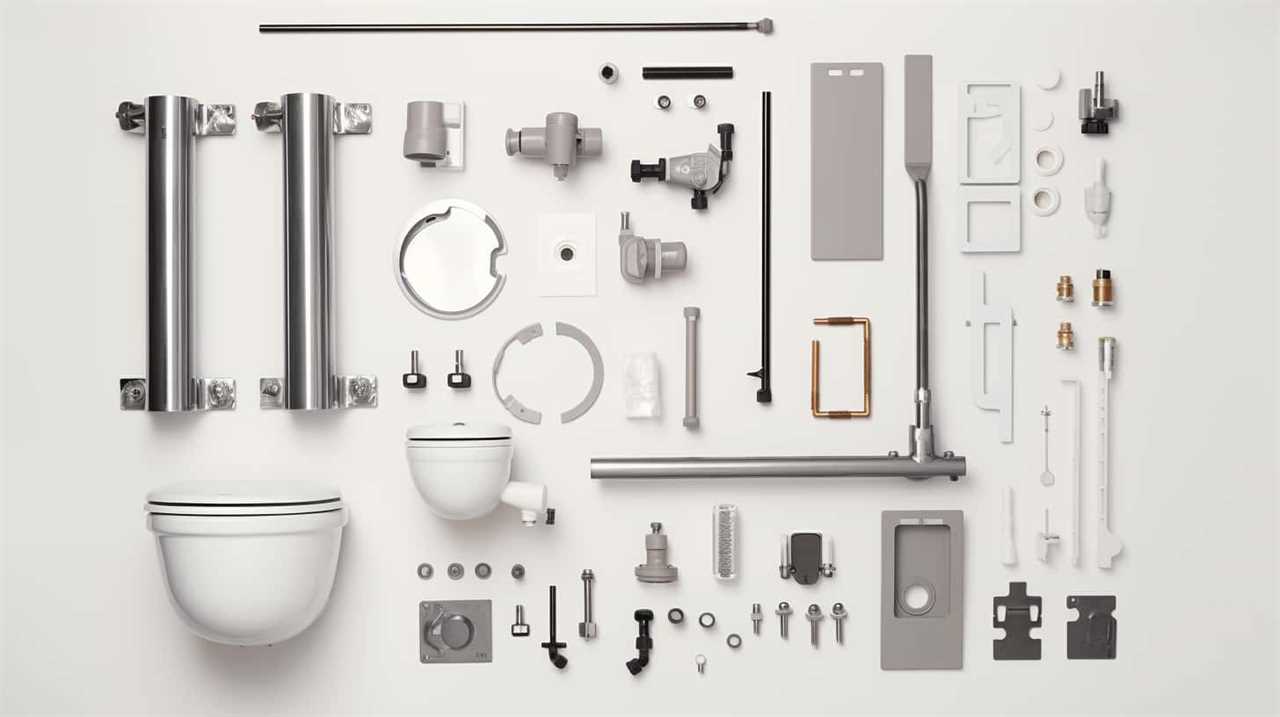
Gathering the Necessary Tools and Materials
To get started, you’ll need a few tools and materials for the job. Here’s what you’ll need for toilet flush valve installation:
-
Adjustable wrench: This tool will help you loosen and tighten nuts and bolts with ease, ensuring a secure installation.
-
Screwdriver: You’ll need this to remove any screws holding the flush valve in place.
-
Replacement flush valve: Make sure you have the correct size and type of flush valve for your toilet model.
-
Plumbers tape: This will help create a tight seal and prevent leaks around the connections.
By gathering these tools and materials, you’ll be well-equipped to tackle any troubleshooting flush valve problems.
Once you have everything ready, it’s time to move on to the next step: shutting off the water supply.

Amazon Basics Plumbing Adjustable Wrench with Soft Grip, Wide Mouth, 6.34 x 2.83 x 0.59 inches (LxWxH)
6 inch (150mm) wide jaw adjustable plumbing wrench with inch/metric measurement scale
As an affiliate, we earn on qualifying purchases.
As an affiliate, we earn on qualifying purchases.
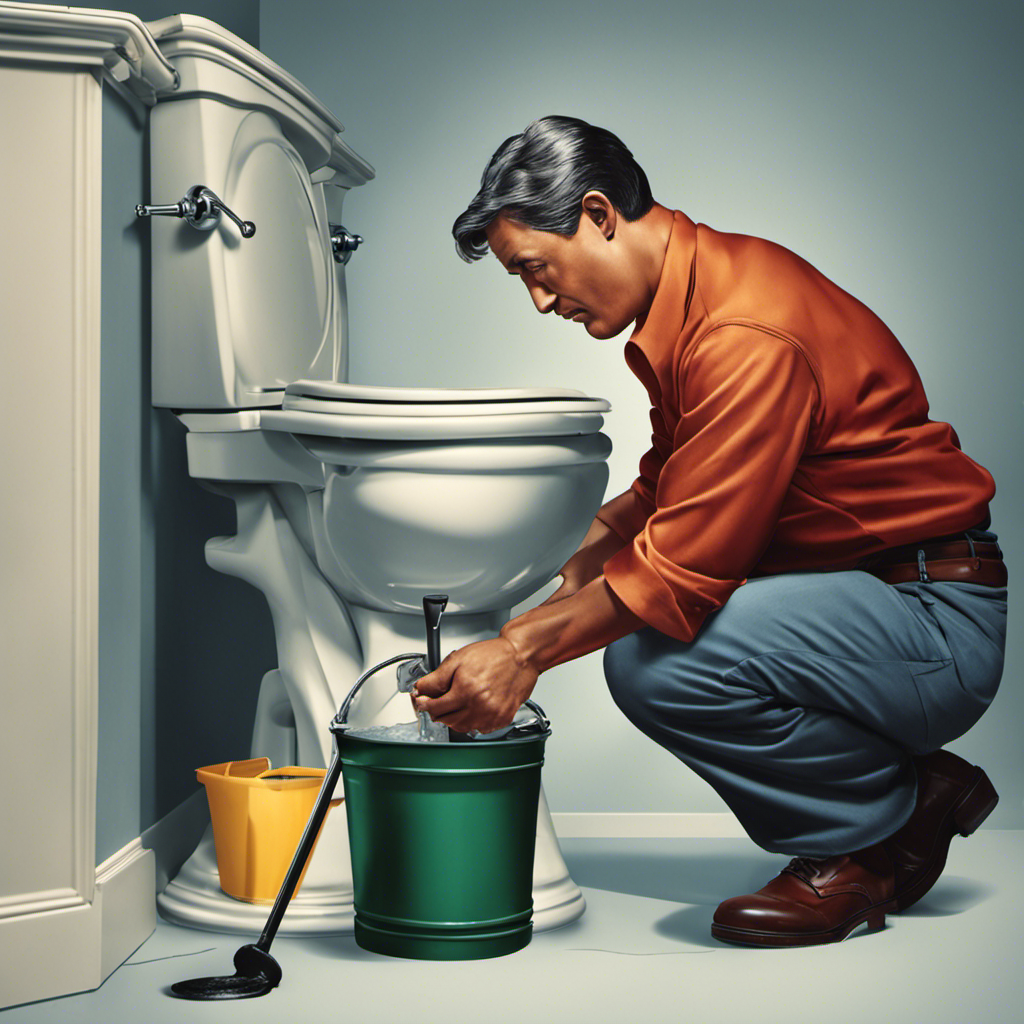
Shutting Off the Water Supply
Before moving on to the next step, make sure you’ve shut off the water supply.
This is a crucial step in replacing a toilet flush valve, as it prevents any water from flowing into the tank and causing a mess.
To shut off the water supply, locate the shut-off valve, which is usually located on the wall behind the toilet or underneath the tank.
Turn the valve clockwise until it is fully closed.
Once the water supply is shut off, you can proceed with confidence knowing that you won’t have any water leakage during the process.
Now that the water supply is secure, we can move on to the next step of removing the old flush valve.

Toilet Connector Water Line Kit with 12" Length Long 3/8" COMP x 7/8" BC Toilet Connector Hose, 1/2 inch NOM Inlet x 3/8 inch OD Compression Outlet Angle Shut Off and Escutcheon Plate
COMPLETE INSTALLATION KIT:Our toilet water supply line set includes 1 pc toilet connector,1 pc 1/4 turn angel stop…
As an affiliate, we earn on qualifying purchases.
As an affiliate, we earn on qualifying purchases.
Removing the Old Flush Valve
When it comes to removing the old flush valve, there are a few key points to keep in mind.
First and foremost, having the proper tools on hand is essential for a smooth and successful removal process.
I will guide you through a step-by-step process, highlighting the common challenges that may arise and providing effective solutions along the way.
Proper Tools Needed
The tools you’ll need include a wrench, pliers, and a screwdriver. Proper tools are essential for a smooth and successful toilet flush valve replacement. Here’s why:
-
Efficiency: With the right tools, you can save time and effort by easily accessing and manipulating the various components of the flush valve.
-
Accuracy: The precise fit of a wrench ensures that you can securely loosen and tighten the necessary connections without causing any damage.
-
Versatility: Pliers come in handy when dealing with small or hard-to-reach parts, allowing you to grip and maneuver them with ease.
-
Control: A screwdriver enables you to remove or adjust screws, providing you with control over the flush valve assembly.
Step-By-Step Removal Process
To start the removal process, first, you’ll need to turn off the water supply to the toilet. This is crucial to prevent any water flow while you work on replacing the flush valve. Once the water supply is shut off, you can proceed with the following step-by-step process:
| Step | Description |
|---|---|
| Step 1 | Remove the tank lid and place it in a safe area. |
| Step 2 | Disconnect the water supply line from the fill valve. |
| Step 3 | Empty the tank by flushing the toilet multiple times. |
Assessing the problem before starting the removal process is important. Troubleshooting tips like checking for leaks, unusual noises, or weak flushes can help you determine if the flush valve needs replacing. By following this detailed process and considering these troubleshooting tips, you’ll be able to successfully remove the old flush valve and install a new one.
Common Challenges and Solutions
Facing common challenges when removing and installing a new flush valve? No worries, here are some solutions that can help you overcome them.
-
Leaking: One of the most common mistakes is a leaking flush valve. To troubleshoot this issue, check the rubber gasket for any signs of wear or damage. Replace it if necessary.
-
Incomplete Flush: If your toilet is not flushing properly, the flush valve might be the culprit. Make sure it is properly aligned and secured. Adjust the chain length if needed to ensure a complete flush.
-
Weak Flush: If you notice a weak flush, check the water level in the tank. It should be at the proper height for optimal flushing. Adjust the float valve if necessary.
-
Noisy Operation: If your flush valve is making noise, it might be due to a loose connection. Tighten all the bolts and connections to eliminate any vibrations or rattling sounds.
Installing the New Flush Valve
First, you’ll want to gather all the necessary tools for installing the new flush valve. This includes an adjustable wrench, a screwdriver, a new flush valve, and possibly plumber’s tape.
Before starting the installation, make sure to turn off the water supply to the toilet and flush to remove any remaining water in the tank.
To begin, remove the old flush valve by unscrewing the nut underneath the tank.
Then, insert the new flush valve into the hole at the bottom of the tank and secure it with the nut provided. Ensure it is tight but not over-tightened to avoid any leaks.
Reconnecting the Water Supply
Before reconnecting the water supply, it’s crucial to shut off the water to the toilet by turning the shut-off valve clockwise. This will prevent any water from flowing into the toilet while you work on reconnecting the pipes.
Once the water supply is shut off, it’s important to ensure that the pipe connections are properly fitted and secure to prevent any leaks. To test for leaks, turn the water supply back on and carefully observe the connections for any signs of water leakage, ensuring that everything is tightly sealed.
Shutting off Water Supply
To shut off the water supply before replacing the toilet flush valve, you’ll need to locate the shut-off valve and turn it clockwise. Here’s what you need to know about shutting off the water supply:
-
Finding replacement parts: Before starting any repairs, it’s crucial to have the necessary replacement parts on hand. This will save you time and frustration during the process.
-
Troubleshooting common issues: If your toilet is constantly running or doesn’t flush properly, the flush valve may be the culprit. By shutting off the water supply and replacing the faulty valve, you can resolve these common issues.
-
Ensuring a leak-free repair: Shutting off the water supply prevents any water from flowing into the toilet, reducing the risk of leaks during the replacement process.
-
Taking the necessary precautions: Remember to turn off the water supply gently to avoid any damage to the shut-off valve or plumbing system.
Now that you’ve successfully shut off the water supply, let’s move on to the next step: proper pipe connections.
Proper Pipe Connections
Now that the water supply is shut off, it’s time to focus on properly connecting the pipes for the new flush valve. This step is crucial in ensuring a leak-free installation.
First, I’ll inspect the existing pipes for any signs of damage or corrosion. If necessary, I’ll clean them with a wire brush to remove any debris or buildup.
Next, I’ll apply plumber’s tape to the threads of the new flush valve to create a tight seal. Carefully, I’ll thread the valve onto the pipe, making sure it’s secure but not overtightened.
If there are any leaks, I’ll troubleshoot by tightening connections or replacing faulty parts. Once all the connections are properly installed, I can move on to testing for leaks in the next step.
Now that the pipes are properly connected, it’s time to move on to testing for leaks.
Testing for Leaks
Once all the connections are secure, it’s important to check for any leaks. As an experienced plumber, I have learned some effective troubleshooting techniques for leak detection. Here are four key steps you can follow to ensure a leak-free toilet flush valve replacement:
-
Visual Inspection: Carefully examine all the connections for any signs of water leakage. Look for water puddles, dampness, or discoloration around the valve and pipes.
-
Dye Test: Add a few drops of food coloring into the toilet tank. Let it sit for a few minutes without flushing. If you notice the colored water seeping into the toilet bowl, it indicates a leak.
-
Pressure Test: Use a pressure gauge to measure the pressure in the plumbing system. If the pressure drops significantly, it suggests a possible leak in the flush valve.
-
Sound Test: Listen closely for any hissing or trickling sounds near the toilet tank. These noises can indicate water escaping from the valve.
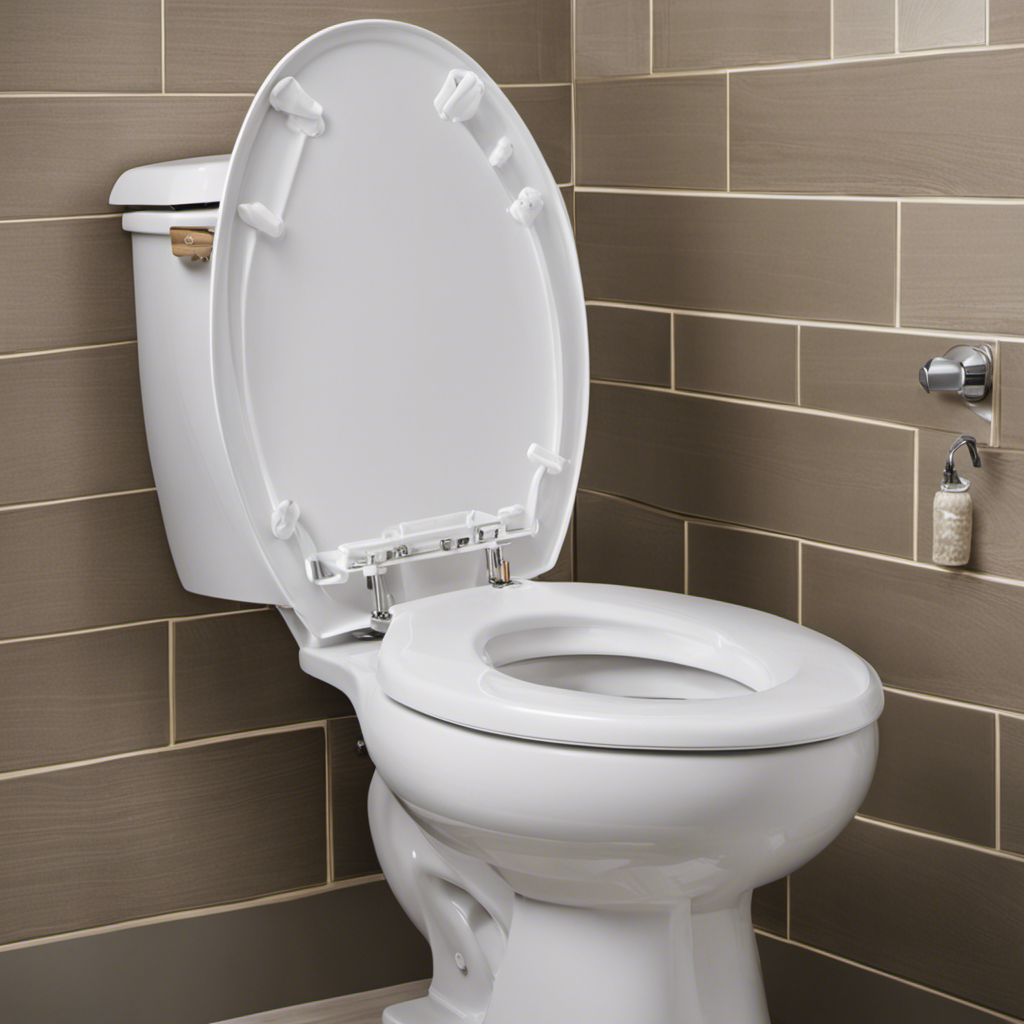
Testing and Adjusting the Flush Valve
Start by checking if the flush valve is properly adjusted and functioning correctly.
To do this, first, remove the toilet tank lid and carefully observe the flush valve mechanism. Make sure it is securely attached and there are no loose or broken parts.
Next, check the water pressure by turning on the water supply valve fully and observing the flow of water into the tank. If the water pressure seems too low, you may need to adjust it by turning the water supply valve slightly.
Additionally, troubleshooting the flush handle is crucial. Ensure that it is properly connected to the flush valve and not loose or damaged. If necessary, tighten any loose connections or replace the handle altogether.
Conclusion
In conclusion, replacing a toilet flush valve may seem daunting at first, but with the right tools and knowledge, it can be a straightforward process.
Remember the adage, ‘Where there’s a will, there’s a way,’ and tackle the task with confidence.
By following the steps outlined in this article, you can successfully replace the flush valve and restore your toilet’s functionality.
Take your time, be precise, and enjoy the satisfaction of a job well done.