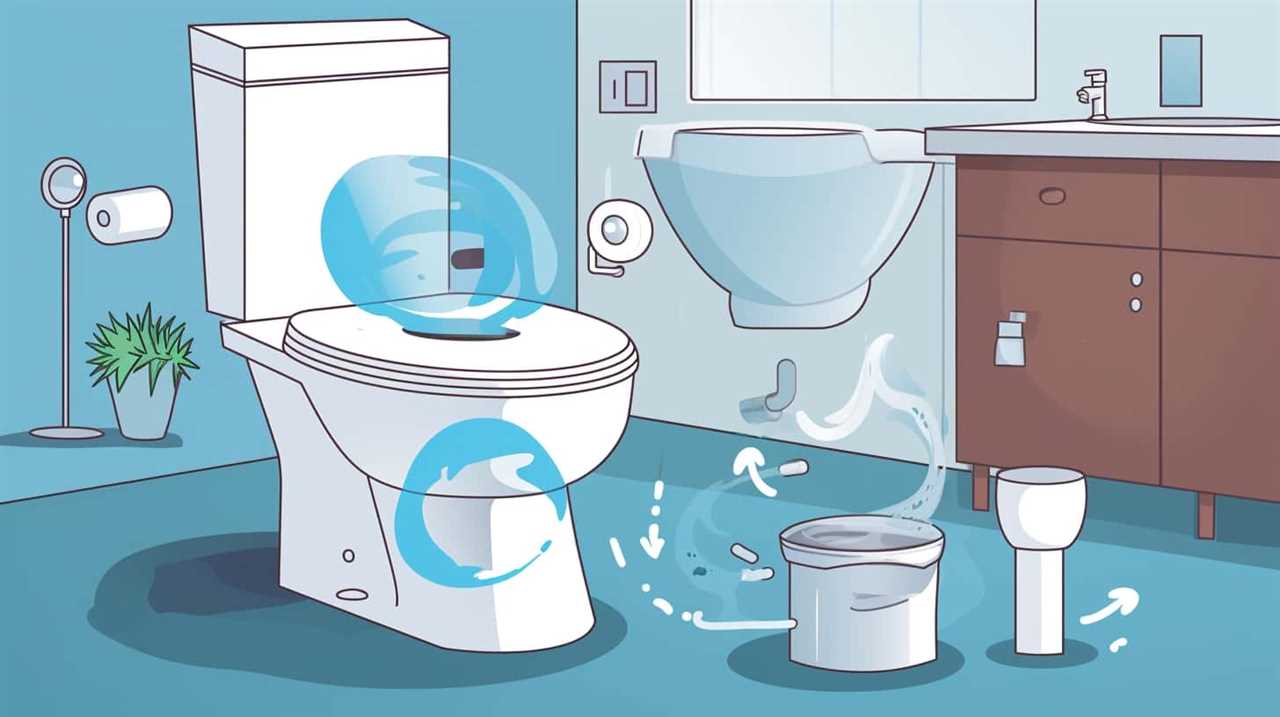
I’ve been there – standing in front of a broken toilet handle, feeling frustrated and unsure of what to do next.
But fear not, because in this article, I’ll guide you through the step-by-step process of replacing a toilet handle.
With just a few tools and materials, you’ll be able to tackle this DIY project with confidence.
So let’s roll up our sleeves and get ready to fix that pesky toilet handle once and for all!
Key Takeaways
- Gather necessary tools and materials: pair of pliers, screwdriver, adjustable wrench, replacement handle, and other relevant items
- Shut off the water supply by turning the valve clockwise and ensuring it is fully closed
- Remove the old toilet handle by loosening and removing the mounting nut and pulling it out of the toilet tank
- Install the new toilet handle by aligning it parallel to the toilet tank, tightening the securing nut, and adjusting the handle tension if needed

SAMODRA Bidet Attachment, Non-Electric Cold Water Bidet Toilet Seat Attachment with Pressure Controls, Retractable Self-Cleaning Dual Nozzles for Frontal & Rear Wash - Black
High Quality Parts: Bidet attachment is constructed with durable ABS material, portable control panel, high-pressure faucet quality valves...
As an affiliate, we earn on qualifying purchases.
Tools and Materials Needed
To replace the toilet handle, you’ll need a pair of pliers, a new handle, and a screwdriver.
First, turn off the water supply to the toilet by shutting off the valve located behind the toilet. Flush the toilet to drain any remaining water in the tank.
Next, locate the mounting nut on the inside of the tank, which holds the handle in place. Use the pliers to loosen and remove the mounting nut. Once the nut is removed, you can take out the old handle.
Now, take the new handle and insert it through the hole in the tank. Secure it with the mounting nut and tighten it using the pliers.
Lastly, turn on the water supply and test the new handle to ensure it is functioning properly.

LUXE Bidet NEO 120 - Single Nozzle, Self-Cleaning, Non-Electric Bidet Attachment for Toilet Seat, Adjustable Water Pressure, Rear Wash (Blue)
THE ULTIMATE VALUE – With a sleek design and high-quality parts, Our Bidet Attachment will give your bathroom...
As an affiliate, we earn on qualifying purchases.
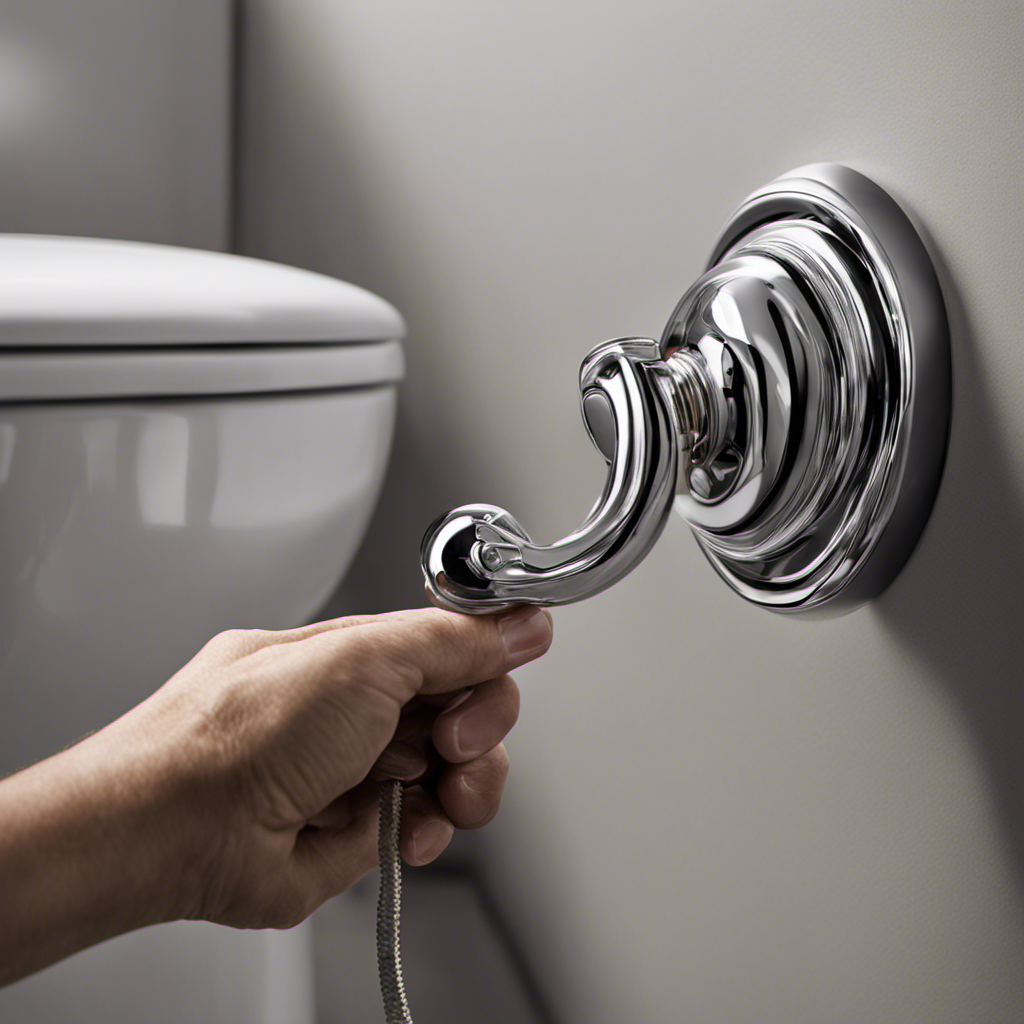
Step 1: Shut Off the Water Supply
First, you’ll need to locate the shut-off valve for the water supply. This is an essential step in fixing a broken toilet handle. The shut-off valve is usually located on the wall behind the toilet or under the toilet tank. It is a small lever that you need to turn clockwise to shut off the water supply.
Once you have located the shut-off valve, use your hand or a wrench to turn it. Make sure the valve is fully closed to prevent any water from flowing into the toilet tank. This will ensure that you can safely proceed with the repair without any water leakage.
Once the water supply is shut off, you can move on to the next step in repairing the toilet handle.

BIGCOW Ultra-Slim Bidet Attachment for Toilet - Dual Nozzle (Frontal & Rear Wash) with Adjustable Cold Water Pressure and Stainless Steel Inlet - Hygienic Solution for Fresh Cleanliness, Silver 1 Pcs
【Dual Spraying Modes】- This toilet bidet offers both rear wash for thorough cleaning and a specially designed frontal...
As an affiliate, we earn on qualifying purchases.
Step 2: Remove the Old Toilet Handle
Now that you’ve shut off the water supply, it’s time to take out the old handle. To begin the handle replacement process, follow these step-by-step instructions:
-
Locate the mounting nut on the inside of the toilet tank. This nut holds the handle in place.
-
Using a pair of pliers, grip the mounting nut and turn it counterclockwise to loosen it. Keep turning until the nut is completely removed.
-
Once the nut is off, you can now pull the old handle out of the toilet tank. Gently wiggle it back and forth if it feels stuck.
-
Take a moment to inspect the handle’s condition. If it’s damaged or broken, it’s a good idea to replace it entirely.
Now that the old handle is out, you’re ready to move on to the next step of handle installation.

PIKETS Bidet Attachment for Toilet, Dual Nozzle (Frontal and Rear Wash) Non-Electric Fresh Water Toilet Seat Attachment with Nozzle Self Cleaning, Adjustable Water Pressure(Chrome Silver)
Fresh - Get a fresh toilet experience at a reasonable price. Try washing the rear with fresh water,...
As an affiliate, we earn on qualifying purchases.
Step 3: Install the New Toilet Handle
To properly install a new toilet handle, it is crucial to ensure proper handle alignment and tighten the securing nut.
First, align the handle so that it is parallel to the toilet tank. This will ensure smooth and efficient operation.
Then, use a wrench to tighten the securing nut, making sure it is securely fastened to prevent any wobbling or loosening over time.
Proper Handle Alignment
Make sure you align the toilet handle properly before securing it in place. This step is crucial to ensure that the handle functions correctly and the toilet flushes smoothly. To align the handle, follow these steps:
-
Start by loosening the nut or screw that holds the handle in place. Use a wrench or screwdriver, depending on the type of fastener used.
-
Once the handle is loose, hold it in the desired position for flushing. Make sure it aligns with the flush valve or flapper inside the tank.
-
Adjust the handle tension if necessary. Some handles have a tension adjustment screw that can be tightened or loosened to customize the feel of the flush.
-
Finally, tighten the nut or screw to secure the handle in place. Be careful not to overtighten, as it may cause the handle to stick or break.
Tightening the Securing Nut
Once you’ve loosened the nut, make sure to tighten it securely to ensure the handle stays in place. Here are the steps to properly tighten the securing nut during handle installation or handle replacement:
- Use a wrench or pliers to grip the nut firmly.
- Rotate the nut clockwise to tighten it onto the threaded rod.
- Apply enough pressure to securely fasten the nut, but be cautious not to overtighten as it may damage the toilet tank.
- Test the handle by gently pulling or pushing it to ensure it is securely attached and does not wobble.
By following these steps, you can ensure that the handle is properly tightened, preventing any future issues with its stability.
Remember to always double-check for any leaks or loose connections before completing the handle installation or replacement process.
Step 4: Test the New Toilet Handle
After installing the new toilet handle, give it a test to ensure it is working properly.
To do this, flush the toilet and observe the handle’s functionality. Start by pressing down on the handle to initiate the flush.
If the handle feels loose or wobbly, it may not be properly installed. In this case, you will need to adjust the handle tension. Locate the securing nut on the inside of the toilet tank and use a wrench to tighten it. Be careful not to overtighten, as this can cause damage.
Once the handle feels secure, flush the toilet again to confirm that it is functioning smoothly.
If any issues persist, refer to the next section on troubleshooting common handle problems.
Troubleshooting Common Issues
When it comes to troubleshooting common issues with a toilet, there are a few key points to keep in mind.
The toilet not flushing properly, the handle feeling loose, and the handle not staying down are some common issues.
These issues can be frustrating, but with a step-by-step approach, they can usually be resolved quickly and easily.
In this discussion, I will guide you through the troubleshooting process for each of these problems, providing helpful tips and solutions along the way.
Toilet Not Flushing Properly
If your toilet’s not flushing properly, the first thing you should check is the water level in the tank. Ensure that the water is at the appropriate level, which is typically marked on the inside of the tank. If the water level is too low, it may not provide enough force to effectively flush waste.
If the water level is fine, the issue may lie with the toilet handle. To troubleshoot this problem, follow these steps:
- Remove the tank lid and locate the toilet handle.
- Inspect the handle for any visible damage or wear.
- If the handle is damaged, you may need to replace it with a new one.
- To replace the handle, start by turning off the water supply to the toilet, usually located behind the toilet near the floor. Then, detach the old handle and install the new one according to the manufacturer’s instructions.
Handle Feels Loose
To fix a loose handle, you should tighten the screws holding it in place. If the handle continues to feel loose even after tightening the screws, it may be time to consider replacing the handle altogether. Here is a step-by-step guide on how to replace a loose toilet handle:
-
Turn off the water supply: Locate the shut-off valve behind the toilet and turn it clockwise to shut off the water supply.
-
Remove the old handle: Unscrew the mounting nut on the inside of the toilet tank and carefully remove the old handle.
-
Purchase a replacement handle: Measure the length of your old handle and purchase a replacement handle of the same size.
-
Install the new handle: Insert the new handle through the hole in the toilet tank and secure it with the mounting nut.
-
Turn on the water supply: Turn the shut-off valve counterclockwise to restore the water supply.
Handle Won’t Stay Down
If the handle won’t stay down, you may need to adjust the chain length connecting it to the flapper. Here’s a step-by-step guide on fixing a stuck toilet handle:
-
Remove the toilet tank lid and locate the flapper valve at the bottom of the tank.
-
Identify the chain connected to the toilet handle and flapper.
-
Adjust the chain length by either tightening or loosening it. The chain should have a slight slack to allow the flapper to fully close.
-
Test the toilet handle by pushing it down and releasing. It should stay down and flush the toilet properly.
Maintenance Tips for Your Toilet Handle
Here’s a tip to keep your toilet handle in good condition. Proper handle installation is essential for the smooth operation of your toilet. Follow these steps for a successful toilet handle replacement:
- Gather the necessary tools: screwdriver, adjustable wrench, and a new toilet handle kit.
- Shut off the water supply to the toilet by turning the valve clockwise.
- Remove the lid from the toilet tank and locate the handle assembly.
- Unscrew the nut securing the handle inside the tank using an adjustable wrench.
- Disconnect the chain or lever from the flapper or flush valve.
- Install the new handle by inserting the threaded end into the hole and securing it with the nut.
- Reconnect the chain or lever to the flapper or flush valve.
- Turn on the water supply and test the new handle for proper functionality.
By following these steps, you can ensure a smooth and efficient toilet handle replacement. Remember to always refer to the manufacturer’s instructions for specific details.
| Step | Procedure |
|---|---|
| 1 | Gather tools |
| 2 | Shut off water supply |
| 3 | Remove lid |
| 4 | Unscrew nut |
| 5 | Disconnect chain or lever |
| 6 | Install new handle |
| 7 | Reconnect chain or lever |
| 8 | Turn on water supply |
| 9 | Test functionality |
Frequently Asked Questions
How Much Does a New Toilet Handle Typically Cost?
A new toilet handle typically costs around $10 to $20. To replace a toilet handle, first, turn off the water supply, then remove the old handle, and finally, install the new handle. Affordable toilet handles can be found at hardware stores or online.
Can I Use Any Type of Toilet Handle to Replace the Old One?
Certainly! When it comes to toilet handle installation, it’s essential to choose the right type. Not all handles are universal, so troubleshooting toilet handle replacement requires finding one that matches your toilet model.
Is It Necessary to Shut off the Water Supply Before Replacing the Toilet Handle?
Yes, it is necessary to shut off the water supply before replacing the toilet handle. This prevents any water from flowing while you work, reducing the risk of leaks or other issues.
What Should I Do if the New Toilet Handle Doesn’t Fit Properly?
If the new toilet handle doesn’t fit properly, don’t panic. First, check if it’s compatible with your toilet model. If not, try adjusting the mounting nut or consider purchasing a universal handle. If all else fails, consult a professional plumber for alternative solutions.
How Often Should I Replace the Toilet Handle for Optimal Performance?
Toilet handle maintenance is important for optimal performance. Signs of a worn toilet handle include difficulty flushing or a loose handle. Regularly inspect and replace the handle as needed to ensure proper functioning.
Conclusion
In conclusion, replacing a toilet handle is as easy as a gentle twist and a quick swap. Just like a conductor guiding an orchestra, the new handle will lead the way to a perfectly functioning toilet.
With the right tools and a little know-how, you can bid farewell to the old handle and welcome the new one with open arms. Remember to test its performance, troubleshoot any issues, and keep up with regular maintenance to ensure a seamless flushing experience.
Your toilet will thank you!