Have you ever sat down on your toilet seat and felt a wobble or noticed some wear and tear? It’s a common problem that many of us face. But don’t worry, I’ve got you covered.
In this step-by-step guide, I will show you how to replace your toilet seat and restore stability and comfort to your bathroom throne. With just a few tools and some simple instructions, you’ll have a brand new seat in no time.
Let’s get started!
Key Takeaways
- Measure the dimensions of your current toilet seat and consider the material and style of the new seat
- Gather the necessary tools and materials such as a wrench, screwdriver, and pliers, as well as cleaning supplies like gloves, disinfectant wipes, and a trash bag
- Remove the old toilet seat by locating and unscrewing the bolts holding it, then lifting it off the toilet bowl
- Install the new toilet seat by placing it on the bowl, aligning the hinges with the holes, inserting and tightening the bolts, and ensuring proper alignment and stability
TDH Luxury Smart Bidet Toilet,Bidet Toilet with Larger LED Display,One Piece Toilet with Heated Bidet Seat,Leave Seat Auto Flushing,Foot Sensor Operation & Night Light
Strong Flush Technology: Our smart toilet delivers maximum cleaning power with an advanced vortex flushing system, using only...
As an affiliate, we earn on qualifying purchases.
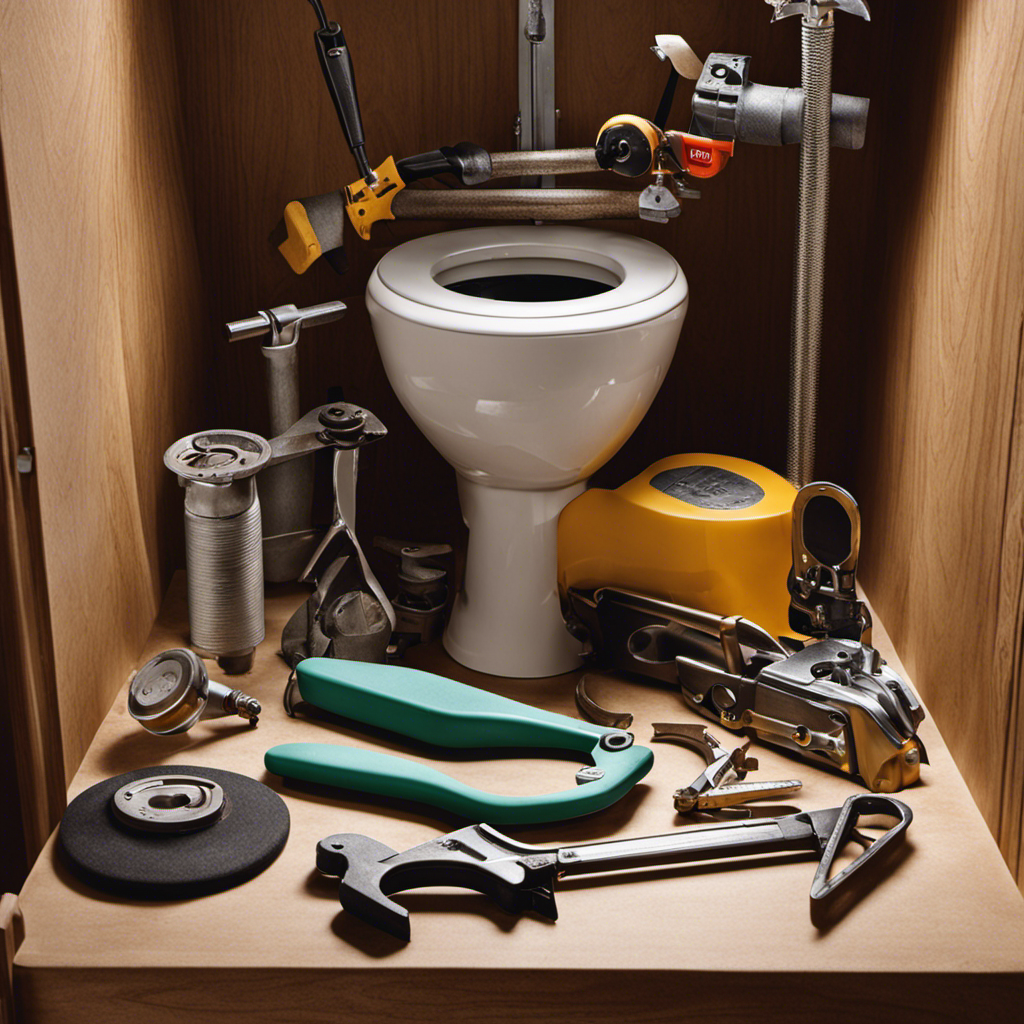
Gathering the Necessary Tools and Materials
Before you begin replacing the toilet seat, make sure you have all the necessary tools and materials.
Choosing the right toilet seat is crucial for comfort and hygiene. First, measure the dimensions of your current toilet seat to ensure a proper fit. Next, consider the material and style that suits your preference and bathroom decor.
Once you have chosen the perfect seat, gather the necessary tools such as a wrench, screwdriver, and pliers. Additionally, make sure to have cleaning supplies like gloves, disinfectant wipes, and a trash bag for proper hygiene practices.
It is important to maintain cleanliness throughout the process to avoid any contamination. Following these steps will ensure a successful and hygienic toilet seat replacement.

Smart Toilet with Bidet Built In, Heated Seat & Dual Auto Flush, Foot Sensor, Tankless Modern Elongated Electric Toilet with Warm Water Wash, Air Dryer, LED Display & 1000g MaP Flush, 1.28 GPF
🚽 [Powerful Dual Flush & Water-Saving Smart Toilet] Experience superior cleaning with this smart toilet with bidet built-in...
As an affiliate, we earn on qualifying purchases.
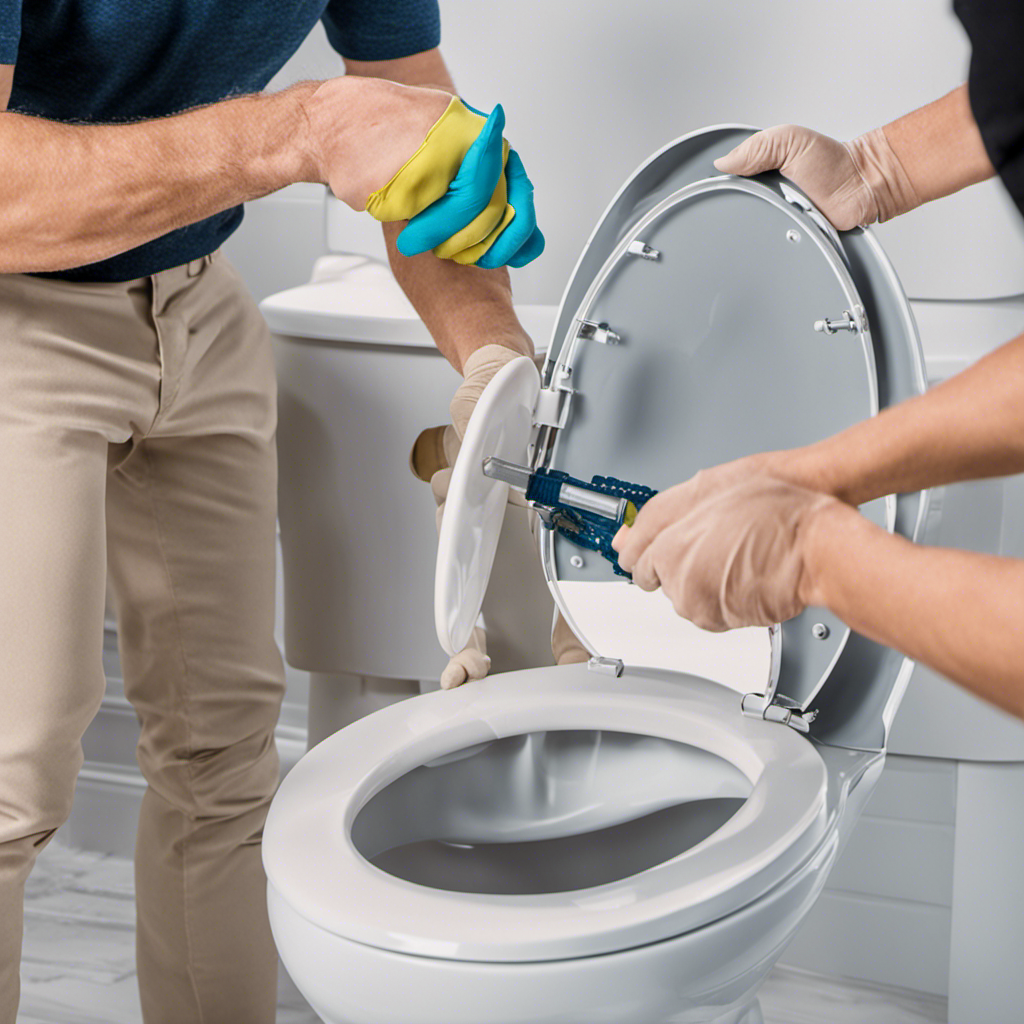
Removing the Old Toilet Seat
To start, you’ll want to unscrew the bolts holding down the old toilet seat. First, locate the bolts on the underside of the seat. They are usually positioned at the back, near the hinges. Use a screwdriver or a wrench to loosen and remove the bolts.
Once the bolts are removed, carefully lift the old seat off the toilet bowl and set it aside.
Now, it’s time to measure the dimensions of the old seat. Take note of the length, width, and shape of the seat. This will help you in selecting a suitable replacement. Measure from the center of the bolt holes to determine the distance between them.
It’s important to get accurate measurements to ensure a proper fit for your new toilet seat.

Casta Diva Smart Toilet with Bidet Built in, Auto Open/Close Lid,1000g MaP Flush, Heated Seat & Foam Dispenser, Foot Sensor Auto Flush, Blackout Flush, Bidet Toilet with Tank Built in (CD-K030PRO)
Powerful Flush Toilet: MaP flush performance scores at 1,000 grams —the Casta Diva K030PRO smart toilet with tank...
As an affiliate, we earn on qualifying purchases.
Installing the New Toilet Seat
Once you’ve got the new toilet seat, it’s simply a matter of aligning the bolts and tightening them into place. Here’s how to install a new toilet seat step-by-step:
-
Remove the old seat by loosening the bolts underneath.
-
Place the new seat on the toilet bowl, ensuring the hinges align with the holes.
-
Insert the bolts through the holes and hand-tighten them.
-
Use a wrench or screwdriver to securely tighten the bolts, making sure the seat is properly aligned and stable.
Proper alignment is crucial to ensure a comfortable and secure fit. By securing the bolts tightly, the seat will stay in place and prevent any wobbling or shifting.
Once the seat is installed, you can move on to adjusting it for comfort and stability in the next section.

Gerber ReadySet Universal Toilet Bowl Installation Kit, G0099295 – Tool-Free Install, 2 Star Bolt Sizes, Extra-Tall Guides, Low-Profile Caps – Complete Kit (Wax Ring Sold Separately)
Toilet Flange Bowl Installation Kit: Complete toilet mounting bolt kit includes two bolt lengths to fit most above-floor,...
As an affiliate, we earn on qualifying purchases.
Adjusting the Seat for Comfort and Stability
Make sure you adjust the hinges of your newly installed toilet seat to ensure maximum comfort and stability. Adjusting the height of the seat is crucial to finding the perfect position for your comfort.
Start by lifting the seat and locating the hinges on the back. Most seats have a release button or a screw that allows you to adjust the height. Press the button or unscrew the hinge and move the seat up or down as needed. Once you’ve found the desired height, secure the seat back in place by pushing the button or tightening the screw.
Remember, choosing the right seat is also important for comfort. Consider factors such as material, shape, and padding when selecting a toilet seat that suits your preferences.
Now that you have adjusted your seat, let’s move on to cleaning and maintaining it for long-lasting use.
Cleaning and Maintaining the Toilet Seat
Keep in mind that regularly wiping down your toilet seat with a mild cleaner will help maintain its cleanliness and prevent the buildup of bacteria. Here are some tips to ensure proper toilet seat hygiene and prevent discoloration:
-
Use a mild cleaner: Choose a mild cleaner specifically designed for cleaning toilet seats. Avoid harsh chemicals that may damage the material or cause discoloration.
-
Wipe down regularly: Make it a habit to wipe down your toilet seat at least once a week. This will remove any dirt, stains, or bacteria that may have accumulated.
-
Scrub gently: When cleaning, use a soft cloth or sponge to gently scrub the seat. Avoid using abrasive scrubbers or brushes that may scratch the surface.
-
Dry thoroughly: After cleaning, make sure to dry the toilet seat thoroughly. Excess moisture can lead to mold or mildew growth, which can cause discoloration.
Troubleshooting Common Issues
If you’re experiencing any common issues with your toilet seat, such as loose hinges or a wobbly seat, here are some troubleshooting tips for you.
To prevent toilet seat wobbling, start by checking the hinge bolts. Use a screwdriver to tighten them, but be careful not to overtighten and crack the toilet seat. If the bolts are loose or damaged, consider replacing them with new ones.
Another common issue is dealing with stubborn seat bolts. To loosen them, spray some lubricant or penetrating oil onto the bolts and let it sit for a few minutes. Then, use a wrench or pliers to loosen the bolts by turning them counterclockwise. If the bolts are rusted or stripped, you may need to use a hacksaw to cut them off. Remember to replace them with new bolts when installing a new toilet seat.
Frequently Asked Questions
How Do I Choose the Right Toilet Seat for My Bathroom Decor?
When choosing a toilet seat for my bathroom decor, I consider the materials and colors available. I want a seat that matches the overall aesthetic while also being durable and easy to clean.
Can I Use Regular Household Cleaning Products to Clean My Toilet Seat?
Yes, you can use regular household cleaning products to clean your toilet seat. However, it’s important to check the material of your toilet seat and use the recommended cleaning products to avoid any damage.
Is It Necessary to Remove the Entire Toilet to Replace the Seat?
No, it is not necessary to remove the entire toilet to replace the seat. Simply follow these steps: 1) Gather necessary tools like a screwdriver. 2) Loosen and remove the old seat. 3) Install the new seat.
How Often Should I Clean and Maintain My Toilet Seat?
I clean and maintain my toilet seat once a week to keep it hygienic and odor-free. I use a disinfectant spray and a soft cloth to wipe it down. Regular maintenance helps prolong the lifespan of the seat.
What Should I Do if the New Toilet Seat Keeps Shifting or Becomes Loose?
To prevent toilet seat shifting after installation, make sure the seat is properly aligned with the bowl and tighten the bolts securely. If it still becomes loose, consider using rubber washers or adhesive pads for added stability.
Conclusion
In conclusion, replacing a toilet seat is a simple task that can be easily accomplished with a few basic tools and materials. By following the step-by-step instructions provided, you can successfully remove the old seat and install a new one in no time.
Remember to adjust the seat for comfort and stability, and regularly clean and maintain it to ensure its longevity.
So why wait? Don’t let this task sit on the back burner, get cracking and replace that old seat before you know it!