Are you tired of struggling with a wobbly toilet seat? The answer lies in replacing it with a new one equipped with hidden bolts.
In this step-by-step guide, we’ll show you how to replace your toilet seat with hidden bolts, specifically for American Standard toilets.
With a few simple tools and materials, you’ll be able to remove the old seat, identify the hidden bolts system, and install the new seat securely.
Get ready for a stable and hassle-free bathroom experience!
Key Takeaways
- Gathering the necessary tools and materials, including a new toilet seat, screwdriver, wrench or pliers, clean cloth or sponge, and gloves for hand protection.
- Removing the old toilet seat by locating the bolts at the back of the seat, using a wrench or screwdriver to loosen the bolts, and lifting the old seat off carefully.
- Identifying the hidden bolts system by examining the underside of the toilet seat for depressions or openings, looking for color indicators or markings, and consulting the user manual for instructions.
- Proper bolt removal by prying open bolt covers with a flathead screwdriver, gripping bolt heads firmly with a wrench or pliers, turning the bolts counterclockwise to loosen, and repeating the process for the other bolt.
Step 1: Gather the Necessary Tools and Materials
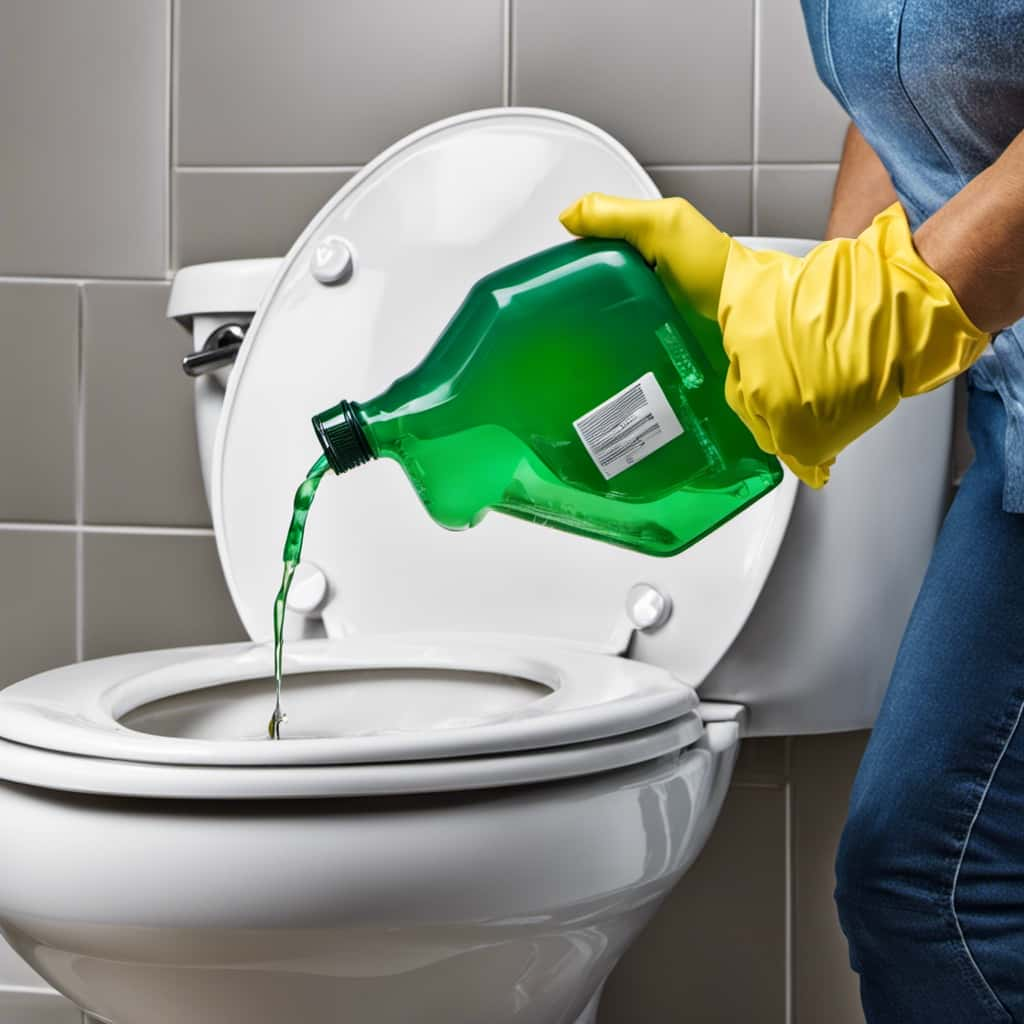
First, gather all the necessary tools and materials for the job. To ensure a successful toilet seat installation, you will need the following items: a new toilet seat, a screwdriver (usually a Phillips head), and possibly a wrench or pliers if the bolts are particularly tight. Additionally, it is important to have a clean cloth or sponge for wiping down the toilet seat and surrounding area. Before starting the installation process, make sure to put on gloves to protect your hands from any potential germs.
By gathering these tools and materials, you will be well-prepared for the task at hand.
Now, let’s move on to step 2: removing the old toilet seat.
Step 2: Remove the Old Toilet Seat
To properly remove the old toilet seat, you’ll need to follow a specific technique.
First, ensure that you have the necessary tools for the removal process. These tools may include a wrench, pliers, and a screwdriver, depending on the type of toilet seat you have.
Proper Removal Technique
Now, you’ll want to unscrew the bolts holding the current toilet seat in place. Start by locating the bolts, which are typically located at the back of the toilet seat. Use a wrench or screwdriver to loosen and remove the bolts.
If the bolts are stuck or rusted, you can try using a penetrating oil to help loosen them. Once the bolts are removed, carefully lift the old toilet seat off the toilet bowl. Be cautious not to damage the porcelain or any other parts of the toilet.
Inspect the area around the bolts for any dirt or debris and clean it if necessary. This will ensure a smooth and secure installation of the new toilet seat.
Tools Needed for Removal
You’ll need a wrench or screwdriver to loosen and remove the bolts holding the toilet seat in place. Here’s what you should do:
- Start by identifying the type of bolts used to secure the toilet seat. They can be either standard screws or wing nuts.
- If you have standard screws, use a screwdriver to turn them counterclockwise until they are loose enough to be removed by hand.
- If you have wing nuts, use a wrench to loosen them by turning them counterclockwise. Once they are loose, you can remove them by hand.
Once the bolts are removed, lift the toilet seat straight up and off the toilet bowl.
Before installing the new toilet seat, make sure to clean the area where the old seat was attached.
Remember these toilet seat installation tips to avoid common mistakes in toilet seat replacement:
-
Ensure that the new seat is compatible with your toilet bowl.
-
Follow the manufacturer’s instructions carefully to ensure proper installation.
-
Tighten the bolts securely, but avoid overtightening, as this can damage the toilet bowl.
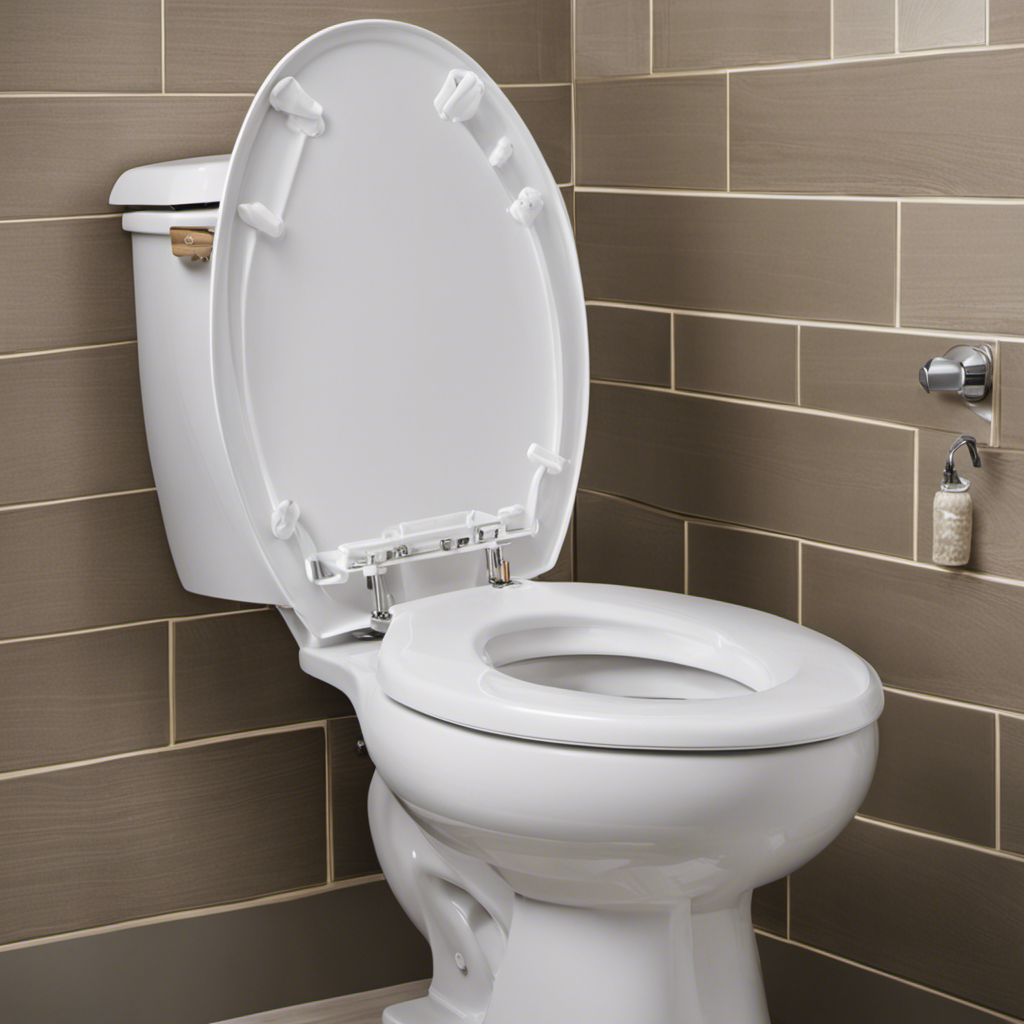
Step 3: Identify the Hidden Bolts System
To properly remove and replace hidden bolts on a toilet seat, it is crucial to first locate the hidden bolt holes.
Begin by examining the underside of the toilet seat for any visible signs or markings that could indicate the position of the hidden bolts.
Once located, use the appropriate tools, such as a wrench or screwdriver, to carefully remove the bolts, ensuring not to damage any surrounding components.
Locating Hidden Bolt Holes
First, make sure to identify the hidden bolt holes underneath the toilet seat. To locate these hidden bolt holes, follow these steps:
-
Feel for the bolt holes: Run your fingers along the underside of the toilet seat, near the hinges. You should be able to feel two small depressions or openings. These are the hidden bolt holes.
-
Look for color indicators: Some toilet seats with hidden bolts have color indicators to help you locate the bolt holes. Look for small dots or arrows that indicate the position of the hidden bolt holes.
-
Refer to the user manual: If you are unable to locate the hidden bolt holes using the above methods, consult the user manual that came with your toilet seat. The manual should provide detailed instructions on how to find the hidden bolt holes specific to your toilet seat model.
Proper Bolt Removal
If you encounter any difficulty removing the bolts, try using a wrench for added leverage. Proper technique is crucial when removing toilet seat bolts with hidden bolts. Here’s a step-by-step guide to help you do it right and avoid common mistakes.
- Locate the bolt covers (usually located at the back of the seat) and pry them open using a flathead screwdriver.
- Use a wrench or pliers to grip the bolt head firmly.
- Turn the bolt counterclockwise to loosen it. Apply steady pressure and avoid excessive force to prevent damage.
- Repeat the process for the other bolt.
- Once both bolts are loosened, lift the toilet seat and remove it from the toilet.
By following these steps, you can safely and effectively remove the toilet seat with hidden bolts.
Now, let’s explore some bolt replacement options.
Bolt Replacement Options
One option for replacing the bolts on your toilet seat is to use universal replacement bolt sets. These sets are designed to fit most standard toilets and provide an easy and efficient solution for bolt replacement.
Here are some alternative toilet seat installation techniques using universal replacement bolt sets:
-
Remove the old bolts: Use a wrench or pliers to unscrew the old bolts and remove them from the toilet bowl.
-
Prepare the new bolts: Take the universal replacement bolt set and ensure that all the necessary parts are included, such as the bolts, nuts, and washers.
-
Install the new bolts: Insert the new bolts into the holes on the toilet bowl, making sure they are aligned correctly.
-
Secure the bolts: Place the washers and nuts onto the bolts and tighten them using a wrench or pliers.
-
Adjust the seat: Once the bolts are securely tightened, adjust the toilet seat to the desired position.
-
Test for stability: Sit on the toilet seat and check for any movement or wobbling. If needed, further tighten the bolts to ensure stability.
Using universal replacement bolt sets is a reliable and convenient method for replacing the bolts on your toilet seat.
Step 4: Loosen the Hidden Bolts
To begin, you’ll need to locate the hidden bolts underneath the toilet seat and loosen them. Proper bolt tightening is crucial to ensure a stable and secure toilet seat. Follow these steps to loosen the hidden bolts correctly.
-
Start by flipping up the toilet seat and identifying the two bolts on either side of the toilet bowl. These bolts are usually covered by plastic caps or small covers.
-
Use a screwdriver or a wrench to gently pry off the plastic caps or covers, revealing the bolts.
-
Once the bolts are exposed, use a wrench or pliers to turn them counterclockwise. This will loosen the bolts from the toilet bowl.
-
Be careful not to overtighten or force the bolts, as this can cause damage to the toilet seat or bowl.
-
Repeat the process for both bolts until they are fully loosened.
Common mistakes in bolt removal include using too much force, which can strip the bolts or damage the toilet seat. Additionally, not loosening the bolts enough can make it difficult to remove the toilet seat. Take your time and make sure the bolts are properly loosened before moving on to the next step.
Step 5: Install the New Toilet Seat
Next, you’ll want to position the new toilet seat onto the bowl, aligning the holes with the bolt slots. Here are some toilet seat installation tips to help you with this step:
-
Choose the right toilet seat color: Consider the color of your bathroom fixtures and tiles. Opt for a toilet seat color that complements the overall aesthetic of your bathroom.
-
Ensure a proper fit: Make sure the new seat is the correct size for your toilet bowl. Measure the length and width of your existing seat to ensure a perfect fit.
-
Follow the manufacturer’s instructions: Different toilet seat models may have specific installation instructions. Read the manufacturer’s manual carefully to ensure proper installation.
Now that you have positioned the new toilet seat, you can proceed to the next step, which is securing the hidden bolts in place.
Step 6: Secure the Hidden Bolts in Place
Now you’ll want to use a wrench to tighten the nuts on the bolts, securing them in place. This step is crucial to ensure that your toilet seat stays firmly in position and doesn’t wobble or shift when in use.
Start by locating the nuts on the underside of the toilet bowl. Place the wrench on the nut and turn it clockwise to tighten. Make sure not to overtighten, as this can cause damage to the toilet bowl.
It is important to use a proper bolt tightening technique, applying even pressure to both sides of the seat. If you encounter any issues, such as stripped threads or loose bolts, troubleshoot by checking for any obstructions, adjusting the alignment of the seat, or replacing damaged bolts.
Conclusion
Now that you’ve successfully loosened the hidden bolts and installed the new toilet seat, it’s time to secure those bolts in place.
This final step is crucial to ensure the stability and durability of your new seat. But wait, there’s more! By securing the hidden bolts, you’ll not only prevent any wobbling or shifting but also add an extra layer of security.
So, buckle up and get ready to complete this installation with finesse and precision. Your toilet seat is about to reach its full potential!

With an impeccable eye for detail and a passion for bathroom-related, Ava leads our editorial team gracefully and precisely.
Under her guidance, Best Modern Toilet has flourished as the go-to resource for modern bathroom enthusiasts. In her free time, you might find Ava exploring antique shops and looking for vintage bathroom fixtures to add to her collection.