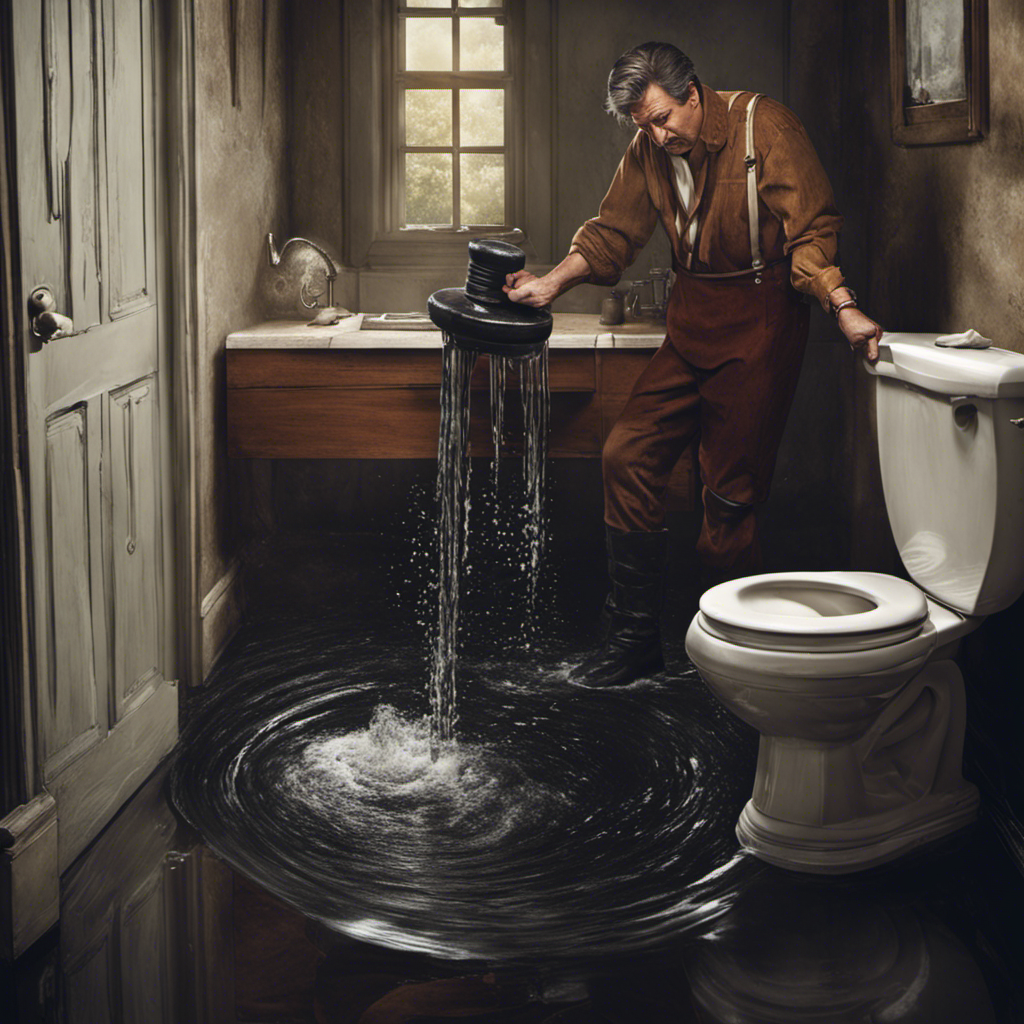
Hey there, fellow DIY enthusiasts! Ever found yourself in a sticky (and smelly) situation with a leaky toilet wax ring? Fear not, because I’ve got the step-by-step guide you need to tackle this plumbing predicament.
In this article, I’ll walk you through the process of replacing that pesky wax ring like a pro. So grab your tools and get ready to bid farewell to those unsightly leaks and unpleasant odors.
Let’s dive in and get your toilet back in tip-top shape!
Key Takeaways
- Choose a high-quality wax ring that fits the size and shape of your toilet flange.
- Take your time and follow instructions carefully to avoid mistakes during the replacement process.
- Clean the flange thoroughly to ensure a good seal and prevent leaks.
- Gently press down on the toilet bowl to compress the wax ring and create a tight seal.

Hibbent Extra Thick Toilet Wax Ring Replacement Kit, Universal Toilet Seal Ring with Brass Toilet Floor Bolts and Retainer Washers, PE Flange Fits 3 Inch and 4 Inch Drain Pipes
Universal Toilet Wax Ring: The Hibbent toilet flange is compatible with 3-inch and 4-inch waste lines, suitable for…
As an affiliate, we earn on qualifying purchases.
As an affiliate, we earn on qualifying purchases.
Gathering the Necessary Tools and Materials
Before you start, make sure you have all the necessary tools and materials for replacing the toilet wax ring. Choosing the right wax ring is essential for a successful replacement. Look for a wax ring that fits the size and shape of your toilet flange. Make sure it is made of high-quality wax to ensure a proper seal.
It’s also important to have a putty knife or scraper to remove the old wax ring and a wrench to loosen and tighten the bolts. Additionally, gather some disposable gloves and a bucket to catch any water that may leak during the process.
Now, let’s talk about common mistakes to avoid during wax ring replacement. One of the most common mistakes is not properly aligning the wax ring with the toilet flange. This can lead to leaks and unpleasant odors. Another mistake is overtightening the bolts, which can crack the base of the toilet.
Avoid these mistakes by carefully following the instructions and taking your time during the replacement process.
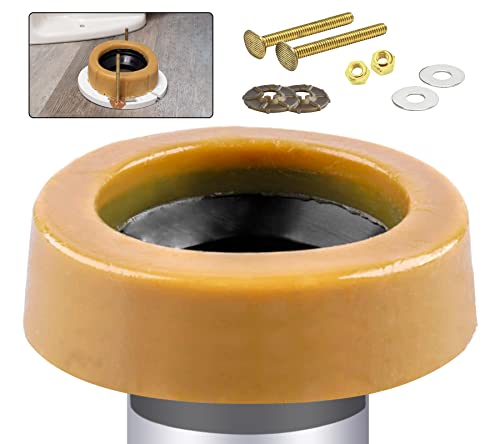
Extra Thick Toilet Wax Ring Kit with Flange and Bolts for Floor Outlet Toilets New Install or Re-seat, Fits 3-inch or 4-inch Waste Lines
Signs of a Bad Toilet Wax Ring?: If you can smell a sewer-like smell coming from your toilet,…
As an affiliate, we earn on qualifying purchases.
As an affiliate, we earn on qualifying purchases.
Removing the Toilet
To remove the toilet, you’ll need to disconnect the water supply and unscrew the bolts holding it in place. It’s important to follow these steps carefully to ensure a successful removal. Here are the key steps to remove a toilet:
-
Turn off the water supply: Locate the shut-off valve, usually located behind the toilet, and turn it clockwise to shut off the water supply.
-
Empty the tank: Flush the toilet to empty the tank and reduce the water level.
-
Disconnect the water supply line: Use an adjustable wrench to loosen the nut connecting the water supply line to the bottom of the toilet tank.
Once you have successfully removed the toilet, you can move on to cleaning and preparing the flange for the installation of the new wax ring.
Now, let’s move on to the next step: cleaning and preparing the flange.

Clorox Toilet Plunger and Bowl Brush Combo with Caddy, 6.75 x 7 x 19.5 in, White/Gray
TOILET PLUNGER & BOWL BRUSH SET: This toilet brush and plunger set includes a coordinating hideaway caddy for…
As an affiliate, we earn on qualifying purchases.
As an affiliate, we earn on qualifying purchases.
Cleaning and Preparing the Flange
Now, you’ll want to grab a scrub brush and some cleaner to thoroughly clean the flange and ensure it’s free of any debris.
Cleaning the flange is an important step in replacing the toilet wax ring. The flange is the circular piece that connects the toilet to the floor and holds the wax ring in place. Over time, the flange can accumulate dirt, grime, and even mold.
To clean it, start by removing any loose debris with your hands or a paper towel. Then, use the scrub brush and cleaner to scrub away any stubborn stains or residue. Be sure to clean both the inside and outside of the flange.
One common mistake is not cleaning the flange properly, which can lead to a poor seal and potential leaks. After you have thoroughly cleaned the flange, you can move on to installing the new wax ring.

Fluidmaster K-400H-021-P8 PerforMAX 2-Inch Everything Toilet Repair Kit, Multicolor
The Everything Kit includes everything you need to fix your toilet in one trip and one purchase
As an affiliate, we earn on qualifying purchases.
As an affiliate, we earn on qualifying purchases.
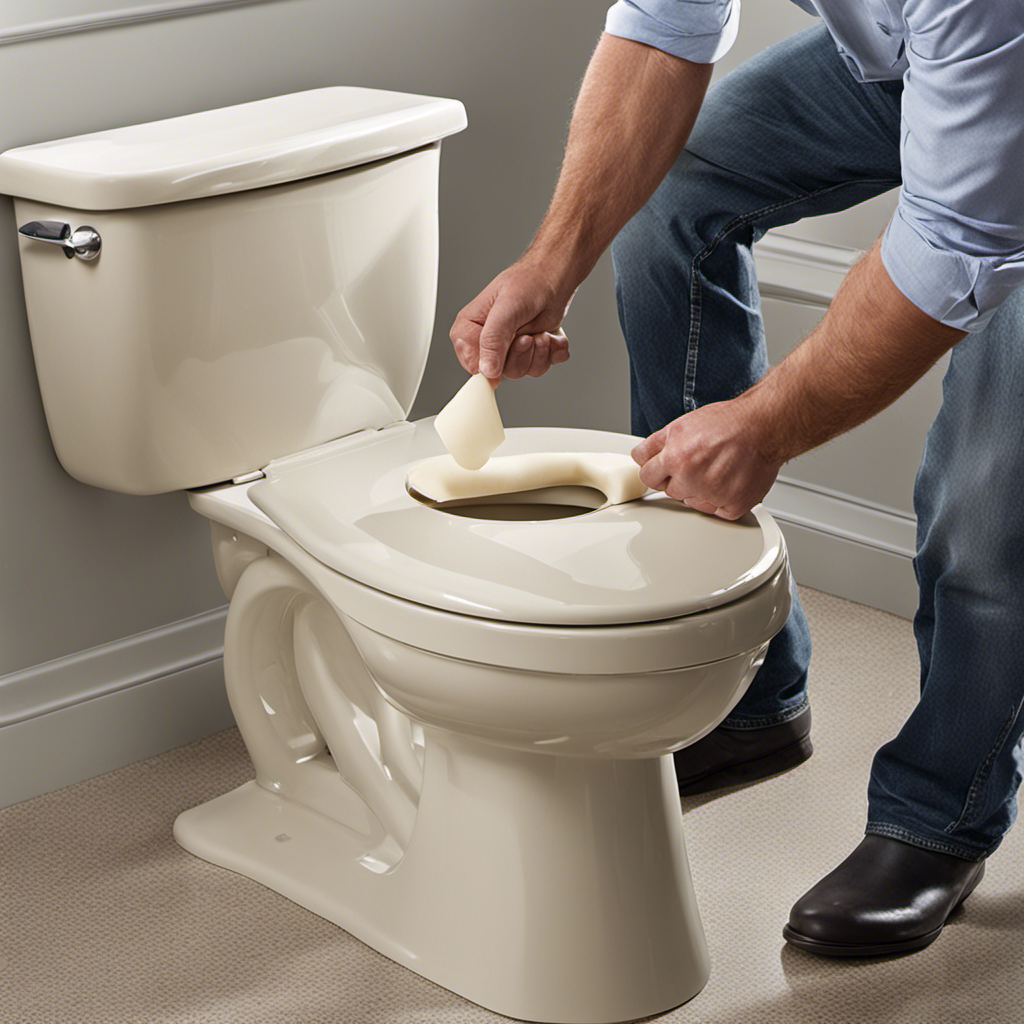
Installing the New Wax Ring
Once the flange is clean, you’ll simply need to position the new wax ring in place before placing the toilet back on top. Installing the new wax ring is a crucial step in ensuring a proper seal and preventing leaks in your toilet. Here are some tips to help you with this process:
- Make sure the wax ring is centered on the flange to create an even seal.
- Gently press down on the toilet bowl to compress the wax ring and create a tight seal.
- Check for any gaps or misalignment between the toilet and the floor, as this can affect the seal.
Troubleshooting common issues during wax ring installation:
- If the toilet wobbles after installation, it may indicate an uneven wax ring or an issue with the flange.
- If there is a sewer gas odor coming from the toilet, it could be a sign that the wax ring is not properly sealed.
With these tips in mind, you can confidently install the new wax ring and ensure a proper seal for your toilet. Now, let’s move on to reattaching the toilet and testing for leaks.
Reattaching the Toilet and Testing for Leaks
Make sure you have properly aligned the toilet bowl with the flange before tightening the bolts to prevent any leaks.
Once you have reattached the toilet to the flange, it is important to test for any potential leaks. Troubleshooting common toilet leaks can save you time and money in the long run.
After reattaching the toilet, turn the water supply valve back on and let the tank fill up. Then, carefully inspect around the base of the toilet for any signs of water leakage.
If you notice any leaks, tighten the bolts further or replace the wax ring if necessary.
If you want to avoid using a traditional wax ring, there are alternative options available that offer benefits such as easy installation and a better seal.
Frequently Asked Questions
How Do I Know if the Wax Ring on My Toilet Needs to Be Replaced?
If my toilet is leaking or emitting foul odors, it could be a sign that the wax ring needs replacing. To prevent leaks, regular inspection and maintenance are crucial. Avoid common mistakes like improper installation or using the wrong size wax ring.
Can I Reuse the Old Wax Ring?
No, it is not recommended to reuse the old wax ring when replacing a toilet. It is best to use a new wax ring for a proper seal and to prevent any potential leaks. There are alternative options available, such as wax-free rings or rubber gaskets.
What Should I Do if I Encounter Rust or Debris on the Flange?
If I encounter rust or debris on the flange, I would start by removing the rust using a rust remover product or a wire brush. Then, I would clean the area thoroughly to ensure a proper seal when replacing the wax ring.
How Tight Should I Tighten the Bolts When Reattaching the Toilet?
When reattaching the toilet, it’s important to properly align the bowl. Use a wrench to tighten the bolts, but be careful not to overtighten and crack the porcelain. A snug fit is sufficient.
Are There Any Alternative Methods to Using a Wax Ring for Toilet Installation?
There are a few alternative methods to using a wax ring for toilet installation. One option is using a rubber gasket, which provides a reliable seal. Another option is using a wax-free seal, which is easier to install.
Conclusion
In conclusion, replacing a toilet wax ring may seem like a daunting task, but it can be done easily with the right tools and knowledge.
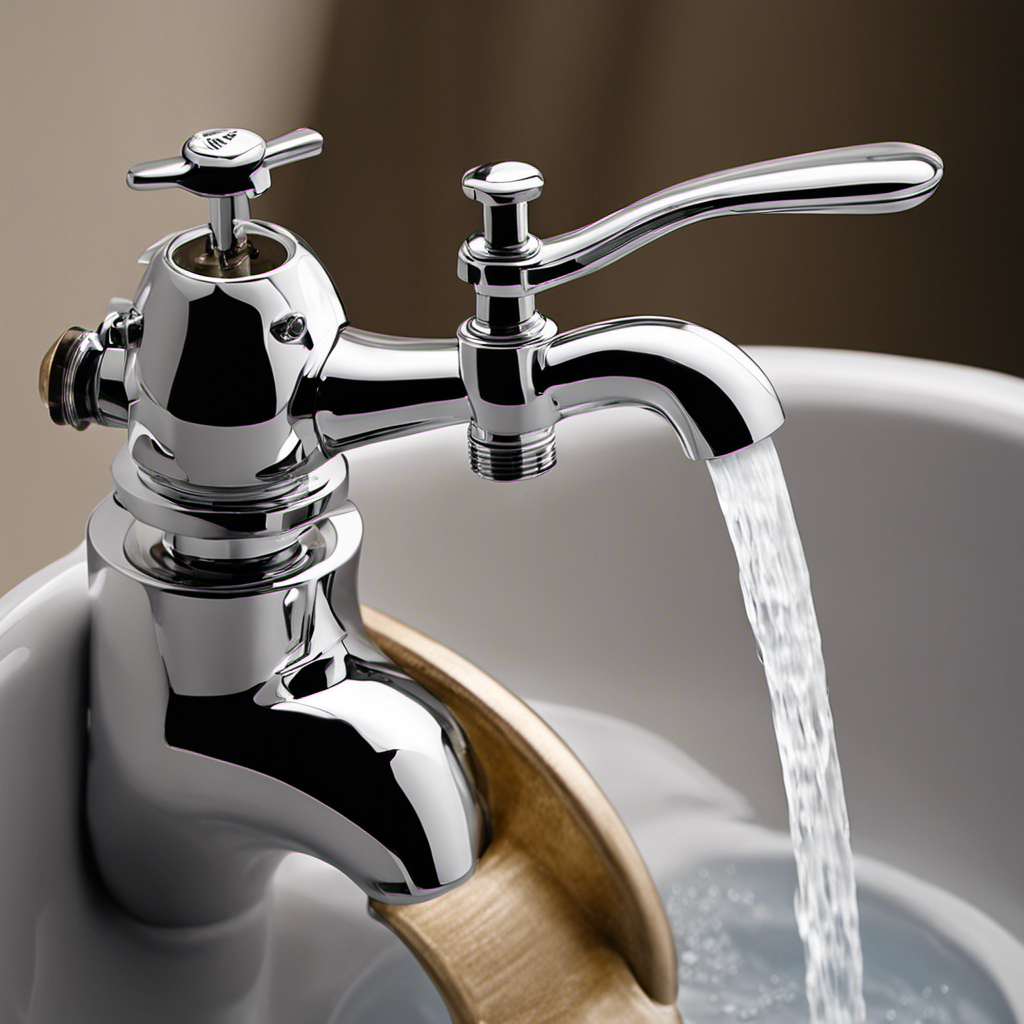
As I learned from my own experience, a faulty wax ring can lead to unpleasant leaks and odors. It is similar to a leaky faucet that can disrupt the tranquility of a peaceful night.
By following the steps outlined in this article, you can prevent such issues and ensure a properly functioning toilet.
So, grab your tools and get ready to tackle this DIY project with confidence!