
So, you’ve noticed a mysterious puddle of water on your bathroom floor every time you flush the toilet. Trust me, I’ve been there.
But fear not! In this step-by-step guide, I’ll show you how to replace the wax ring on your toilet, banishing those leaks for good.
With just a few tools and some elbow grease, you’ll have your toilet back in working order in no time.
Let’s dive in and get your bathroom back to its dry, leak-free state!
Key Takeaways
- Choose the right wax ring for your toilet’s size and shape
- Ensure the toilet flange is clean and smooth before proceeding
- Press down on the toilet bowl to create a good seal with the new wax ring
- Test for leaks by inspecting the base of the toilet and the connections between the tank and bowl

GIOTOHUN Cat Water Fountain Filter: 12 Cat Fountain Filter Replacement - 12 Pet Fountains Filters Replacement - 6 Filters & 6 Sponges - Suitable for ATMZIQXR GIOTOHUN KOOGMOON UMOCUOY IHOUONE HOOISE
- Compatible with GIOTOHUN Stainless Steel Fountain: Fits GIOTOHUN 2.2L cat water dispenser
- Set of 12 Filters: Includes 6 carbon and 6 sponge filters
- Long-lasting Filters: Suitable for 3-6 months of use
As an affiliate, we earn on qualifying purchases.
Gathering the Necessary Tools and Materials
Before you begin the replacement process, make sure you’ve gathered all the necessary tools and materials.
Choosing the right wax ring is crucial for a successful replacement. Look for a wax ring that is appropriate for your toilet’s size and shape.
Next, prepare the toilet for replacement by shutting off the water supply and draining the tank and bowl. Use a wrench to disconnect the water supply line and remove any remaining water from the tank and bowl.
It’s important to also remove any excess wax from the old wax ring and clean the toilet flange thoroughly.
Once you have completed these steps, you are ready to move on to the next section and learn how to remove the toilet from the floor.
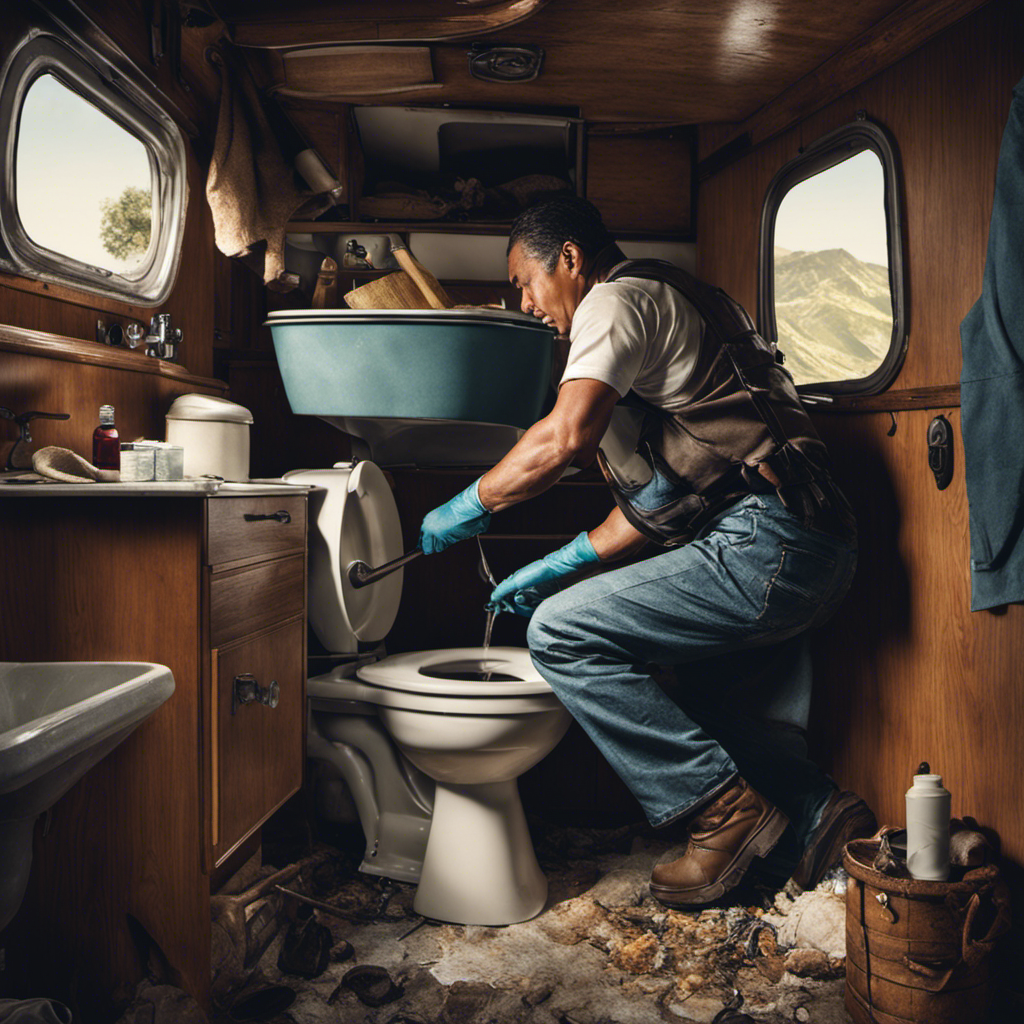
Removing the Toilet From the Floor
To start, you’ll need to disconnect the water supply and unscrew the bolts securing the toilet to the floor.
First, locate the shut-off valve behind the toilet and turn it clockwise to stop the flow of water. Then, flush the toilet to remove any remaining water in the tank and bowl.
Next, use a wrench to loosen and remove the nuts on the bolts securing the toilet to the floor. Once the bolts are removed, carefully lift the toilet straight up and off the floor, taking care not to spill any water or damage the surrounding area.
With the toilet removed, you can now move on to removing the old wax ring and cleaning the flange, which will be discussed in the next section.
Removing the Old Wax Ring and Cleaning the Flange
Once you’ve lifted the toilet off the floor, you’ll need to carefully remove the old wax ring and clean the flange. This step is crucial in ensuring a proper seal and preventing future leaks.
Start by using a putty knife or scraper to scrape off any excess wax residue from the flange and the bottom of the toilet. Be careful not to scratch or damage the surfaces.
Next, use a rag or paper towel to wipe away any remaining wax and debris. Make sure the flange is clean and smooth before proceeding.
Inspect the flange for any cracks or damage, and if necessary, repair or replace it.
With the old wax ring and residue removed and the flange cleaned, you are now ready to move on to the next step of installing the new wax ring and reattaching the toilet.
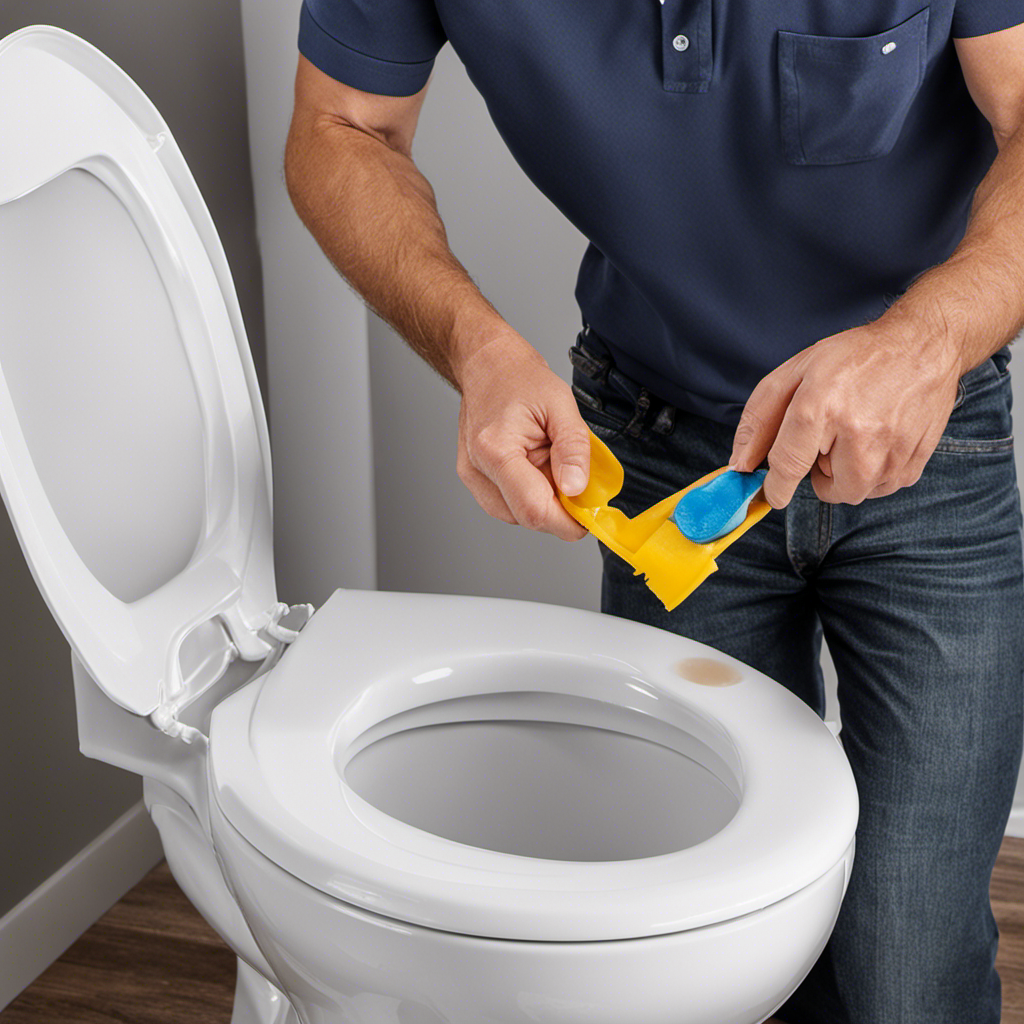
Installing the New Wax Ring and Reattaching the Toilet
Now that you have cleaned the flange and inspected for any damage, it’s time to securely attach the new wax ring and reposition the toilet back in place.
First, make sure the toilet flange is clean and free from any debris. Then, place the new wax ring on the flange, making sure it is centered properly. Gently press down on the toilet bowl to create a good seal.
Next, carefully lower the toilet bowl onto the wax ring, aligning the mounting bolts with the holes in the base. Once the toilet is in position, tighten the nuts onto the mounting bolts to secure it in place.
Finally, check for any leaks by flushing the toilet and inspecting the area around the base. Troubleshooting common issues during toilet installation can include adjusting the wax ring if it is not sealing properly or tightening the mounting bolts if the toilet feels wobbly.
To maintain a long-lasting wax ring seal, avoid using chemical cleaners that can deteriorate the wax. Regularly inspect the toilet for any leaks or signs of damage, and promptly address any issues to prevent further damage.
Testing for Leaks and Ensuring Proper Seal
After securely attaching the new wax ring and repositioning the toilet back in place, it’s important to test for leaks and ensure a proper seal. This step is crucial in preventing any potential water damage and troubleshooting common toilet leaks.
To do this, follow these simple steps:
-
Turn on the water supply: Slowly turn the water supply valve counterclockwise to allow water to flow into the toilet tank.
-
Check the base: Carefully inspect the base of the toilet for any signs of water leakage. Look for puddles or dampness around the toilet base.
-
Inspect the connections: Examine the connections between the tank and the bowl. Check for any water dripping or pooling around the bolts and washers.
Frequently Asked Questions
How Do I Know if the Wax Ring on My Toilet Needs to Be Replaced?
If your toilet is leaking or you notice water pooling around the base, these are signs of a faulty wax ring. To replace it, first, shut off the water supply, remove the toilet, clean the area, and then install a new wax ring.
Can I Use a Different Type of Sealant Instead of a Wax Ring?
Using a different sealant instead of a wax ring on a toilet is possible, but not recommended. The pros and cons of alternative sealants must be carefully considered to ensure proper sealing and prevent future leaks.
Are There Any Special Tools Required for Removing the Toilet From the Floor?
When removing a toilet from the floor, specialty tools may be required. These tools can include a wrench, pliers, and a scraper. It’s important to have the right tools to ensure a smooth removal process.
How Often Should I Replace the Wax Ring on My Toilet?
I should check the toilet wax ring for leaks regularly. It is recommended to replace the wax ring every few years or if leaks occur. To install a new wax ring, follow these steps: [provide detailed step-by-step instructions].
Can I Reuse the Old Wax Ring if It Still Appears to Be in Good Condition?
I wouldn’t recommend reusing the old wax ring, even if it looks fine. It’s best to replace it to ensure a proper seal. Alternatively, you can consider using alternative sealant options like rubber gaskets or wax-free rings.
Conclusion
In conclusion, replacing the wax ring on your toilet is a relatively simple task that can be done with just a few tools and materials. By following the step-by-step instructions provided, you can easily remove the toilet from the floor, clean the flange, and install a new wax ring.
Remember to test for leaks and ensure a proper seal before completing the process. So don’t wait any longer, grab your wrench and get ready to give your toilet a much-needed makeover!
Just remember, time is of the essence, so don’t dilly-dally or you’ll end up in a sticky situation!