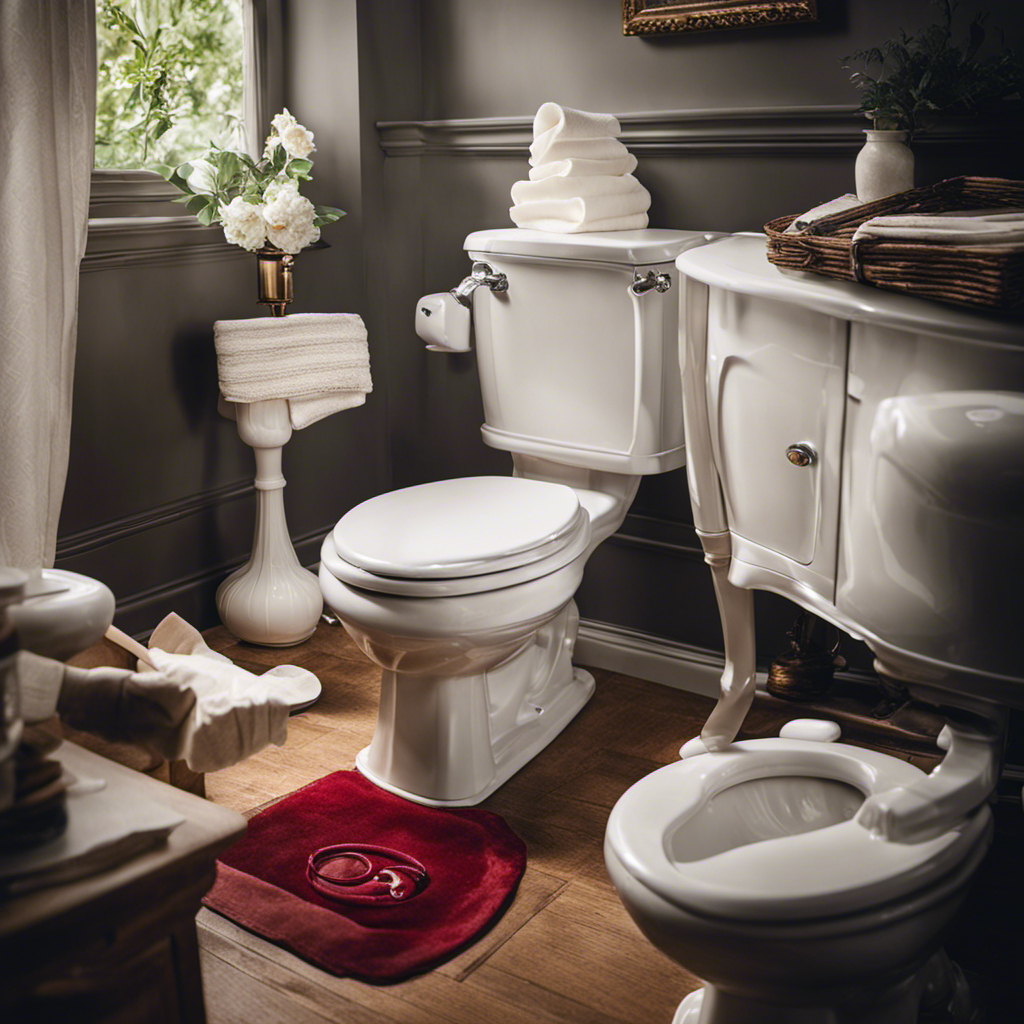
Hey there!
Did you know that a faulty wax seal on your toilet can lead to leaks and unpleasant odors? Well, fear not, because I’m here to guide you through the process of replacing that pesky wax seal.
In this article, I’ll provide you with step-by-step instructions on how to gather the necessary tools, remove the old seal, and install a brand new one. By the end, you’ll have a toilet that’s sealed tight, preventing any potential bathroom mishaps.
Let’s get started, shall we?
Key Takeaways
- The purpose of a wax seal on a toilet is to create a watertight seal between the toilet base and sewer pipe.
- Common problems with wax seals include leaks, unpleasant odors, and damage to the floor or ceiling.
- Alternative materials such as rubber or foam seals offer durability and flexibility, minimizing the risk of leaks and eliminating the need for messy wax.
- It is important to make an informed decision when replacing a toilet seal and to gather the necessary tools and materials, such as a high-quality wax seal, plunger, putty knife, and rubber gloves.
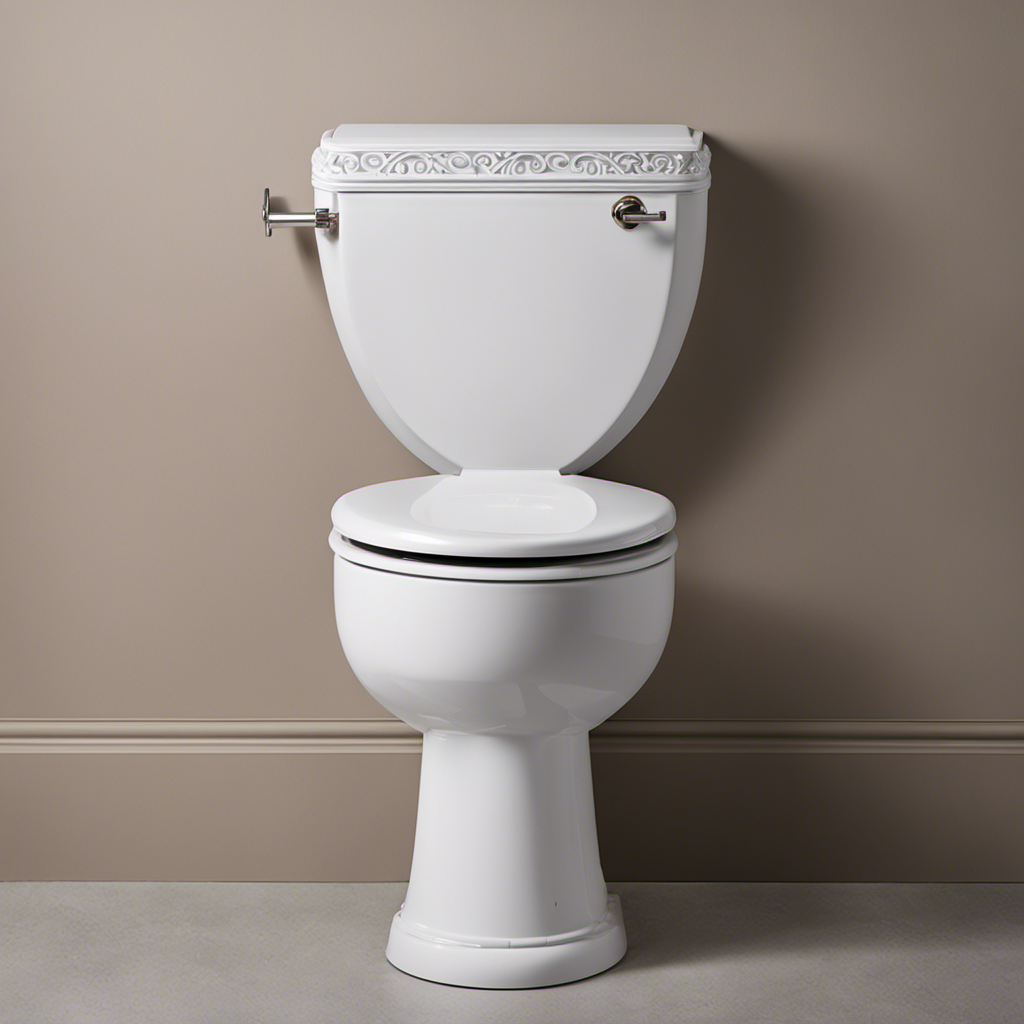
Understanding the Wax Seal on Your Toilet
To understand the wax seal on your toilet, you’ll need to know its purpose and how it functions.
The wax seal is a crucial component that creates a watertight seal between the base of the toilet and the sewer pipe.
Common problems with wax seals on toilets include leaks, unpleasant odors, and damage to the floor or ceiling below.
Luckily, there are alternative toilet seal materials available that offer benefits over traditional wax seals.
These materials, such as rubber or foam, provide a more durable and flexible seal, minimizing the risk of leaks and eliminating the need for messy wax.
Understanding the drawbacks of wax seals and the advantages of alternative materials will help you make an informed decision when replacing your toilet seal.
Now, let’s move on to gathering the necessary tools and materials.
Gathering the Necessary Tools and Materials
Gather all the tools and materials you’ll need for the job. Start by collecting the following items:
-
Wax seal: Ensure you have a high-quality wax seal that is specifically designed for toilets. Avoid using cheap or low-quality seals as they may not provide a proper seal and can lead to leaks.
-
Plunger: Having a plunger on hand is essential in case you encounter any clogs or blockages during the replacement process.
-
Putty knife: This tool will come in handy for removing the old wax seal and any residue left behind.
-
Rubber gloves: It’s crucial to protect your hands from any potential mess or germs while working on your toilet.
When replacing a wax seal, there are a few common mistakes to avoid:
-
Not properly cleaning the toilet flange before installing the new seal. Make sure to remove any old wax or debris to ensure a secure fit.
-
Over-tightening the toilet bolts. It’s important to tighten them just enough to create a snug fit without causing damage to the toilet.
To maintain a wax seal on your toilet, consider these tips:
-
Regularly clean the toilet and the wax seal area to prevent the build-up of dirt, grime, and bacteria.
-
Avoid using harsh chemicals or abrasive cleaners that can deteriorate the wax seal.
Removing the Toilet and Old Wax Seal
Make sure you have all the necessary tools and materials ready before proceeding with the removal of the toilet and the old wax seal. This step is crucial to ensure a smooth and efficient process. Now, let’s dive into the actual removal process.
First, shut off the water supply to the toilet by turning the valve clockwise. Flush the toilet to empty the tank and bowl. Use a wrench to disconnect the water supply line from the bottom of the tank. Next, remove the bolts securing the toilet to the floor using a wrench or socket set. Gently rock the toilet back and forth to break the seal with the wax ring. Lift the toilet straight up and place it on a towel or old blanket to prevent any damage to the flooring.
Now, let’s take a look at a table that outlines some common troubleshooting issues with wax seals and their alternative solutions:
| Wax Seal Issue | Alternative Solution |
|---|---|
| Wax seal is cracked | Replace the wax seal with a new one |
| Toilet wobbles after installation | Use a toilet shim to stabilize the toilet |
| Wax seal is not creating a proper seal | Use a waxless toilet ring as an alternative |
Installing the New Wax Seal and Reattaching the Toilet
Once you have the new wax ring ready, carefully position it on the flange at the base of the toilet. Make sure it is centered and sits flush with the flange. Gently press down on the toilet bowl to create a tight seal.
Now, it’s time to reattach the toilet. Line up the bolt holes on the base of the toilet with the bolts on the floor flange. Carefully lower the toilet onto the wax ring, making sure the bolts go through the holes. Once the toilet is in place, tighten the nuts onto the bolts to secure it.
Here are some troubleshooting tips for common issues with toilet wax seals:
- If you notice a leak after replacing the wax seal, check if the toilet is properly aligned and level. Adjust as needed.
- If the toilet wobbles, the wax seal may not be seated correctly. Remove the toilet and inspect the wax ring for any damage or misalignment.
To prevent future leaks and damage after replacing a wax seal, consider the following tips:
- Regularly inspect the toilet for any signs of leaks or water damage.
- Avoid using excessive force when tightening the toilet bolts, as this can damage the wax seal.
- Be cautious when cleaning around the toilet to prevent accidentally loosening the bolts or damaging the wax seal.
Testing and Ensuring a Proper Seal
To test for a proper seal, carefully pour water around the base of the toilet and check for any signs of leakage. Troubleshooting common issues with wax seals is an essential part of toilet maintenance. Regular maintenance for toilet wax seals is crucial to prevent potential leaks and water damage. Neglecting to address these issues can lead to costly repairs down the line. Here is a table highlighting some common problems and their solutions:
| Issue | Possible Cause | Solution |
|---|---|---|
| Leaking wax seal | Improper installation | Reinstall the wax seal correctly |
| Loose toilet | Loose mounting bolts | Tighten the mounting bolts |
| Foul odors | Damaged wax seal | Replace the wax seal |
Frequently Asked Questions
Can I Use Something Other Than a Wax Seal to Replace the Seal on My Toilet?
Yes, you can use alternative toilet seal options instead of a wax seal to replace the seal on your toilet. However, it’s important to consider the pros and cons of using a non wax seal.
How Often Should I Replace the Wax Seal on My Toilet?
Replacing the wax seal on a toilet is important to prevent leaks and water damage. It’s typically recommended to replace it every few years or if there are signs of a worn out seal, like water around the base.
Is It Necessary to Remove the Toilet Completely in Order to Replace the Wax Seal?
No, it’s not necessary to remove the toilet completely to replace the wax seal. There are alternative sealants available that can be used during toilet installation to avoid the hassle of removing the entire toilet.
Can I Reuse the Old Wax Seal When Replacing It?
No, it’s not recommended to reuse the old wax seal when replacing it. It’s best to use a new seal for a secure and leak-proof installation. There are alternative seal materials available for different preferences and needs.
What Should I Do if the Toilet Still Leaks After Replacing the Wax Seal?
If the toilet still leaks after replacing the wax seal, I would suggest troubleshooting the leaks. Check for any cracks or damage in the toilet bowl or tank, tighten any loose bolts, and ensure a proper seal between the toilet and the floor.
Conclusion
In conclusion, replacing the wax seal on your toilet is a task that requires careful attention and precision. By understanding the importance of the wax seal and following the steps outlined in this article, you can ensure a proper seal and prevent any potential leaks or damage.
Remember, a well-maintained toilet is essential for a clean and functional bathroom. So, don’t hesitate to tackle this DIY project and enjoy a leak-free toilet for years to come. Your bathroom will thank you!

Liam’s journey with us started as a consumer. Having faced challenges while setting up his own modern bathroom, he delved deep into research.
Recognizing his knack for simplifying complex information and his authentic writing style, we were thrilled to welcome him aboard. Liam’s articles often merge practicality with style, ensuring readers find the perfect fit for their homes. Liam is an avid hiker off-duty and often jokes about finding the best “natural toilets” Mother Earth has to offer.


