
Did you know that a staggering 90% of toilet issues can be resolved by simply resetting the toilet? That’s right, with just a few simple steps, you can fix a wobbly or leaking toilet and avoid the hassle and expense of calling a plumber.
In this article, I will guide you through the process of resetting a toilet, using my expertise and experience to ensure a successful outcome. So let’s roll up our sleeves and get started!
Key Takeaways
- Weak flush or incomplete flush can be caused by a faulty flapper valve or a problem with water level in the tank.
- Clogged drains can be resolved by removing the toilet tank and resetting the wax ring.
- Continuously running toilets may have a loose or damaged fill valve that needs to be checked and repaired.
- It is important to observe for leaks during the reassembling and testing process to ensure the toilet is functioning properly.

Cordless Angle Grinder Compatible for Dewalt 20V Max Battery, 3 Variable Speed, Brushless Motor with LED, Power Angle Grinder Tool Stand, Flap Disc Grinding,1x 4.0Ah Battery& Fast Charger, Orange
Engineered for Compatibility with Dewalt 20V Batteries: Our cordless angle grinder is specially designed to be used WITH...
As an affiliate, we earn on qualifying purchases.
Assessing the Problem
Before you start trying to reset the toilet, it’s important to assess the problem and determine what’s causing the issue. Identifying common toilet problems is the first step in troubleshooting toilet flushing issues.
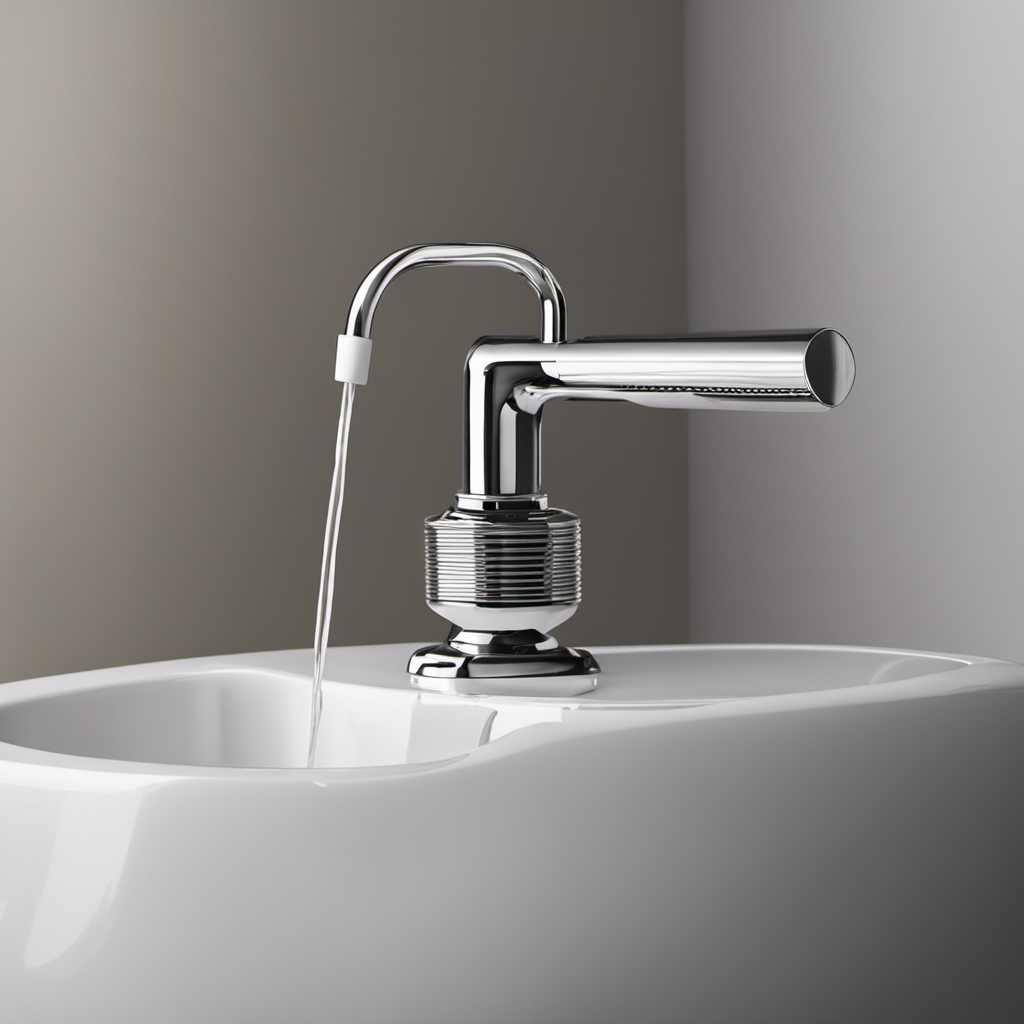
One common issue is a weak flush or incomplete flush. This could be caused by a clogged drain, a faulty flapper valve, or a problem with the water level in the tank.
Another common problem is a continuously running toilet. This could be due to a faulty flapper valve, a loose or damaged fill valve, or a leak in the tank or bowl.
Cordless Angle Grinder 4-1/2 inch, 10000 RPM Brushless Angle Grinder Tool, 3 Speed Adjustment, Power Angle Grinders with 2*4.0Ah Batteries & Charger, Electric Metal Grinder Kit for Cutting, Grinding
[ Brushless Motor & 4.0Ah Batteries ] -- Cordless angle grinder is equipped with a powerful brushless motor...
As an affiliate, we earn on qualifying purchases.
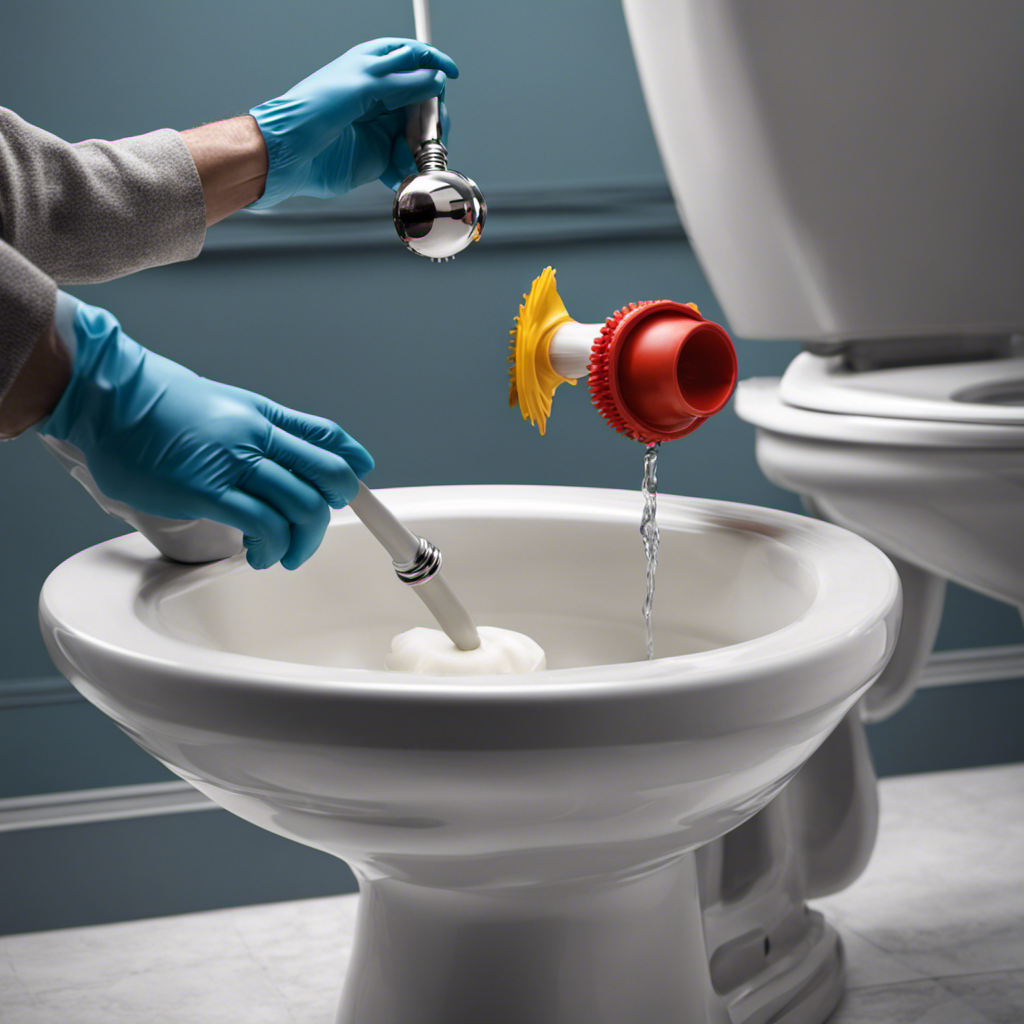
Gathering the Necessary Tools
To get started, you’ll need a few tools handy.
When it comes to common toilet problems, troubleshooting toilet leaks is a top priority. To successfully diagnose and fix these leaks, having the right tools is essential.
First and foremost, you’ll need a pair of adjustable pliers to tighten any loose connections. A flathead screwdriver will also come in handy for removing the toilet tank lid and accessing the internal components.
Additionally, a sponge or towel is necessary to soak up any water that may spill during the troubleshooting process. Finally, having a flashlight can help you see clearly in the dark and inspect hard-to-reach areas.

CRAFTSMAN V20 Cordless Angle Grinder, 4-1/2 inch, Bare Tool Only (CMCG451B)
Brushless motor: up to 65% more power***
As an affiliate, we earn on qualifying purchases.
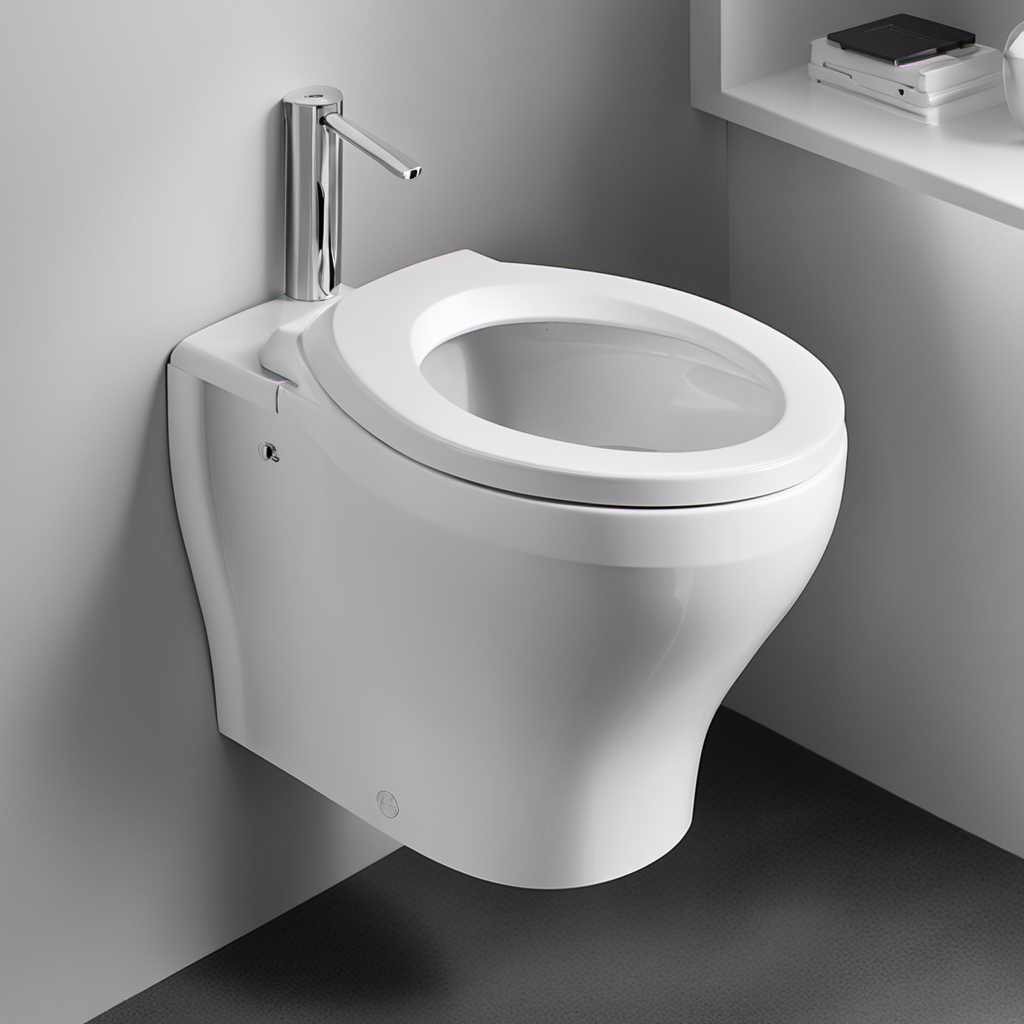
Removing the Toilet Tank
Once you’ve gathered the necessary tools, you’ll need to remove the toilet tank. This is a crucial step in toilet tank maintenance and troubleshooting toilet leaks. Here’s a step-by-step guide to help you through the process:
-
Turn off the water supply: Locate the shut-off valve behind the toilet and turn it clockwise to stop the water flow. This prevents any potential spills or leaks during the removal process.
-
Empty the tank: Flush the toilet to drain as much water as possible from the tank. Use a sponge or towel to soak up any remaining water.
-
Disconnect the water supply line: Unscrew the nuts connecting the water supply line to the bottom of the tank. Use pliers if necessary to loosen the tight connections.
-
Remove the tank bolts: Locate and unscrew the bolts securing the tank to the bowl. Carefully lift the tank off the bowl, making sure not to damage any components.

DEWALT 20V MAX* Angle Grinder Tool Cordless Brushless, 4 1/2 Inch, with Paddle Switch and Kickback Brake, Tool Only (DCG413B)
Brushless motor of the angle grinder requires no brush changes.
As an affiliate, we earn on qualifying purchases.
Resetting the Wax Ring
First, you’ll need to carefully lift the tank off the bowl to access the wax ring. This step is crucial in resetting the toilet properly.
Once the tank is removed, you can now focus on replacing the flapper and checking for leaks. I recommend using a two-inch flapper for optimal performance. To replace the flapper, simply disconnect it from the chain and attach the new one in its place. Make sure it is securely attached to prevent any leaks.
After replacing the flapper, it’s important to check for leaks by turning the water supply back on and observing any water seeping from the base of the toilet. If there are no leaks, you have successfully reset the wax ring and completed the necessary steps for a functional toilet.
Reassembling and Testing the Toilet
After reassembling the toilet, it’s important to test it for any leaks by turning on the water supply and observing for any water seepage. Here are the steps to properly test the water flow and check for leaks:
-
Turn on the water supply valve: Ensure the valve is fully open to allow water to flow into the tank.
-
Check the fill valve: Listen for any unusual sounds or vibrations coming from the fill valve, which could indicate a problem.
-
Inspect the connections: Look closely at the connections between the tank and the bowl, as well as the water supply line, for any signs of water dripping or leaking.
-
Flush the toilet: Test the toilet by flushing it multiple times to see if there are any leaks during the flushing and refilling process.
Conclusion
In conclusion, resetting a toilet may seem like a daunting task, but fear not, for I have provided you with the knowledge and tools necessary to conquer this mighty challenge.
With precision and technical prowess, you can confidently assess the problem, gather the required tools, remove the toilet tank, reset the wax ring, and reassemble and test the toilet.
It may sound like rocket science, but trust me, it’s easier than launching a spacecraft!
So roll up your sleeves and embark on this epic toilet-resetting adventure!