Hey there, folks! So, you’ve got a little situation going on with your toilet, huh? Don’t you worry, I’ve got just the solution for you.
In this article, I’m going to show you step by step how to secure your toilet to the floor like a pro. We’ll cover all the tools and materials you’ll need, as well as the nitty-gritty details of preparing the toilet and floor, installing the toilet flange, and making sure you have a rock-solid and leak-free connection.
Let’s get started, shall we?
Key Takeaways
- Use proper tools and materials such as a wrench, screwdriver, and toilet anchor kit to secure the toilet to the floor.
- Ensure proper alignment and leveling of the toilet flange with the waste pipe and floor surface.
- Use screws or bolts to secure the flange in place and create a stable connection.
- Apply sealant around the base of the toilet for a watertight seal and wipe away excess for a neat finish.
toilet anchor kit
As an affiliate, we earn on qualifying purchases.
As an affiliate, we earn on qualifying purchases.
Tools and Materials Needed
You’ll need a wrench, screwdriver, and a toilet anchor kit to secure the toilet to the floor.
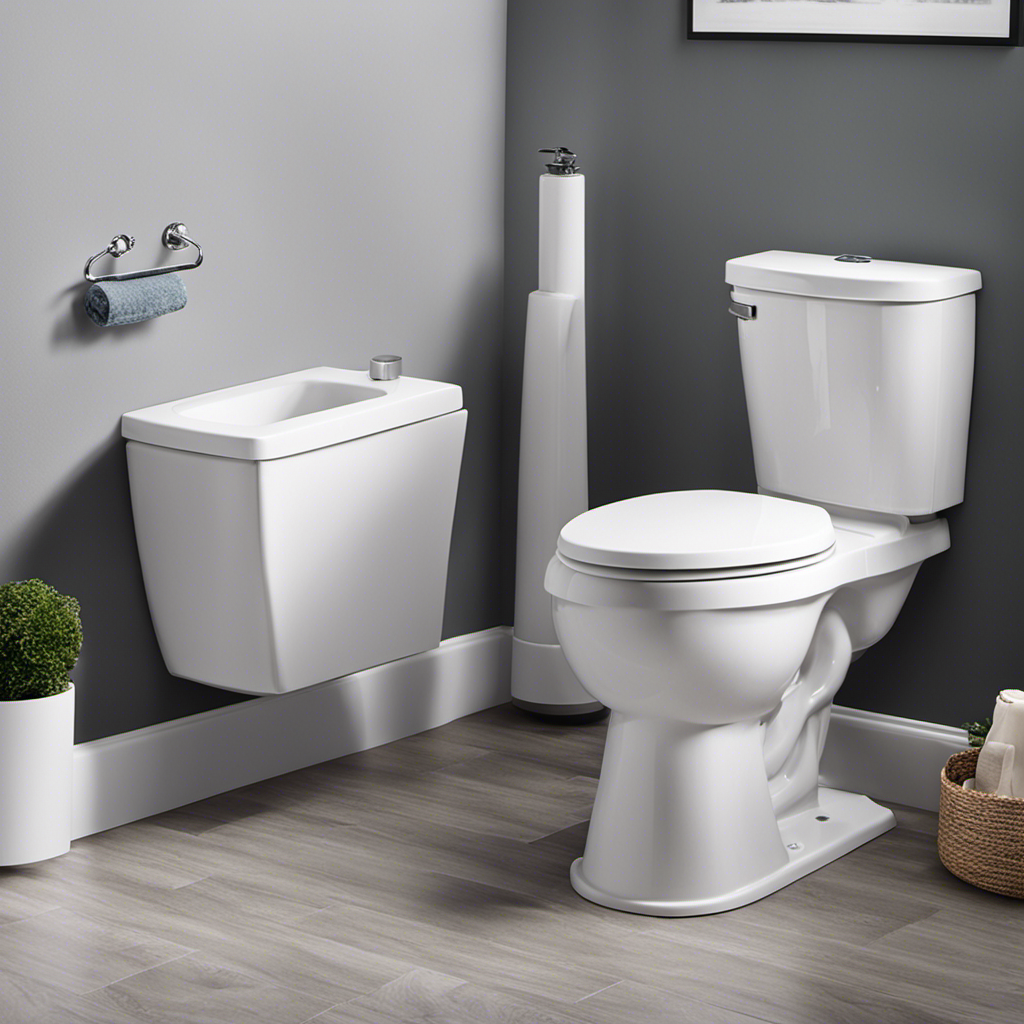
Before we dive into the floor mounting process, it’s important to understand the importance of a properly installed toilet flange. The toilet flange serves as a connection point between the toilet and the waste pipe.
To begin the installation, ensure that the flange is securely attached to the floor, aligning it with the waste pipe. Use screws or bolts to fasten the flange in place, making sure it is level and flush with the floor surface.
Once the flange is installed, you can move on to the floor mounting process, which involves securing the toilet to the flange using the provided anchor kit. This will ensure a stable and leak-free connection between the toilet and the floor.
Now that we have the tools and materials ready, let’s move on to preparing the toilet and floor.

One N Done Toilet Flange Repair Kit – Toilet Kit For Low or Broken Flange. Toilet Wax Ring Replacement Kit W/Toilet Flange Extender Kit, Easy Toilet Bolts, & Toilet Caps For Bottom of Toilet. (1 Ea.)
Save Time & Money | No wax ring for toilet required. The One N Done toilet flange repair…
As an affiliate, we earn on qualifying purchases.
As an affiliate, we earn on qualifying purchases.
Preparing the Toilet and Floor
First, make sure the area where you want to install it is clean and free from any debris.
To secure the toilet to the floor properly, you need to measure for proper alignment. Start by placing the toilet bowl in position and ensuring that it is centered over the flange. Use a measuring tape to check the distance from the back wall to the center of the flange. This measurement will help you position the toilet accurately.
Next, apply sealant for added protection. Apply a thin bead of silicone or plumber’s putty around the base of the toilet where it meets the floor. This will create a watertight seal and prevent any leaks. Make sure to wipe away any excess sealant for a neat finish.
toilet sealant and wax ring
As an affiliate, we earn on qualifying purchases.
As an affiliate, we earn on qualifying purchases.
Installing the Toilet Flange
To properly install the toilet flange, make sure it is aligned correctly with the drainpipe. This is crucial for a secure and leak-free installation. Here are some steps you can follow to ensure a successful toilet flange replacement:
-
Inspect the existing flange:
-
Check for any damage or corrosion that may require replacement.
-
Ensure the flange is level with the floor surface.
-
Remove the old flange:
-
Use a wrench or screwdriver to remove the bolts securing the old flange.
-
Clean the area around the drainpipe to remove any debris or old wax.
-
Install the new flange:
-
Place the new flange over the drainpipe, ensuring it sits flush with the floor.
-
Secure the flange using screws or bolts.
Troubleshooting common installation issues:
- If the flange is not level, use shims to adjust its position.
- Apply plumber’s putty or silicone sealant around the base of the flange for added stability and to prevent leaks.
toilet mounting bolts and screws
As an affiliate, we earn on qualifying purchases.
As an affiliate, we earn on qualifying purchases.
Attaching the Toilet to the Flange
Once the flange is properly aligned with the drainpipe, I attach the toilet using the provided bolts.
This step is crucial for securing the toilet to the floor and ensuring a leak-free installation.
To begin, I position the toilet over the flange and lower it carefully, making sure the bolts pass through the mounting holes on the base of the toilet.
Once aligned, I tighten the nuts onto the bolts using a wrench, ensuring a snug fit.
It’s important not to overtighten, as this can crack the toilet base.
After securing the bolts, I carefully rock the toilet back and forth to ensure it is stable.
If any leaks or wobbling occur, I troubleshoot by checking the flange for any damage or misalignment, and adjusting as necessary.
Ensuring a Secure and Leak-Free Connection
After aligning the flange with the drainpipe, I carefully attach the toilet using the provided bolts. Ensuring a secure and leak-free connection is crucial for the proper functioning of a toilet. To achieve this, I make sure to use a toilet wax seal and a toilet anchor kit.
Here are the steps I follow:
-
Installing the toilet wax seal:
- Place the wax seal on the flange, ensuring it is centered.
- Gently press the toilet down onto the wax seal, creating a tight seal.
-
Securing the toilet with a toilet anchor kit:
- Position the toilet anchor kit in the designated holes on the base of the toilet.
- Insert the anchor bolts through the anchor plates and into the holes.
- Tighten the nuts on the anchor bolts using a wrench, ensuring the toilet is firmly anchored to the floor.
Frequently Asked Questions
How Long Does It Typically Take to Secure a Toilet to the Floor?
Typically, it takes about 30 minutes to secure a toilet to the floor. Some tips for proper installation include ensuring a level base, using a wax ring for a watertight seal, and tightening the bolts securely.
Can I Use Any Type of Toilet Flange for Securing My Toilet?
Yes, you can use different types of toilet flanges to secure your toilet. Some options include PVC flanges, brass flanges, and cast iron flanges. These alternatives to wax rings provide a secure and reliable connection between the toilet and the floor.
Are There Any Specific Safety Precautions I Should Take During the Installation Process?
When installing a toilet, it is important to take safety precautions. Use appropriate tools, such as a wrench, to secure the toilet to the floor. Follow safety guidelines to ensure a secure and stable installation.
Can I Install a Toilet Without Using a Wax Ring?
Yes, you can install a toilet without using a wax ring, but it is not recommended. Wax rings provide a secure and watertight seal, ensuring proper floor attachment. It is best to follow the recommended installation practices for a secure toilet floor attachment.
What Should I Do if There Is a Leak After I Have Secured the Toilet to the Floor?
If there is a leak after securing the toilet to the floor, first, I would turn off the water supply. Then, I would inspect the wax ring, bolts, and water connections for any loose or damaged parts.
Conclusion
So there you have it, folks! With the right tools and materials, some careful preparation, and a little bit of know-how, you can secure your toilet to the floor like a pro.
By following the steps outlined in this article, you can ensure a secure and leak-free connection that will stand the test of time.
So don’t let a wobbly toilet or potential plumbing disaster ruin your day. Take charge, grab your tools, and get to work.
Your bathroom will thank you for it!