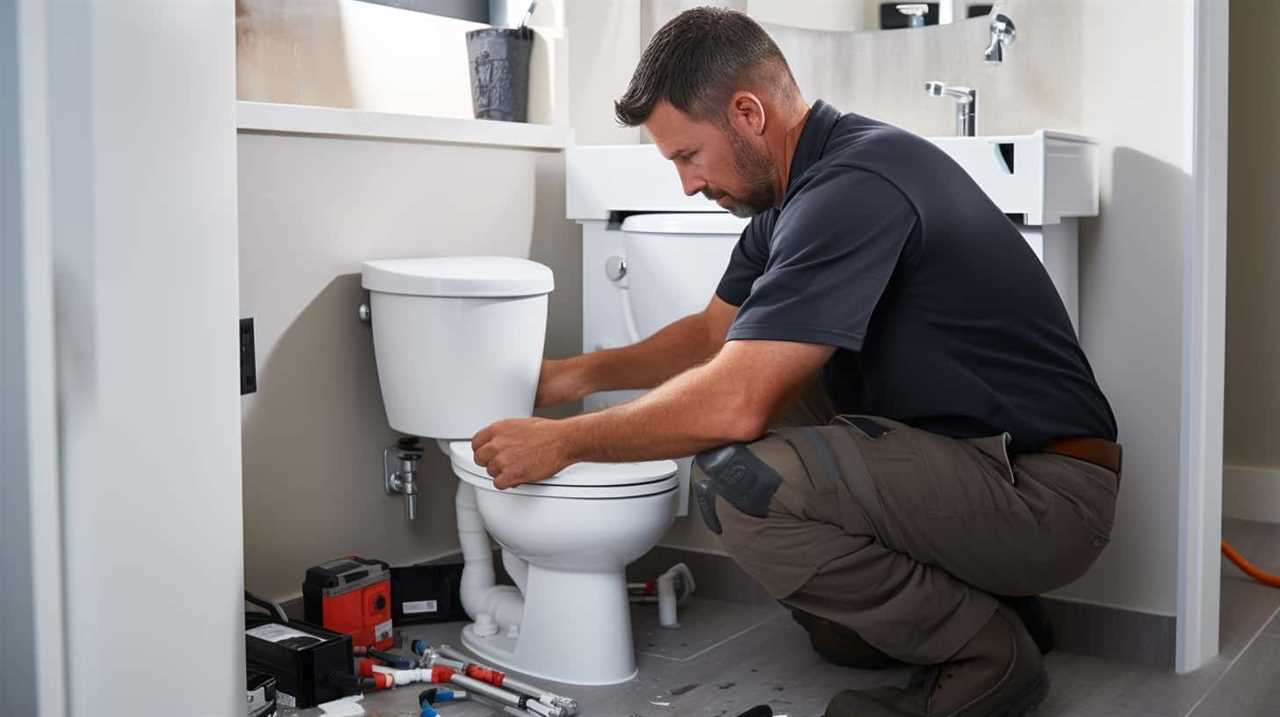

Setting a toilet may seem like a daunting task, but fear not! I’m here to guide you through the process step by step.
From preparing the bathroom floor to securing the toilet tank, I’ll show you the exact techniques and materials you’ll need.
Trust me, once you’ve successfully set your own toilet, you’ll feel like a true DIY champion.
So, grab your tools and let’s get started on this satisfying and essential home improvement project.
Key Takeaways
- Proper floor leveling and stability are crucial when preparing the bathroom floor for toilet installation.
- The toilet flange should be positioned correctly and securely attached to the floor.
- The wax ring should be centered on the flange to create a watertight seal.
- The toilet bowl and tank should be carefully attached, and the installation should be tested for proper functioning.

Brondell Bidet Toilet Seat Non-Electric Swash Ecoseat, Fits Elongated Toilets, White - Dual Nozzle System, Ambient Water Temperature - Bidet with Easy Installation
CLEAN AND REFRESHING: With Brondell’s Ecoseat 101 Bidet, you’ll experience a soothing, freshwater wash that leaves you feeling...
As an affiliate, we earn on qualifying purchases.
Required Tools and Materials
You’ll need a few tools and materials to set up the toilet properly. Here are the necessary items for a successful toilet installation.
- First, you’ll need a wrench to tighten the bolts that secure the toilet to the floor.
- A level will also be essential to ensure that the toilet is perfectly balanced.
- Additionally, a wax ring is necessary to create a watertight seal between the toilet and the floor drain.
- Don’t forget to have some silicone caulk to seal the base of the toilet to the floor.
- Lastly, you will need a bucket and some towels to catch any water that may spill during the installation process.
These tools and materials will help you complete the toilet installation steps with ease and efficiency. Now that you have everything ready, let’s move on to preparing the bathroom floor.

LUXE Bidet NEO 120 - Single Nozzle, Self-Cleaning, Non-Electric Bidet Attachment for Toilet Seat, Adjustable Water Pressure, Rear Wash (Blue)
THE ULTIMATE VALUE – With a sleek design and high-quality parts, Our Bidet Attachment will give your bathroom...
As an affiliate, we earn on qualifying purchases.
Preparing the Bathroom Floor
When preparing the bathroom floor for installation, it’s important to ensure proper floor leveling. This will help prevent any future issues with the toilet and ensure a stable and secure installation.
Additionally, sealing the floor for protection is crucial in maintaining the longevity and durability of the floor, protecting it from moisture and potential damage.
Proper Floor Leveling
To ensure proper floor leveling for your toilet, start by checking the floor for any noticeable dips or unevenness. Proper floor preparation is crucial to ensure a stable and secure installation of your toilet.
Before proceeding, gather the necessary tools such as a level, shims, and a hammer. Begin by placing the level across the floor surface and checking for any inconsistencies. If you notice any dips or uneven areas, you will need to use leveling techniques to correct them.
One common method is to use self-leveling compound, which can be poured onto the floor and spread evenly using a trowel. Alternatively, you can use shims to fill in gaps or raise the low spots.
Ensure that the floor is completely level before moving on to the next step of setting the toilet.
Sealing Floor for Protection
The floor should be sealed to protect it from moisture and damage. There are several floor sealing techniques that can be used to ensure the longevity of your floors.
One popular method is using a waterproofing membrane, which creates a barrier between the floor and any potential water damage. Another option is applying a coat of epoxy sealer, which provides a durable and protective surface. Additionally, using a silicone-based sealant around the edges of the floor can help prevent any moisture from seeping through.
It is important to choose the right floor protection method based on the type of flooring you have. By properly sealing your floor, you can ensure its durability and protect it from any potential damage.
Now, let’s move on to installing the toilet flange.

BIGCOW Ultra-Slim Bidet Attachment for Toilet - Dual Nozzle (Frontal & Rear Wash) with Adjustable Cold Water Pressure and Stainless Steel Inlet - Hygienic Solution for Fresh Cleanliness, Silver 1 Pcs
【Dual Spraying Modes】- This toilet bidet offers both rear wash for thorough cleaning and a specially designed frontal...
As an affiliate, we earn on qualifying purchases.
Installing the Toilet Flange
You’ll need to first position the toilet flange onto the drain pipe. The toilet flange is a crucial component that connects the toilet to the drain pipe and ensures a proper seal.
If you are replacing a toilet flange or troubleshooting a faulty one, follow these steps. Start by removing the old flange if necessary, making sure the area is clean and free of debris.
Next, place the new flange onto the drain pipe, aligning it properly. Use screws to secure the flange to the floor, ensuring it is stable and level. This will provide a solid foundation for the toilet.
Once the flange is securely in place, you can move on to placing the wax ring, which will create a watertight seal between the toilet and the flange.

LUXE Bidet NEO 120 - Single Nozzle, Self-Cleaning, Non-Electric Bidet Attachment for Toilet Seat, Adjustable Water Pressure, Rear Wash (White)
THE ULTIMATE VALUE – With a sleek design and high-quality parts, Our Bidet Attachment will give your bathroom...
As an affiliate, we earn on qualifying purchases.
Placing the Wax Ring
When it comes to placing the wax ring during toilet installation, there are some important techniques to keep in mind.
First, ensure that the toilet flange is clean and free of any debris before proceeding.
Next, carefully position the wax ring on top of the flange, making sure it is centered and properly aligned with the waste pipe.
Lastly, avoid common mistakes such as over-tightening the bolts or using too much wax, as these can lead to leaks and improper sealing.
Wax Ring Placement Techniques
To ensure a proper seal, it’s important to carefully position the wax ring when setting the toilet. Wax rings are the most common and effective option for sealing the toilet to the drain flange. There are also alternatives available such as rubber gaskets or foam rings, but these may not provide the same level of reliability as wax rings.
When troubleshooting wax ring issues, it’s crucial to check for proper alignment and fit. Make sure the wax ring is centered on the drain flange and that the toilet is properly aligned before tightening the bolts. Additionally, ensure that the wax ring is not damaged or compressed during installation.
By following these techniques, you can avoid common wax ring mistakes and ensure a secure and leak-free toilet installation.
Now let’s move on to discussing some of these common mistakes and how to avoid them.
Common Wax Ring Mistakes
One common mistake people make with wax rings is failing to center it properly on the drain flange, which can lead to leaks. When setting a toilet, it is crucial to ensure that the wax ring is positioned correctly.
The wax ring acts as a seal between the toilet and the floor drain, preventing any water leakage. If the wax ring is not centered properly, it can cause gaps and allow water to seep through, resulting in leaks. To avoid this issue, it is essential to carefully align the wax ring with the drain flange before installing the toilet.
Additionally, if you are experiencing leaks even after proper installation, you may consider using wax ring alternatives such as rubber gaskets or foam rings. These alternatives provide a reliable seal and can help troubleshoot wax ring leaks effectively.
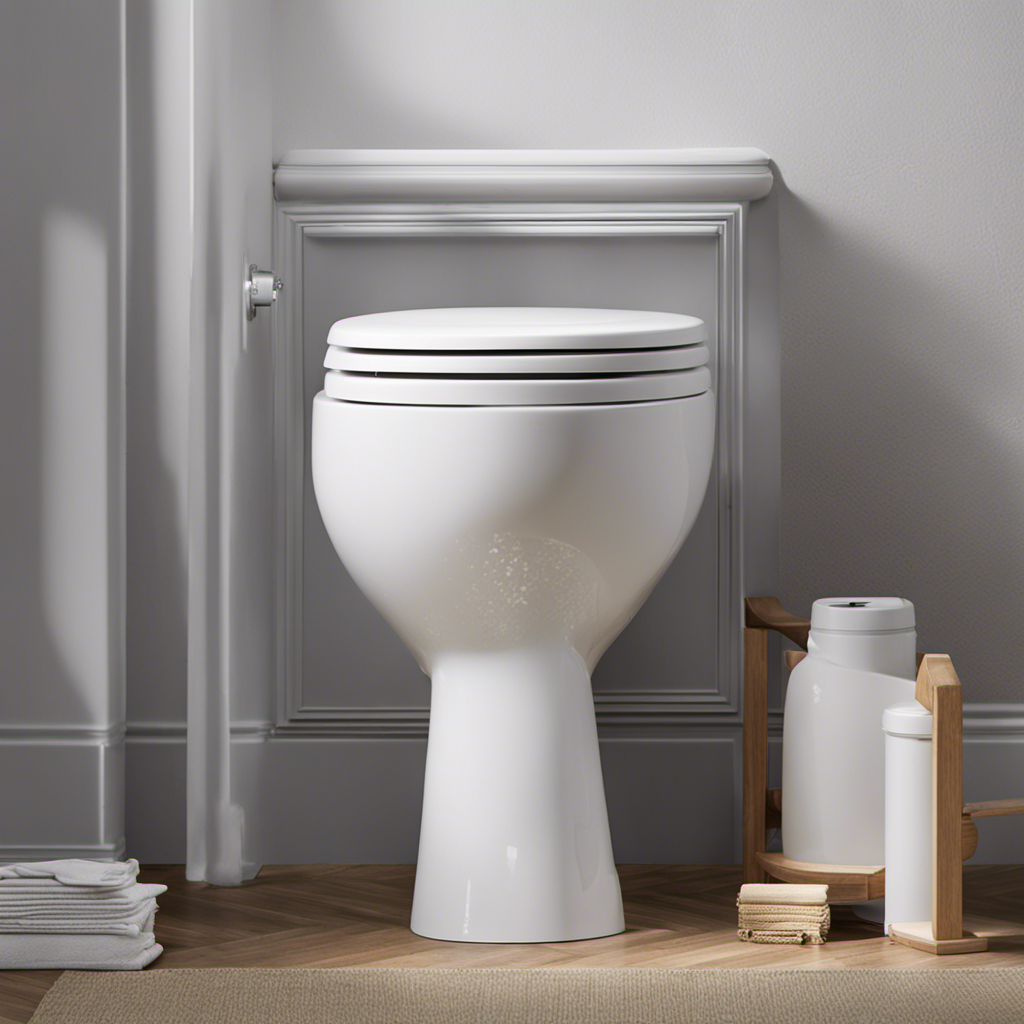
Setting the Toilet Bowl
First, you’ll need to ensure that the wax ring is properly centered and secured before setting the toilet bowl. This step is crucial in preventing leaks and maintaining the integrity of the toilet’s seal.
To properly set the toilet bowl, follow these steps:
-
Position the wax ring: Place the wax ring on the flange, ensuring it is centered and aligned with the waste pipe.
-
Secure the toilet bowl: Carefully lower the toilet bowl onto the wax ring, making sure the mounting bolts pass through the holes in the base. Apply gentle pressure to compress the wax ring and create a tight seal.
-
Secure the toilet bowl: Tighten the nuts onto the mounting bolts to secure the toilet bowl to the floor. Be careful not to overtighten, as this can crack the porcelain.
Securing the Toilet Tank
Now that the toilet bowl is securely in place, it’s time to focus on securing the toilet tank. This step is crucial for ensuring toilet tank stability and preventing leaks. Here are three important steps to follow:
-
Attach the tank to the bowl: Place the tank onto the bowl and align the mounting holes. Insert the bolts through the holes and tighten the nuts underneath. This will firmly connect the tank to the bowl.
-
Install the tank-to-bowl gasket: Place the gasket onto the flush valve opening at the bottom of the tank. Make sure it sits evenly and seals properly. This gasket prevents water leaks between the tank and the bowl.
-
Tighten the tank bolts: Using a wrench, tighten the nuts on the tank bolts until the tank feels secure. Be careful not to overtighten, as this can crack the tank. Check for any wobbling or movement, and adjust if necessary.
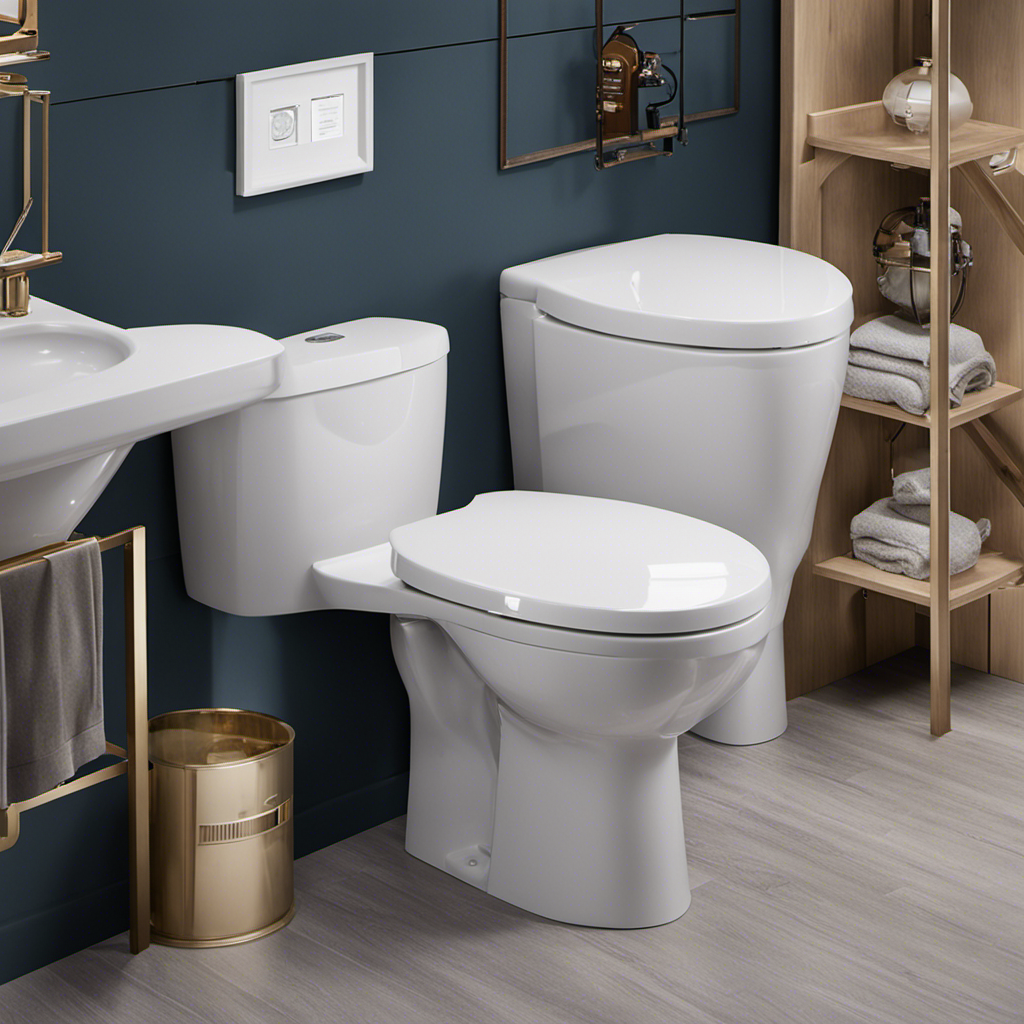
Testing and Finishing Touches
To complete the installation process, you should now test the toilet by flushing it and checking for any leaks. This step is crucial to ensure that everything is functioning properly and there are no issues with the installation.
When testing the toilet, it is important to use different testing techniques to ensure accuracy. Start by flushing the toilet multiple times to check for any potential clogs or slow drainage. Listen for any unusual sounds or vibrations during the flushing process.
Additionally, inspect the area around the base of the toilet for any signs of leaks. If there are any leaks, make the necessary final adjustments by tightening the bolts or replacing the wax ring.
Once you have completed the testing and made the final adjustments, your toilet installation is complete.
Frequently Asked Questions
How Do I Choose the Right Toilet for My Bathroom?
When choosing a toilet for my bathroom, I consider factors like toilet seat options and water efficiency ratings. It’s important to find a toilet that fits my needs and helps conserve water.
Can I Install a Toilet Without a Flange?
Installing a toilet without a flange is possible, but it comes with pros and cons. Alternative toilet installation methods may include using a wax ring or a flangeless toilet seal. However, it’s important to consider the long-term stability and potential for leaks.
What Should I Do if the Wax Ring Doesn’t Fit Properly?
If the wax ring doesn’t fit properly, you can consider using wax ring alternatives like rubber gaskets or foam rings. Common mistakes during toilet installation include not aligning the toilet properly or overtightening the bolts.
How Can I Fix a Wobbly Toilet Bowl?
To fix a wobbly toilet bowl, first check if the floor is level. If not, use shims to stabilize it. Tighten the bolts securing the toilet to the floor. If the problem persists, consult a professional for further troubleshooting and maintenance.
Are There Any Additional Safety Precautions I Should Take While Installing a Toilet?
When setting a toilet, it’s important to prioritize safety measures. To avoid common mistakes, wearing protective gloves and goggles is crucial. Properly securing the toilet to the floor ensures stability and prevents accidents.
Conclusion
In conclusion, setting a toilet may seem daunting, but with the right tools and careful steps, it can be accomplished smoothly.
Remember, preparation is key. Ensure the bathroom floor is clean and level before installing the toilet flange.
The wax ring acts as a sealant, preventing leaks. So, make sure to place it carefully.
Next, place the toilet bowl and secure it in place. Take your time to ensure it is properly aligned and stable.
Finally, attach the tank and perform a thorough test. Check for any leaks or issues to ensure everything is working perfectly.
So, go ahead and take the plunge! Set that toilet with confidence!