
Are you tired of lying in bed, listening to the incessant dripping noise from your toilet? Well, fret no more! In this article, we will guide you through the step-by-step process of putting an end to that irritating sound.
By identifying the source, checking and adjusting the water level, inspecting and repairing the fill valve, and examining and fixing the flapper or flush valve, you’ll soon be able to enjoy peaceful nights without that pesky drip.
Let’s get started!
Key Takeaways
- Faulty flapper valve and loose fill valve are common causes of dripping noise in toilets.
- DIY solutions include replacing the flapper valve and tightening the locknut on the fill valve.
- The water level in the toilet tank should be adjusted to be about an inch below the top of the overflow tube.
- Inspecting and repairing the fill valve, adjusting the float, and replacing seals can eliminate the dripping noise.

Fluidmaster K-400H-039 High Performance Toilet Fill Valve with 2-Inch Adjustable Toilet Flapper Kit
The PerforMAX fill valve and 2 in. Flapper Kit is the premium solution to make your 2 in….
As an affiliate, we earn on qualifying purchases.
As an affiliate, we earn on qualifying purchases.
Identifying the Source of the Dripping Noise
To stop the dripping noise from the toilet, it’s important to first identify the source of the problem. There are several common causes for a dripping noise in the toilet.
One possible cause is a faulty flapper valve. This valve is responsible for sealing the bottom of the toilet tank and preventing water from continuously flowing into the bowl.
Another common cause is a loose fill valve. The fill valve controls the water level in the tank and if it becomes loose, it can result in water continuously leaking into the overflow tube.
To fix these issues, you can try some DIY solutions. For a faulty flapper valve, you can replace it with a new one. If the fill valve is loose, you can tighten the locknut to secure it in place.

Fluidmaster 400H-002 Performax Universal Toilet Fill Valve High Performance Tank and Bowl Water Control, 1-Pack, Multicolor
Fix noisy, or slow filling fill valves with the quietest, most powerful toilet fill valve available
As an affiliate, we earn on qualifying purchases.
As an affiliate, we earn on qualifying purchases.
Checking and Adjusting the Water Level in the Toilet Tank
You can easily check and adjust the water level in the toilet tank to prevent any further dripping sounds. This is an important step in DIY toilet repairs and water conservation techniques.
First, locate the water level adjustment screw or rod on the fill valve. It is usually a small screw or a float that can be adjusted by turning clockwise or counterclockwise.
To check the water level, remove the tank lid and observe the water level. It should be about an inch below the top of the overflow tube. If it is too high, turn the adjustment screw or rod to lower the water level. If it is too low, adjust it upwards.
Fluidmaster 400H-002 Performax Universal Toilet Fill Valve High Performance Tank and Bowl Water Control, 1-Pack, Multicolor
Fix noisy, or slow filling fill valves with the quietest, most powerful toilet fill valve available
As an affiliate, we earn on qualifying purchases.
As an affiliate, we earn on qualifying purchases.
Inspecting and Repairing the Fill Valve
Inspecting and repairing the fill valve can help ensure proper water flow in the toilet tank. To address the dripping noise from your toilet, follow these steps:
-
Adjusting the float:
-
Locate the fill valve in the toilet tank.
-
Find the adjustment screw or rod connected to the float.
-
Turn the screw clockwise to lower the float and reduce the water level, or counterclockwise to raise the float and increase the water level.
-
Test the toilet by flushing and listen for any dripping noise.
-
Replacing seals:
-
Turn off the water supply to the toilet.
-
Flush the toilet to drain the tank.
-
Remove the fill valve cap and inspect the seals for any damage or wear.
-
If necessary, replace the seals with new ones compatible with your fill valve model.
By adjusting the float and replacing seals, you can effectively eliminate the dripping noise caused by a faulty fill valve.
Now, let’s move on to examining and fixing the flapper or flush valve.

Mayes 10309 Water Level Tool, Made in USA, Accurate Yard Grading and Construction Leveling, Attaches to Standard Hose
Proudly Made in USA: This water level measuring tool is built in the United States, delivering consistent performance…
As an affiliate, we earn on qualifying purchases.
As an affiliate, we earn on qualifying purchases.
Examining and Fixing the Flapper or Flush Valve
Now, let’s take a look at how to examine and fix the flapper or flush valve.
If you’re experiencing a dripping noise from your toilet, it could be due to a faulty flapper or flush valve. To determine if this is the issue, start by testing the water pressure.
Turn off the water supply to the toilet and flush it to drain the tank. Then, turn the water supply back on and observe the water flow. If the water pressure is low, you may need to clean or replace the valve.
Another common problem that can cause a dripping noise is a worn-out or broken toilet handle. If the handle is loose or doesn’t return to its original position, it may need to be replaced.
By addressing these issues, you can eliminate the dripping noise and ensure proper functioning of your toilet.
Now, let’s move on to additional troubleshooting steps and maintenance tips.
Additional Troubleshooting Steps and Maintenance Tips
To prevent future issues, it’s important to regularly clean and maintain your toilet. Here are some additional troubleshooting steps and maintenance tips to help you stop the dripping noise from your toilet:
-
Check the fill valve: Ensure that the fill valve is functioning properly. If it is damaged or worn out, it may need to be replaced.
-
Inspect the water supply line: Look for any leaks or loose connections in the water supply line. Tighten any loose connections and replace any damaged parts.
-
Examine the wax ring: The wax ring seals the connection between the toilet and the floor. If it is worn out or damaged, it can cause leaks. Replace the wax ring if necessary.
-
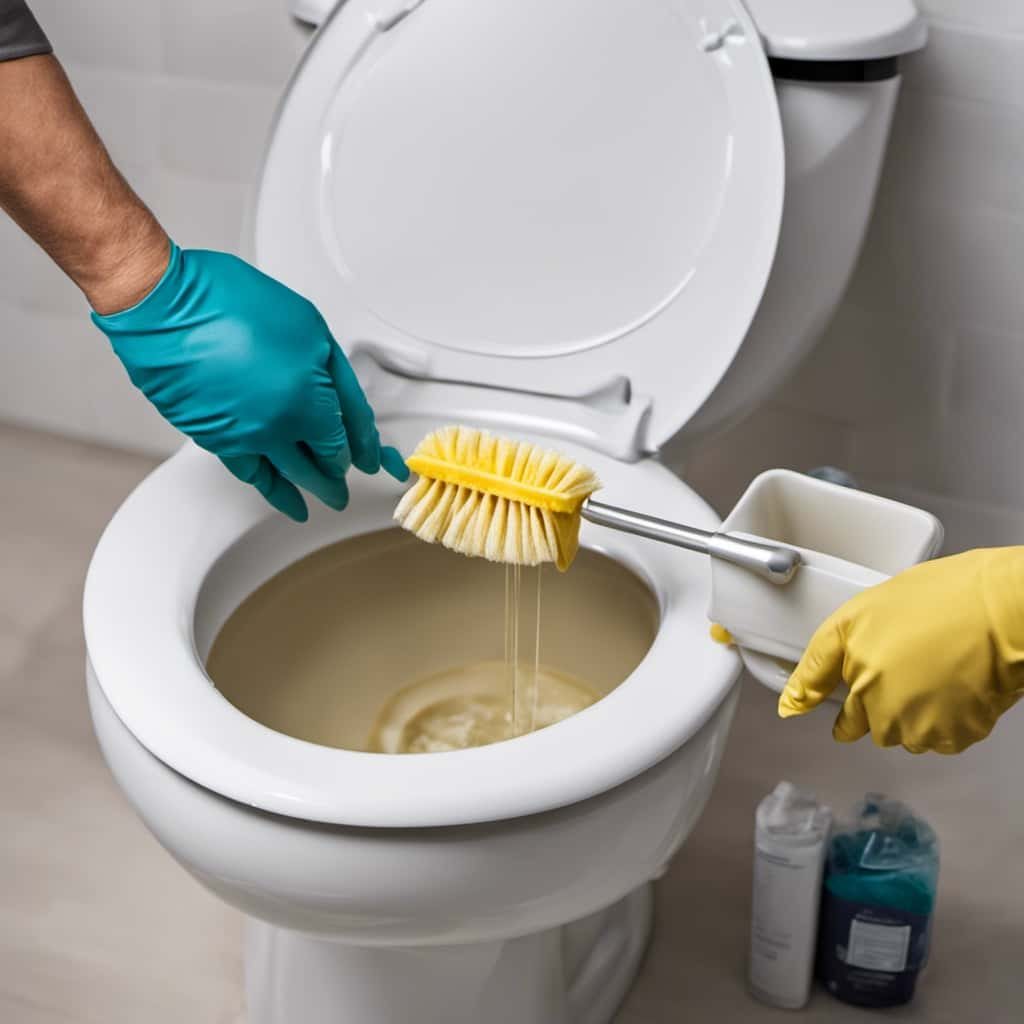
Regularly clean the toilet: Keeping your toilet clean helps prevent clogs and ensures proper functioning. Use a toilet brush and cleaner to remove any buildup.
Conclusion
So there you have it, dear reader. You’re now equipped with the knowledge and tools to put an end to that pesky dripping noise coming from your toilet.
By following the steps outlined in this article, you can confidently tackle the issue head-on.
Remember, it’s all about identifying the source, checking and adjusting the water level, inspecting and repairing the fill valve, and examining and fixing the flapper or flush valve.
With a little troubleshooting and maintenance, you’ll have a quiet and peaceful bathroom experience once again.
Good luck!